This setup starts by reusing some components from a prebuilt PC I bought a little over a year ago, but most of the components were chosen and purchased by me. The goal was to build a PC that could handle most modern games without issues. In the end I only played Overwatch 2 and Silksong, but that’s not the PC’s fault.
Why did I buy a prebuilt?
A couple of years ago I was thinking about building my own PC, but I had absolutely no idea which components to choose or how to assemble them. So I decided to buy a prebuilt to take away all the stress and just start saving money on games. Plus, the prebuilt I bought had good performance and design, so I thought it would be a good starting point.
The thing that overwhelmed me the most was graphics cards; I honestly didn’t understand anything about GPU naming conventions, didn’t know what VRAM was or any of that, so I decided to leave that part to the experts and buy a prebuilt with a decent GPU.
Why did I decide to build my own PC?
After about a year with the prebuilt, I realized the component recommendations from the seller weren’t as good as I thought: the PSU was low quality, which caused performance and stability issues. I also wasn’t happy with the liquid cooler it came with.
By that point I finally understood GPU naming conventions, so I decided to build my own PC to choose the components I actually wanted and needed, instead of relying on a salesperson’s suggestions.
To avoid ending up with a Frankenstein PC, I set two rules for choosing components:
- Reuse components from my prebuilt that wouldn’t affect the new PC’s performance, to save some money. The most obvious one is the CPU, since the current one is more than enough.
- New components must match the case’s brand and color, so everything looks cohesive. As you’ll see later in the post, I didn’t follow this rule 100%.
Prebuilt specs
- CPU: AMD Ryzen 5 5600X
- GPU: NVIDIA GeForce RTX 4060
- Motherboard: MSI Pro B650M-P AMS DDR5
- RAM: Kingston Fury 32GB (2 x 16GB) DDR5 6000MHz
- Storage: Kingston A2000 NVMe PCIe M.2 1TB
- PSU: Seasonic, 750W, 80+ Bronze
- Liquid cooler: I only remember it was Corsair.
- Case: MINITOWER AEROCOOL Trinity Mini
Components kept from the prebuilt
- CPU: AMD Ryzen 5 5600X
- RAM: Kingston Fury 32GB (2 x 16GB) DDR5 6000MHz
- Storage: Kingston A2000 NVMe PCIe M.2 1TB
- PSU: Seasonic, 750W, 80+ Bronze
- Liquid cooler: Corsair.

The only thing I was sure about was wanting an AMD CPU. The rest of the components were chosen based on internet reviews. Here’s the initial build list:
- CPU: AMD Ryzen 5 5600X
- Motherboard: MSI Pro B650M-P AMS DDR5
- RAM: Kingston Fury 32GB (2 x 16GB) DDR5 6000MHz
- Storage: Kingston A2000 NVMe PCIe M.2 2TB (2 x 1TB)
- GPU: NVIDIA GeForce RTX 4070Ti Super
- PSU: Seasonic, 750W, 80+ Bronze
- Case: MSI MAG PANO M100R PZ White
- OS: Windows 11 Pro (later migrated to Linux)
At the end I’ll share the updated component list.
Assembly
It had been a long time since I last built a PC, so the assembly process was a bit tricky at first, but after a couple of hours I managed to put everything together without issues. The process was pretty straightforward, though I had to look up a few YouTube tutorials to make sure I was doing things correctly.
The part I spent the most time on was cable management: I wanted everything to look as clean as possible. In the end, I think I got a pretty good result.
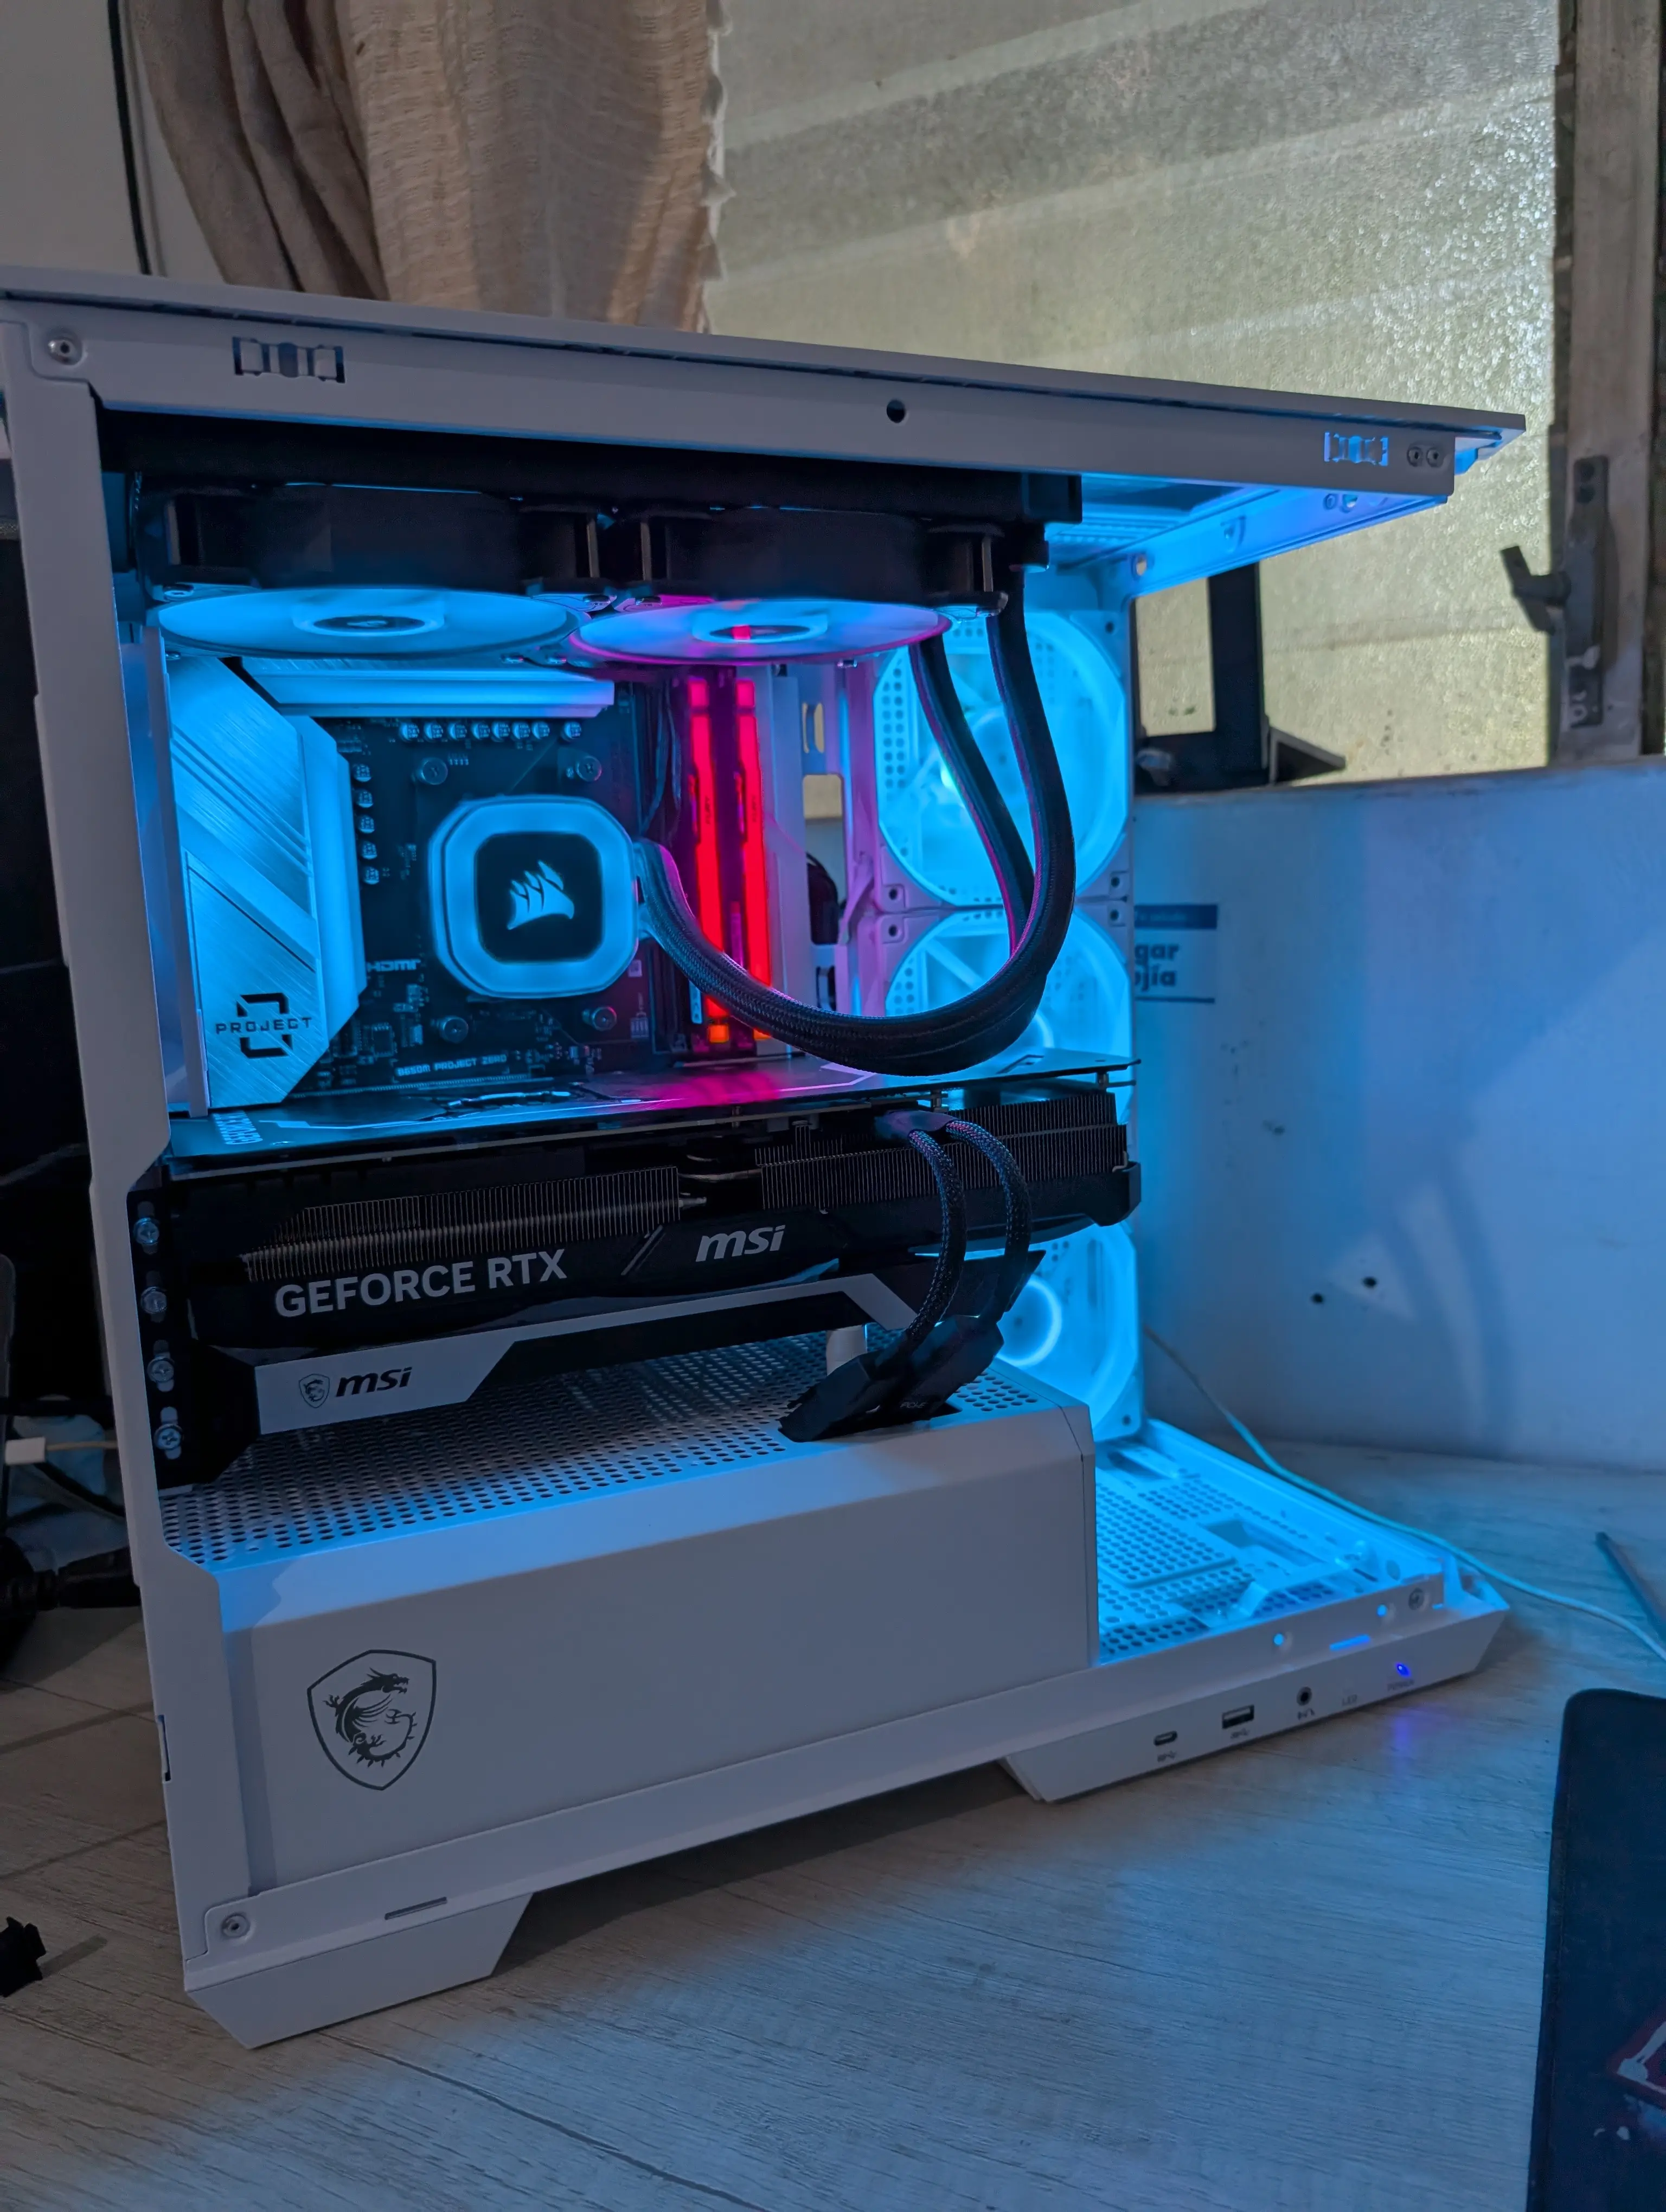
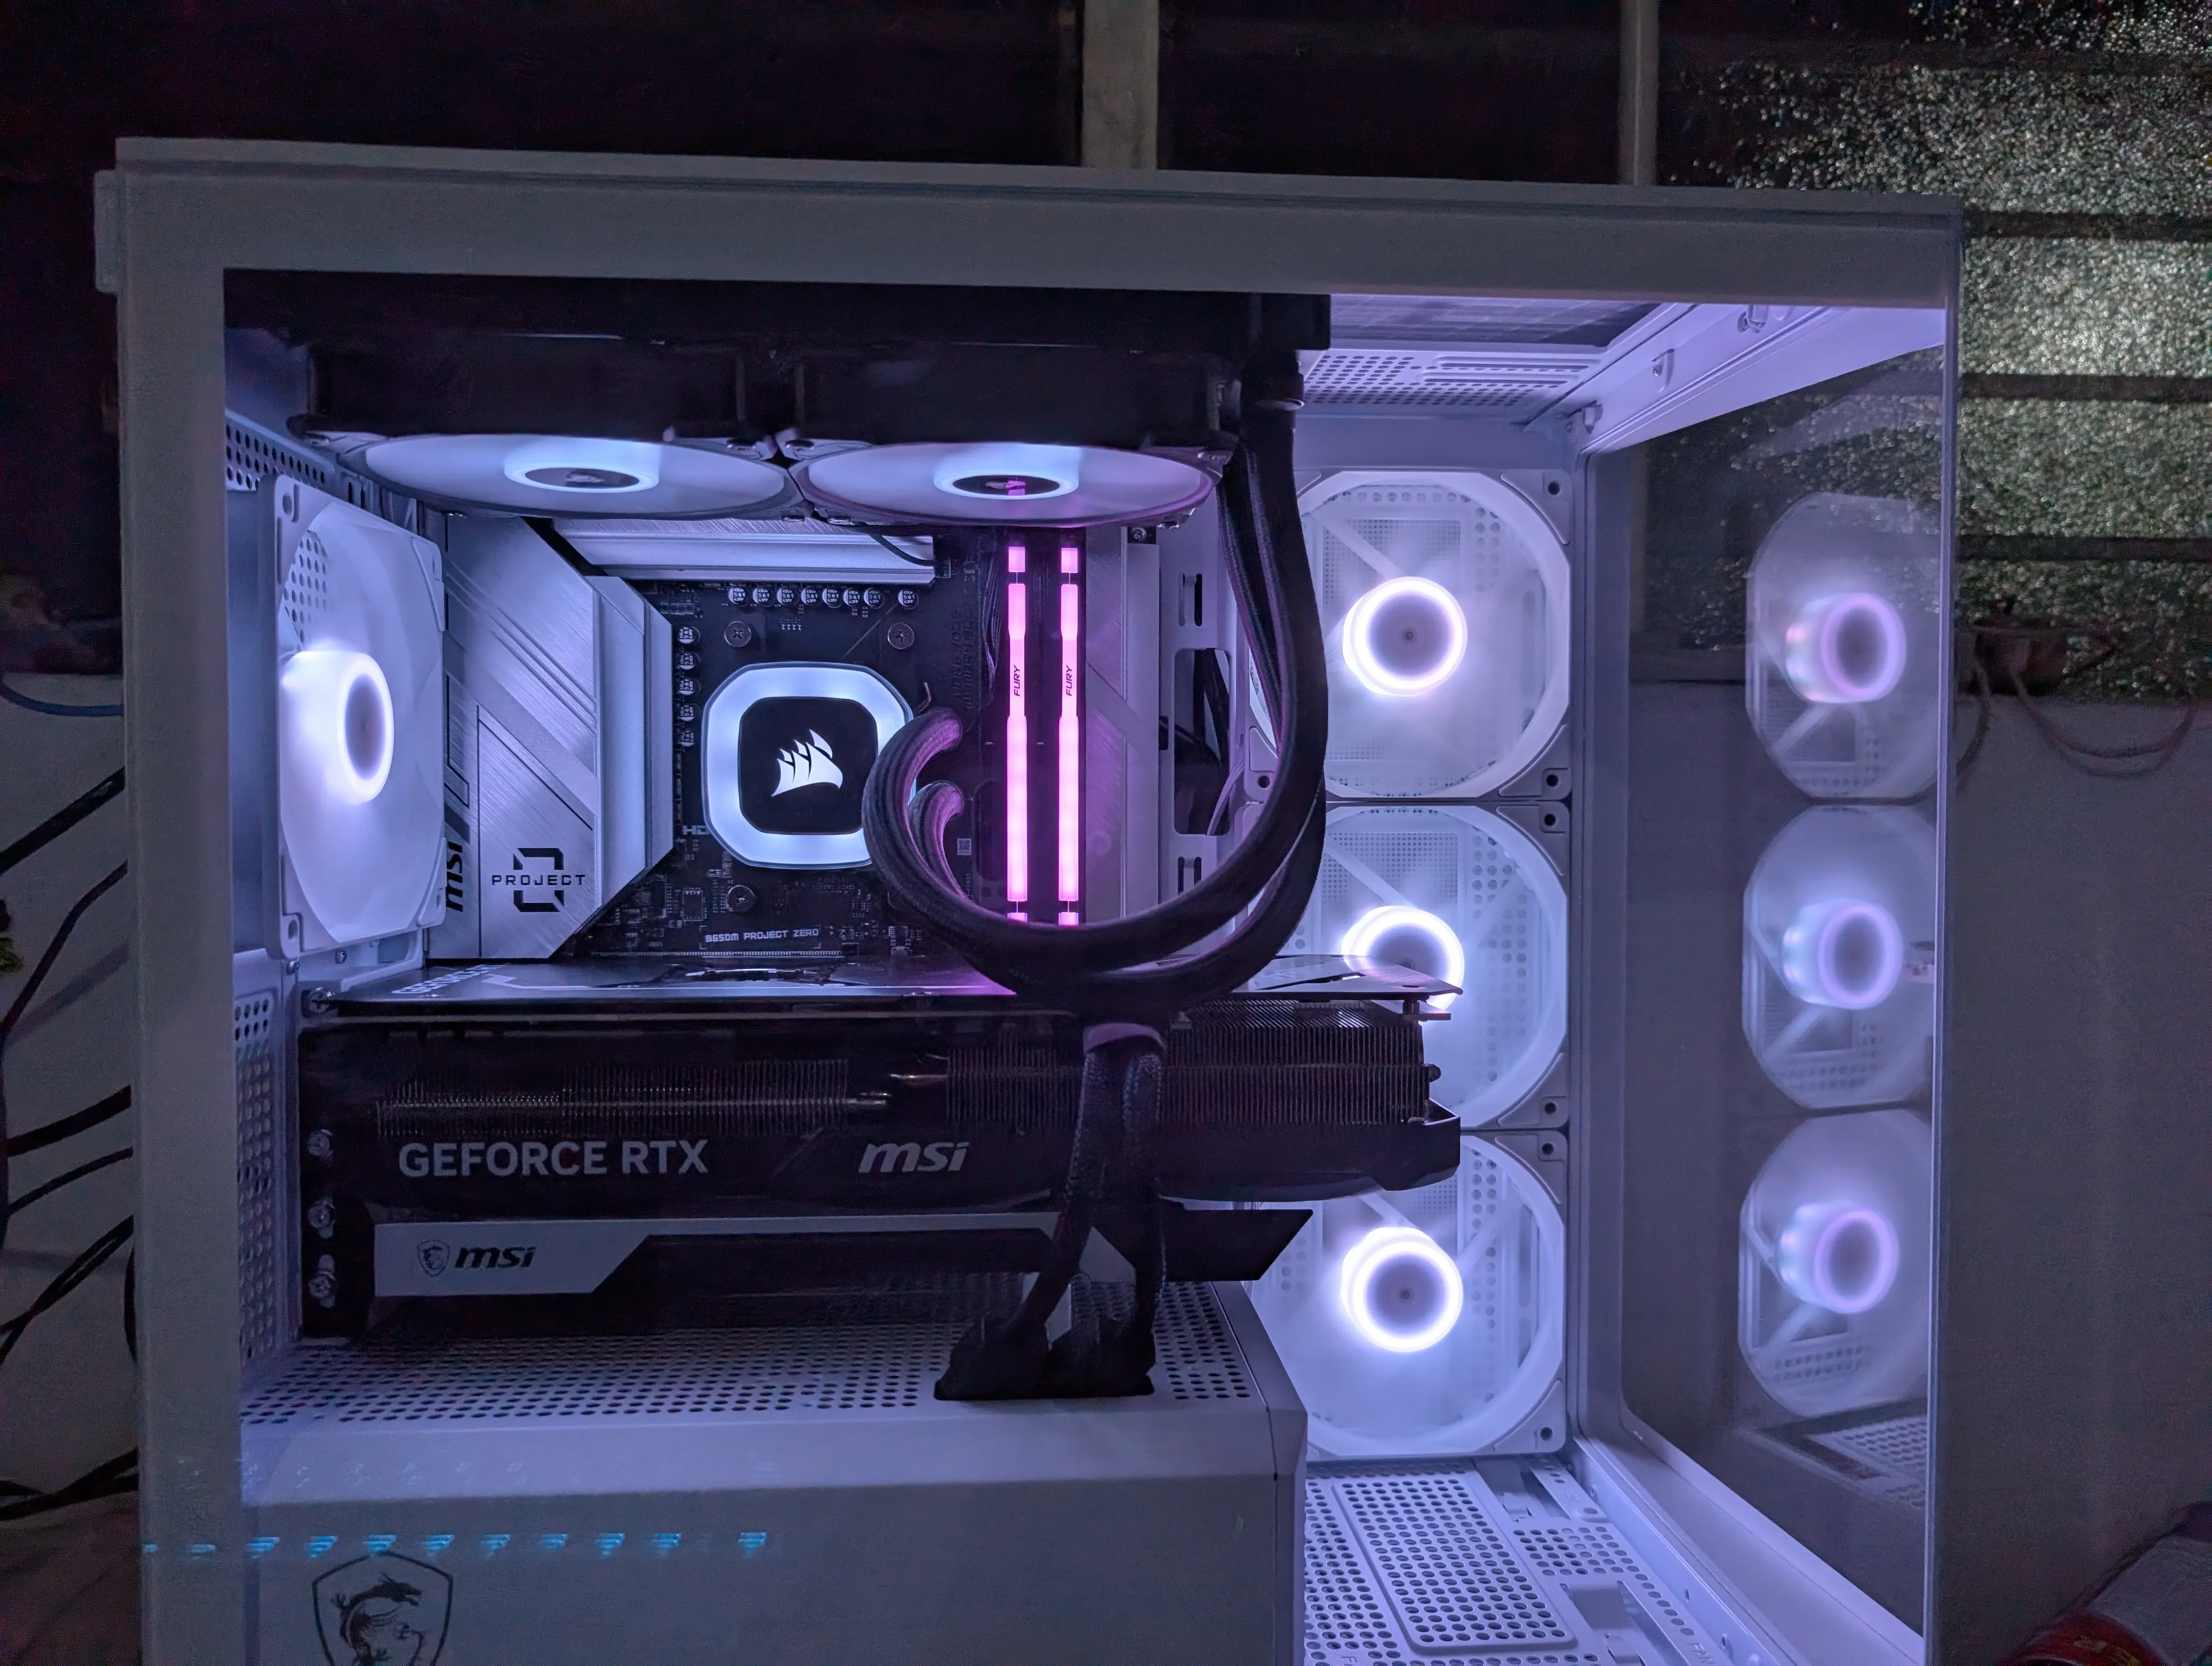
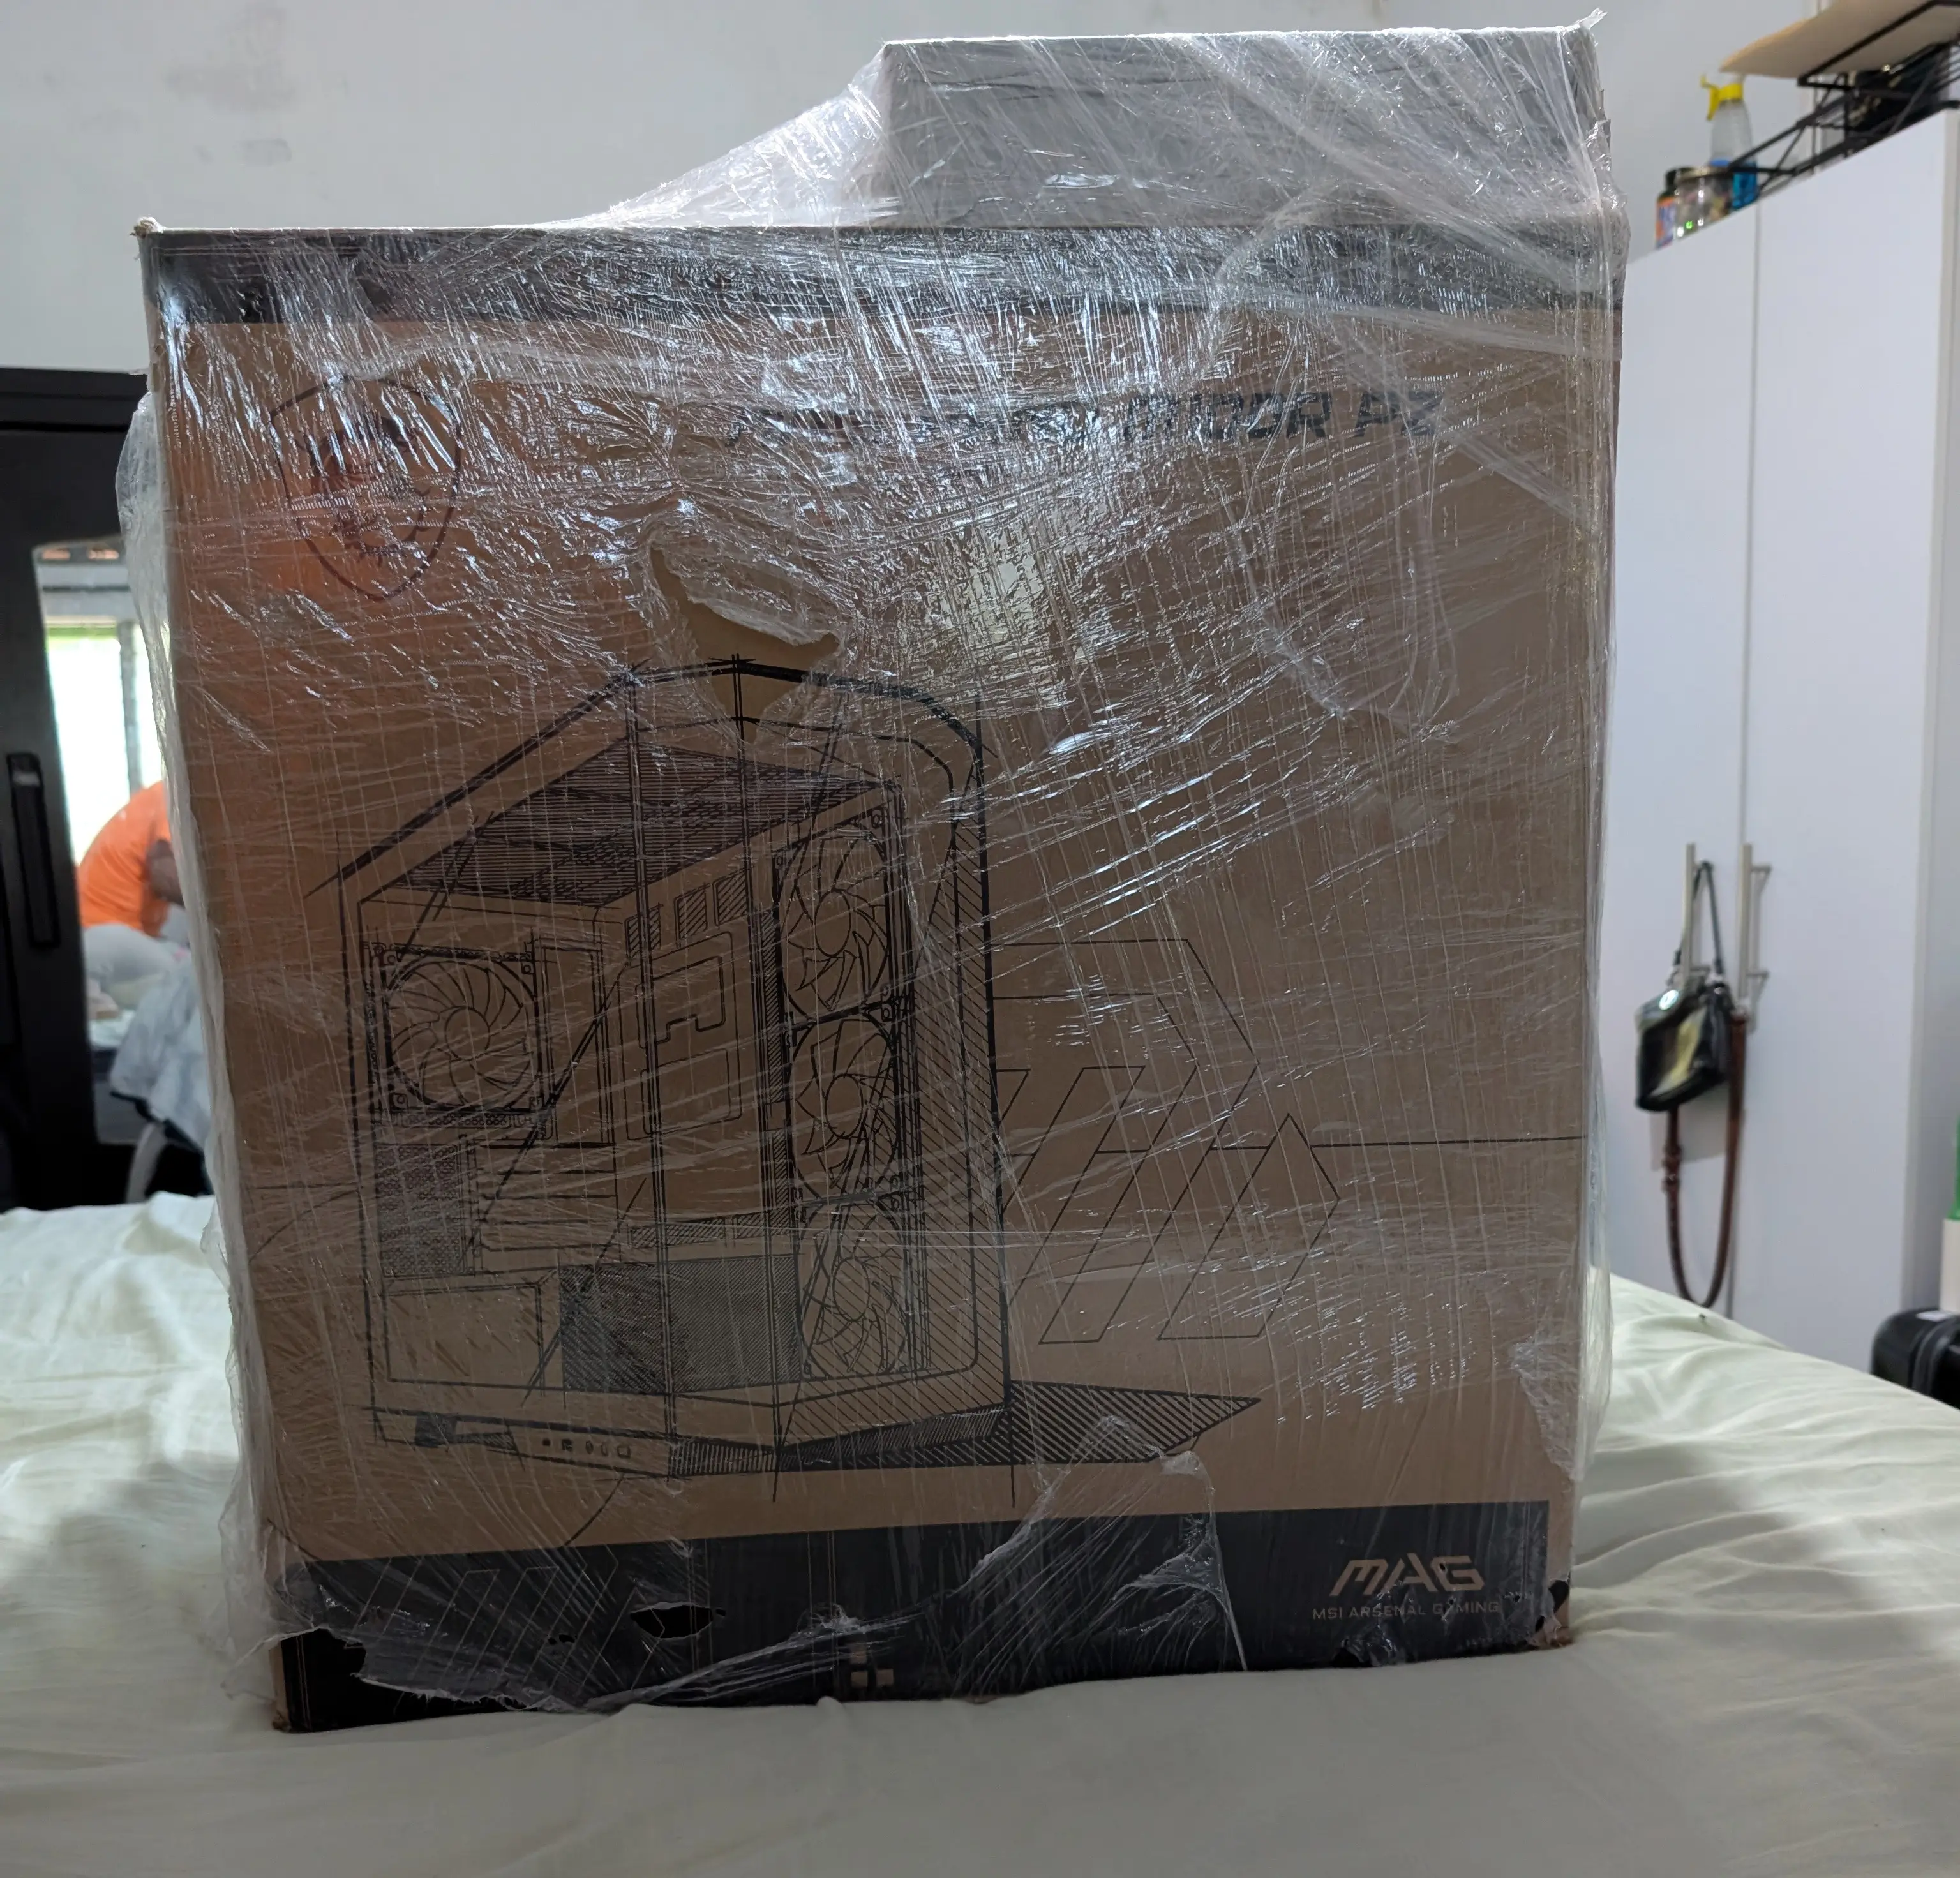
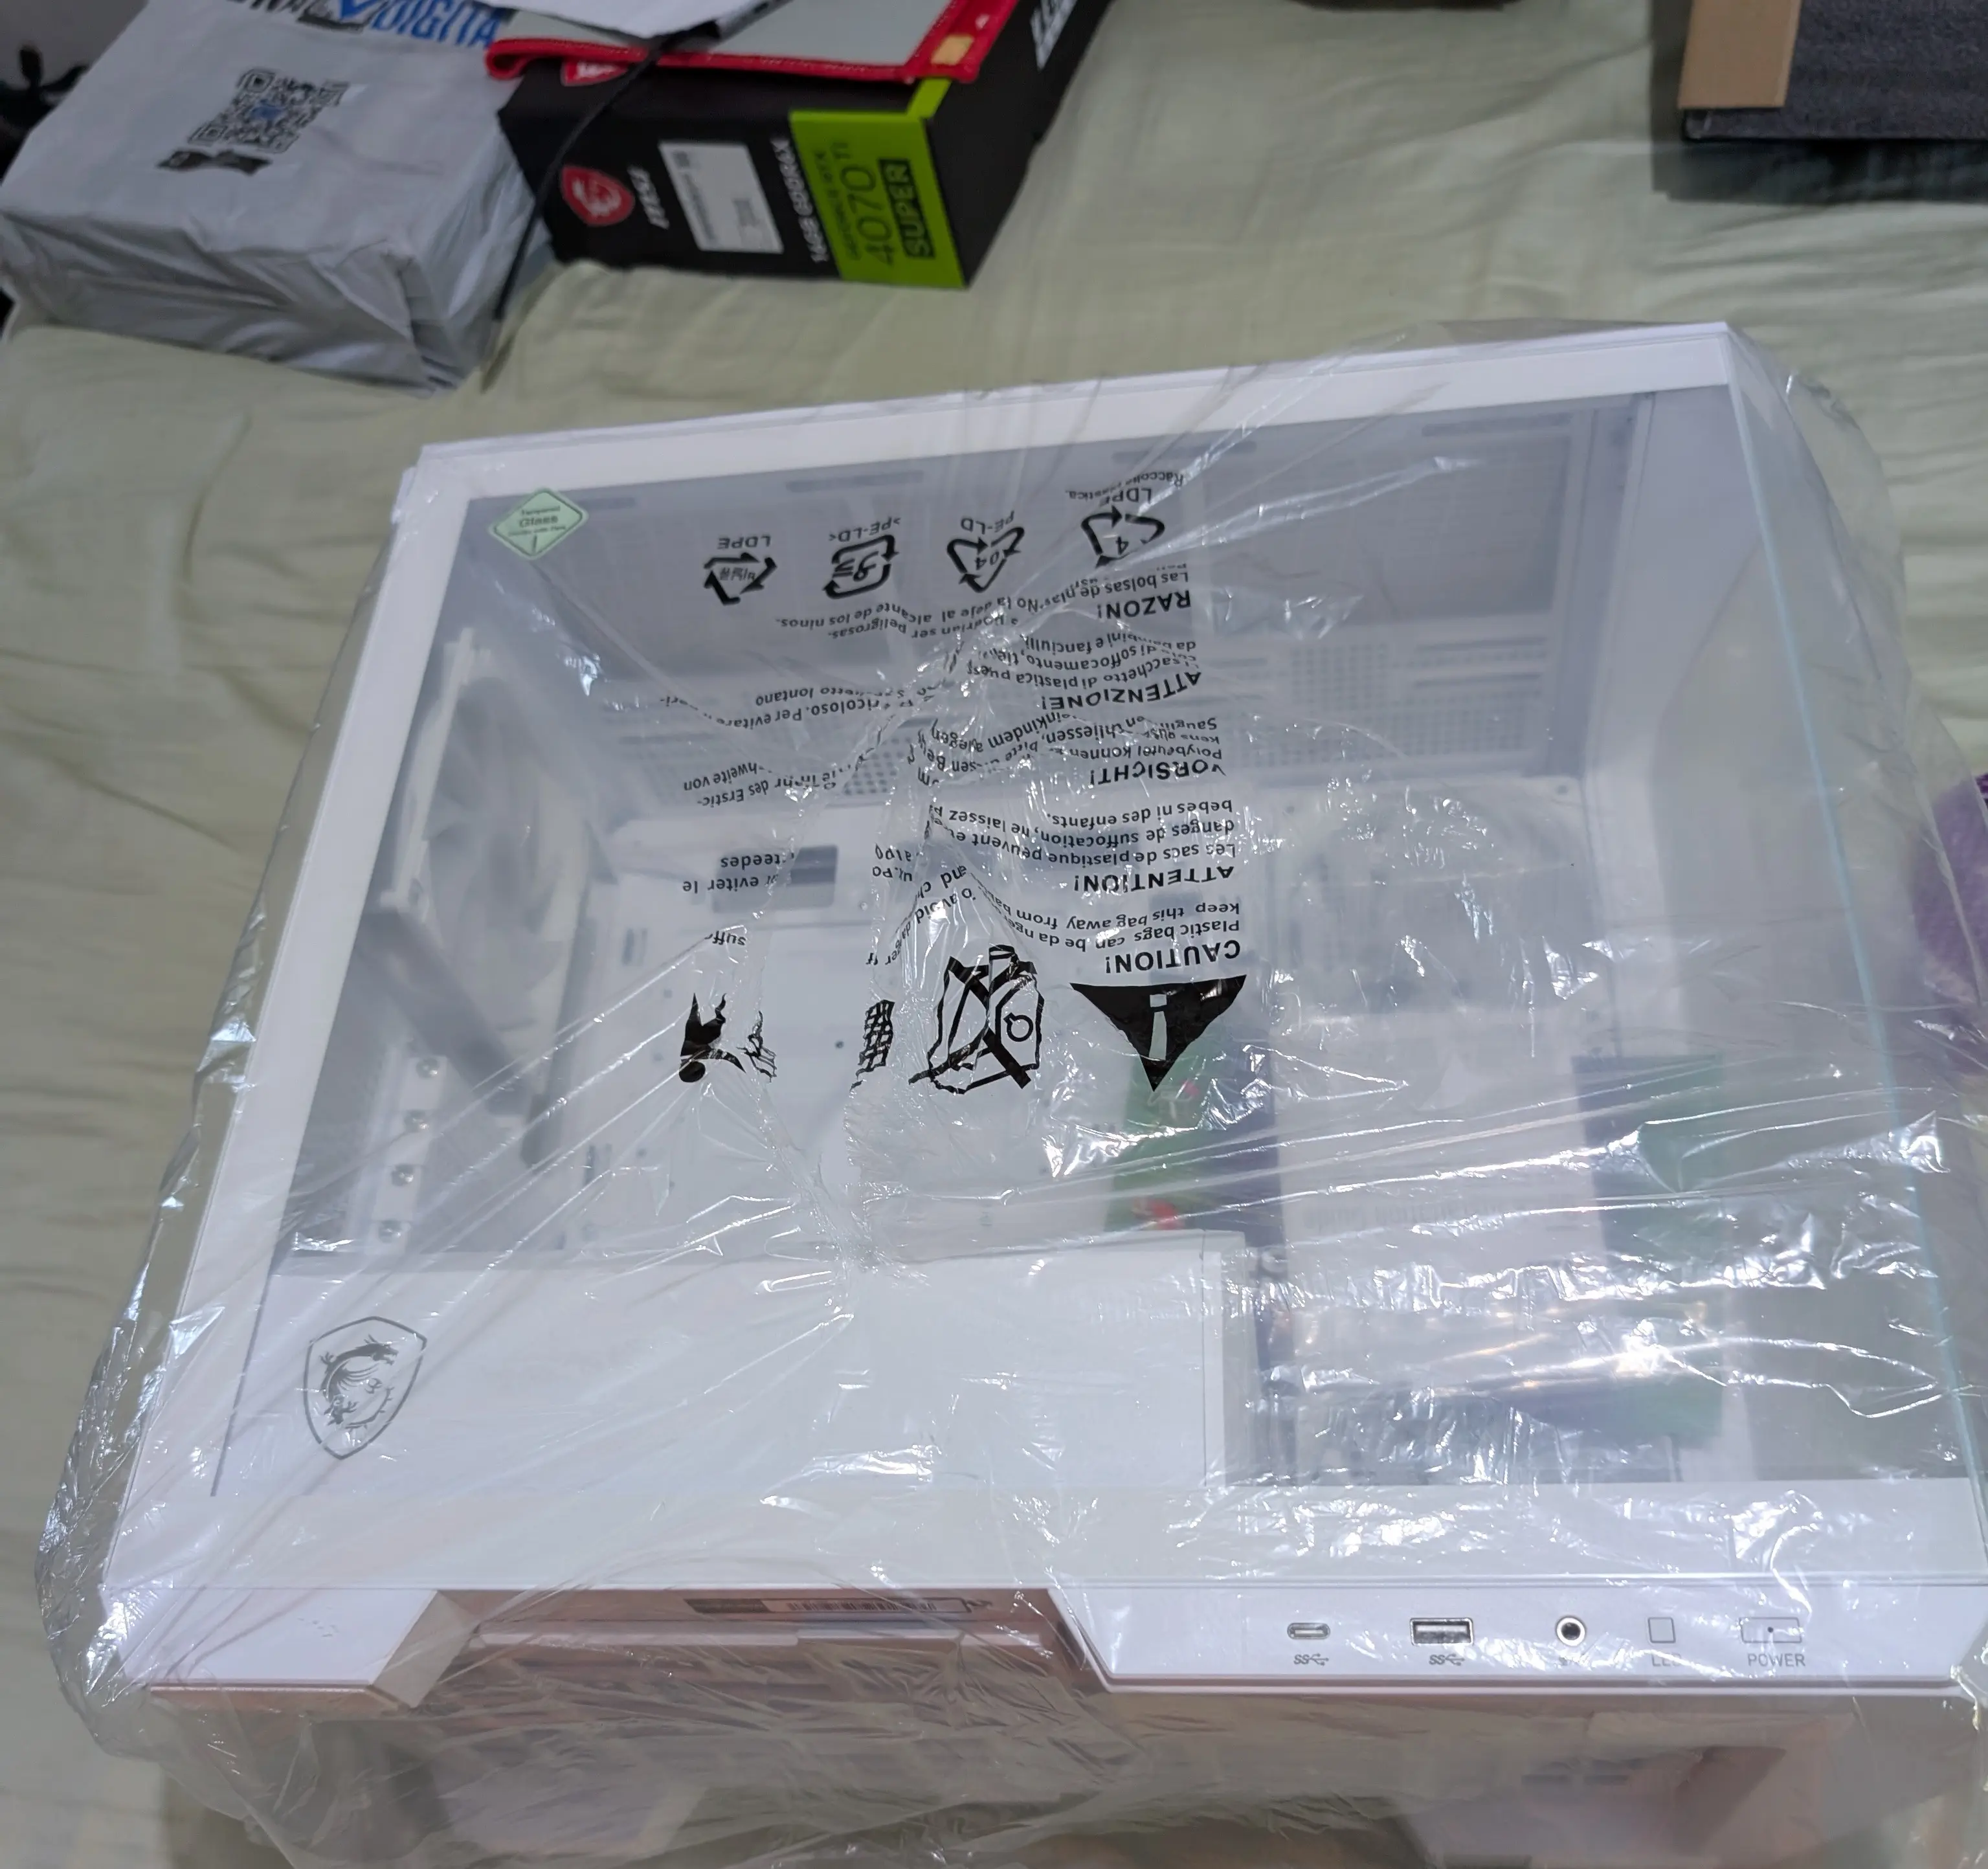
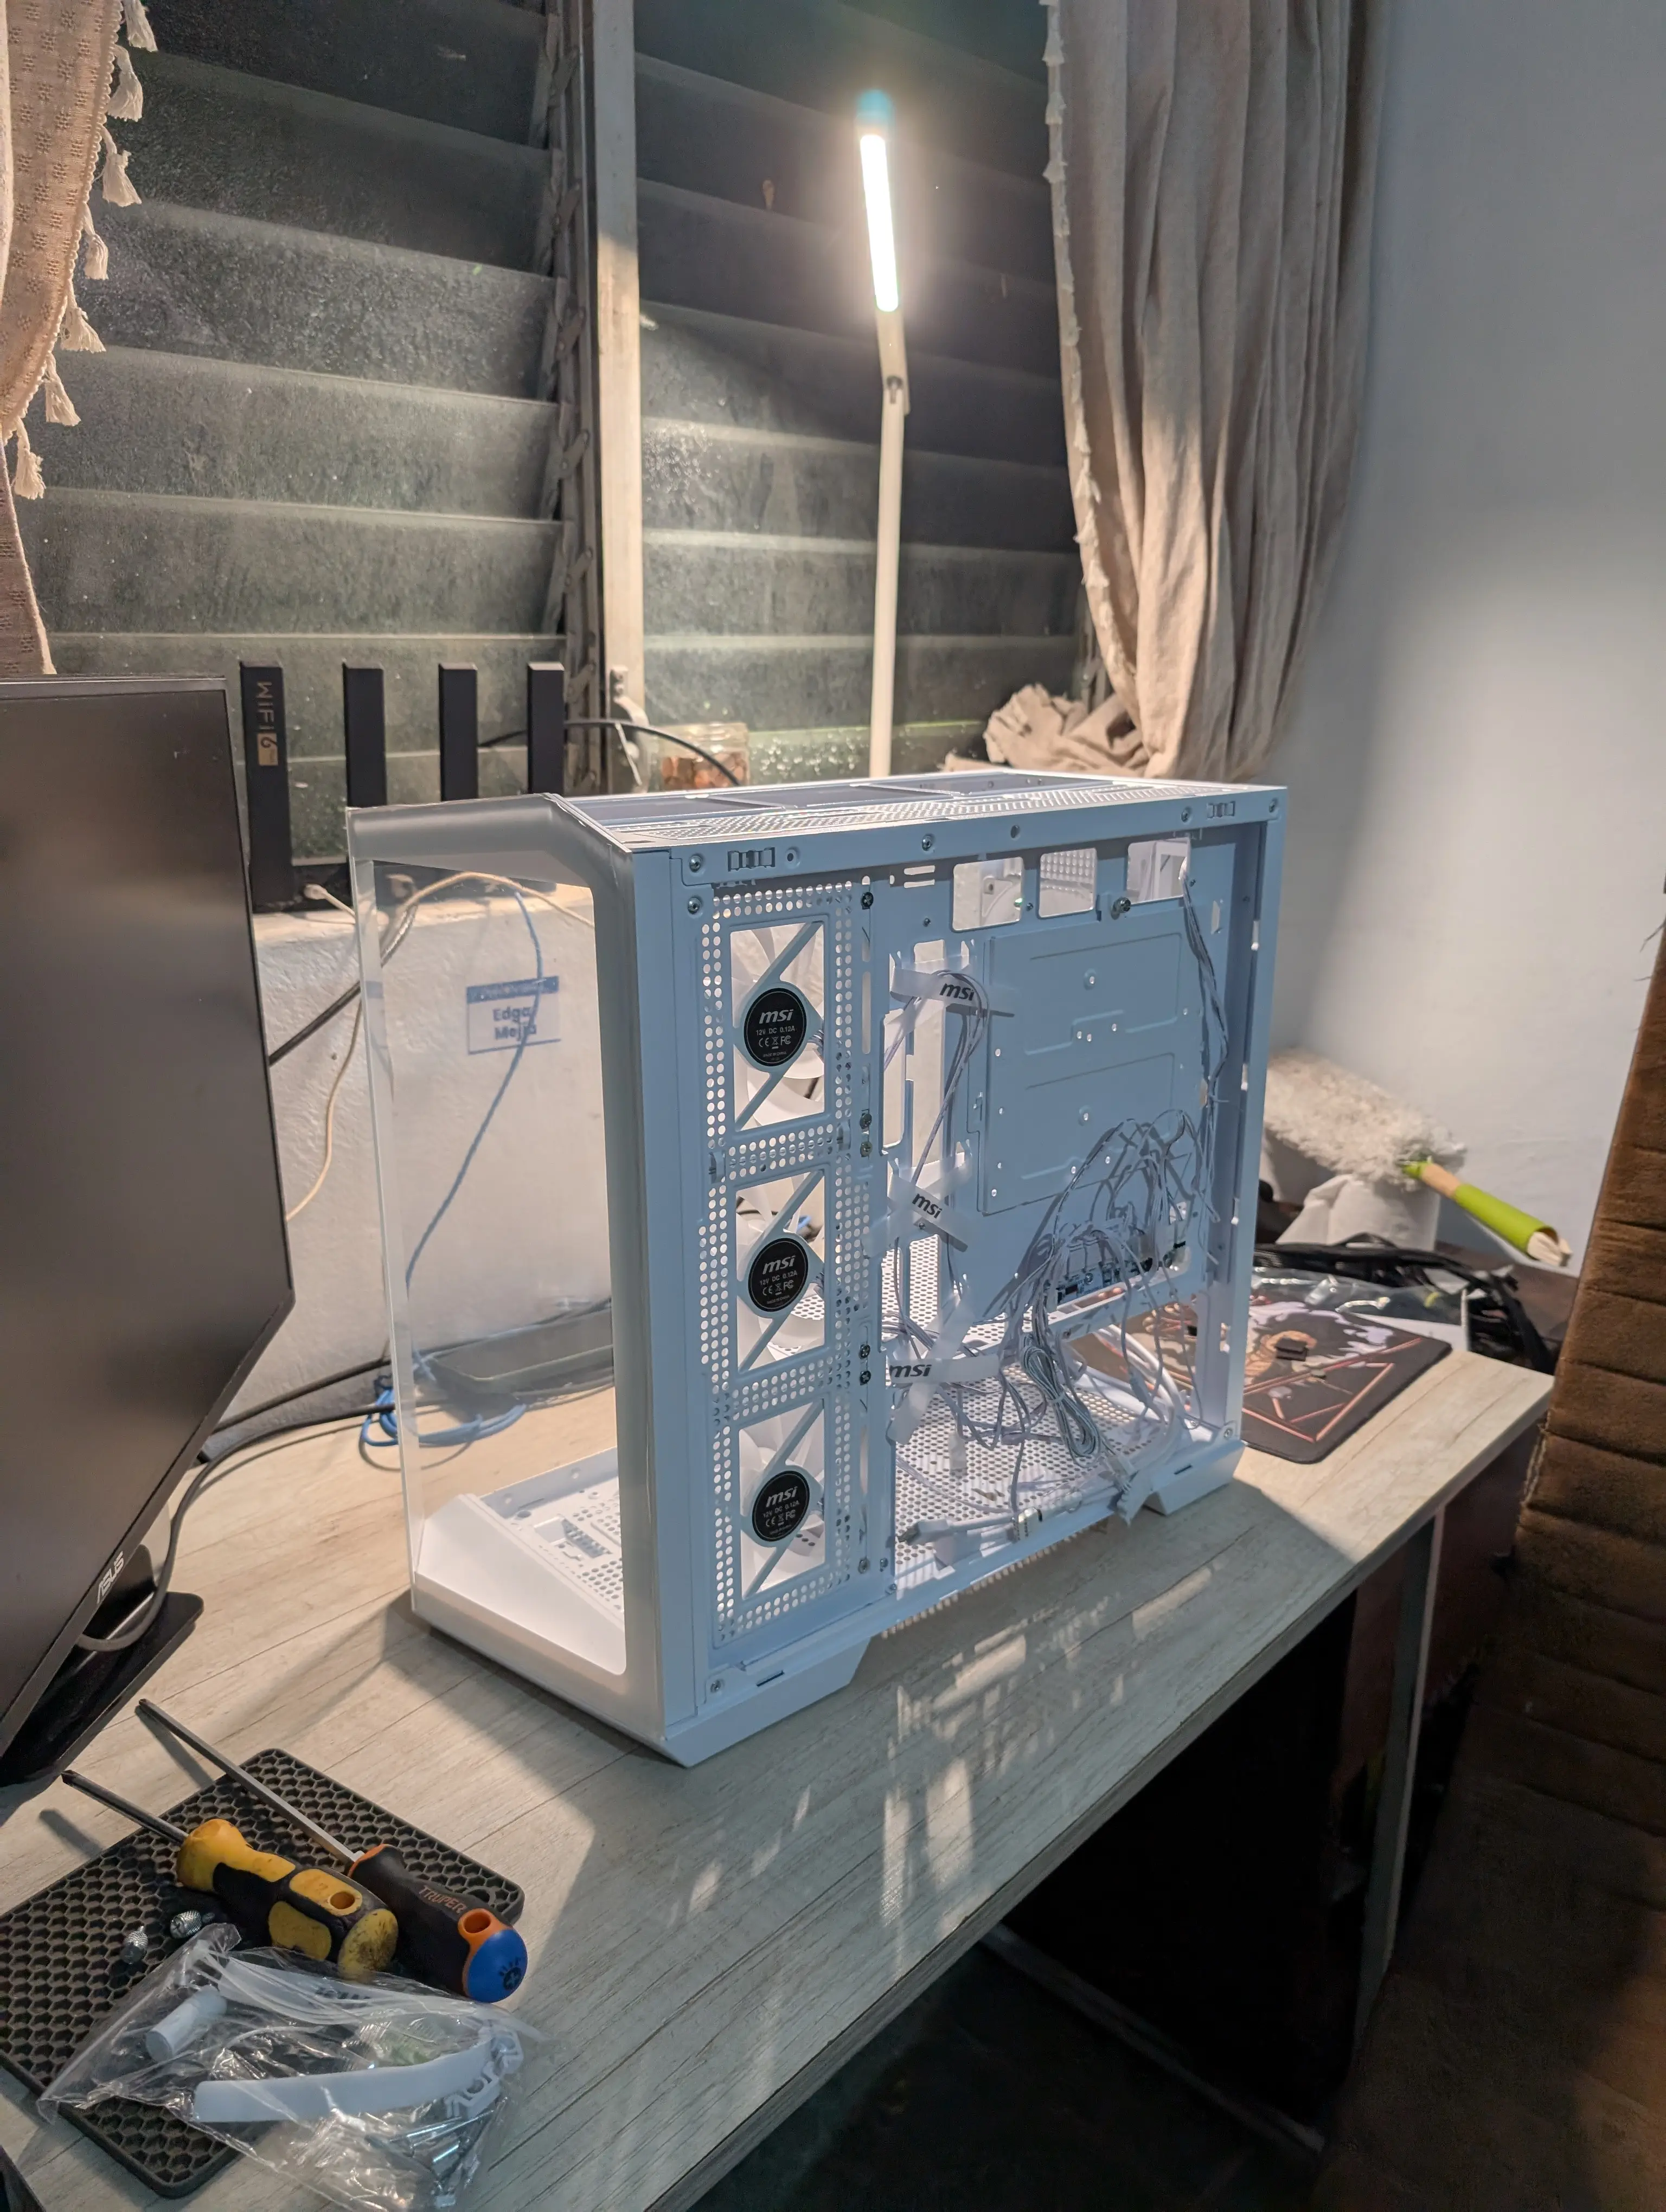
Starting with the case
This was one of the hardest parts to choose, because depending on the brand and color I picked, it would set the base for the internal components. I ended up going with an MSI from the Project Zero line.
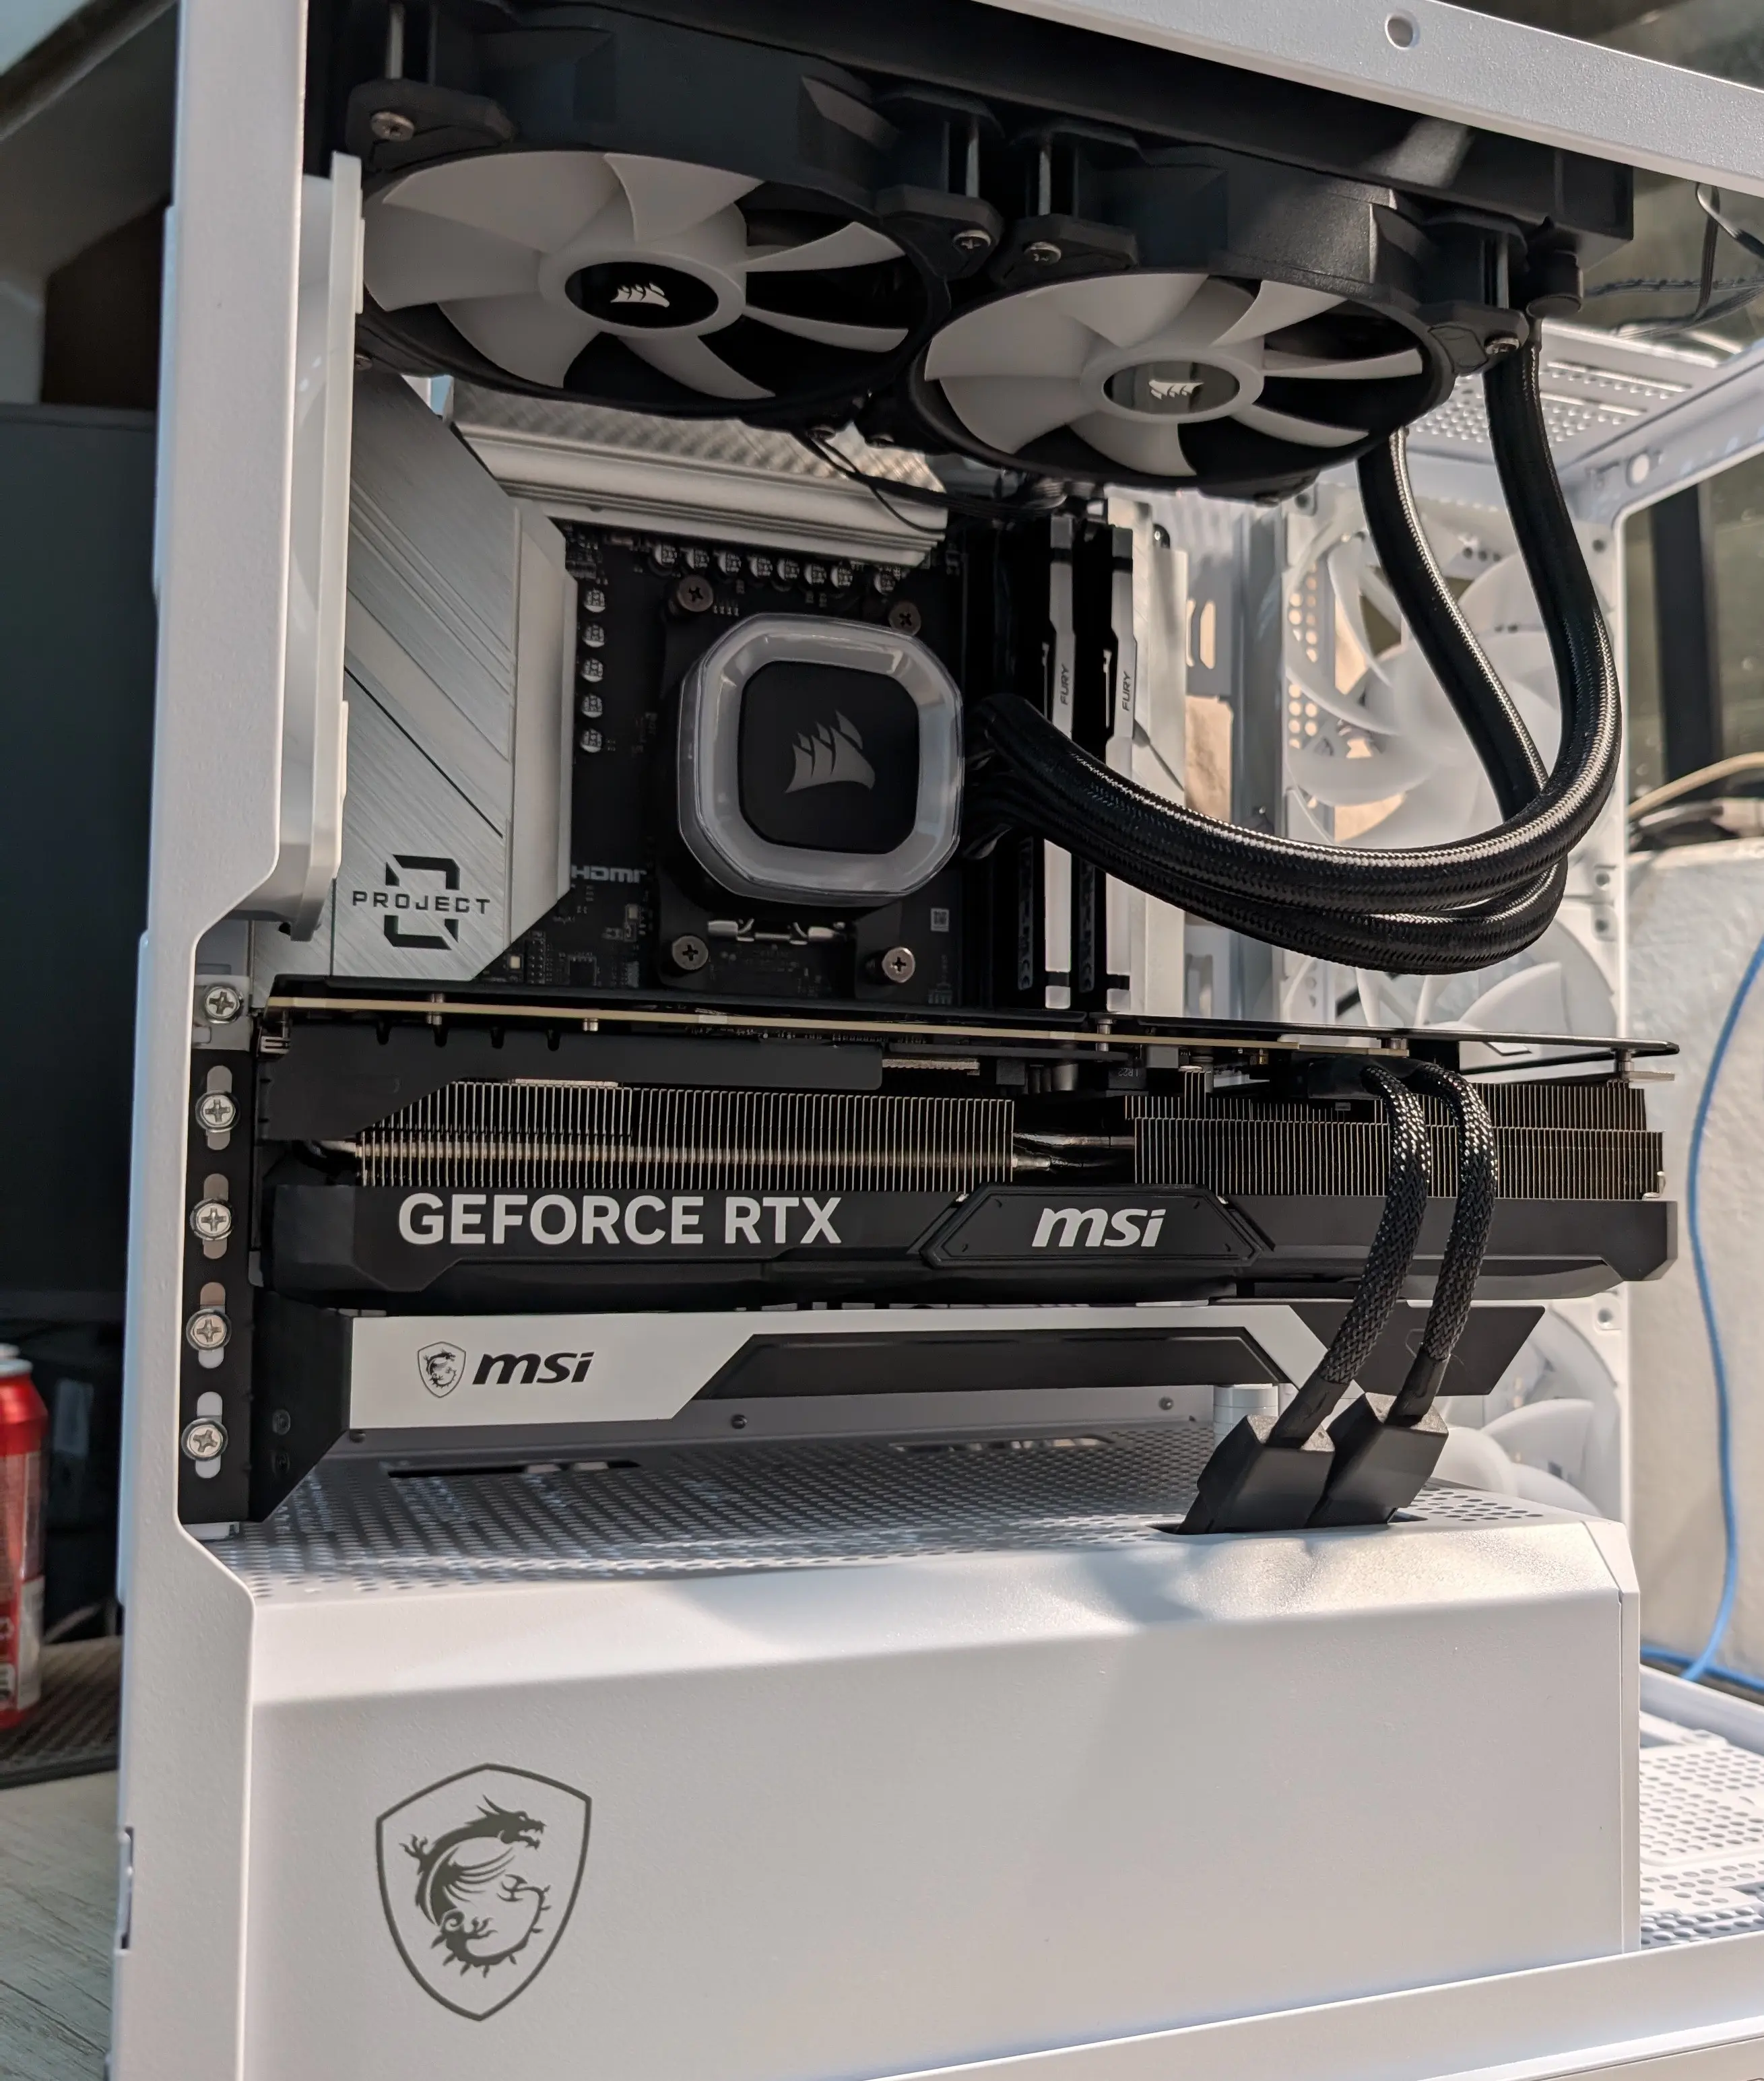
Now the GPU:
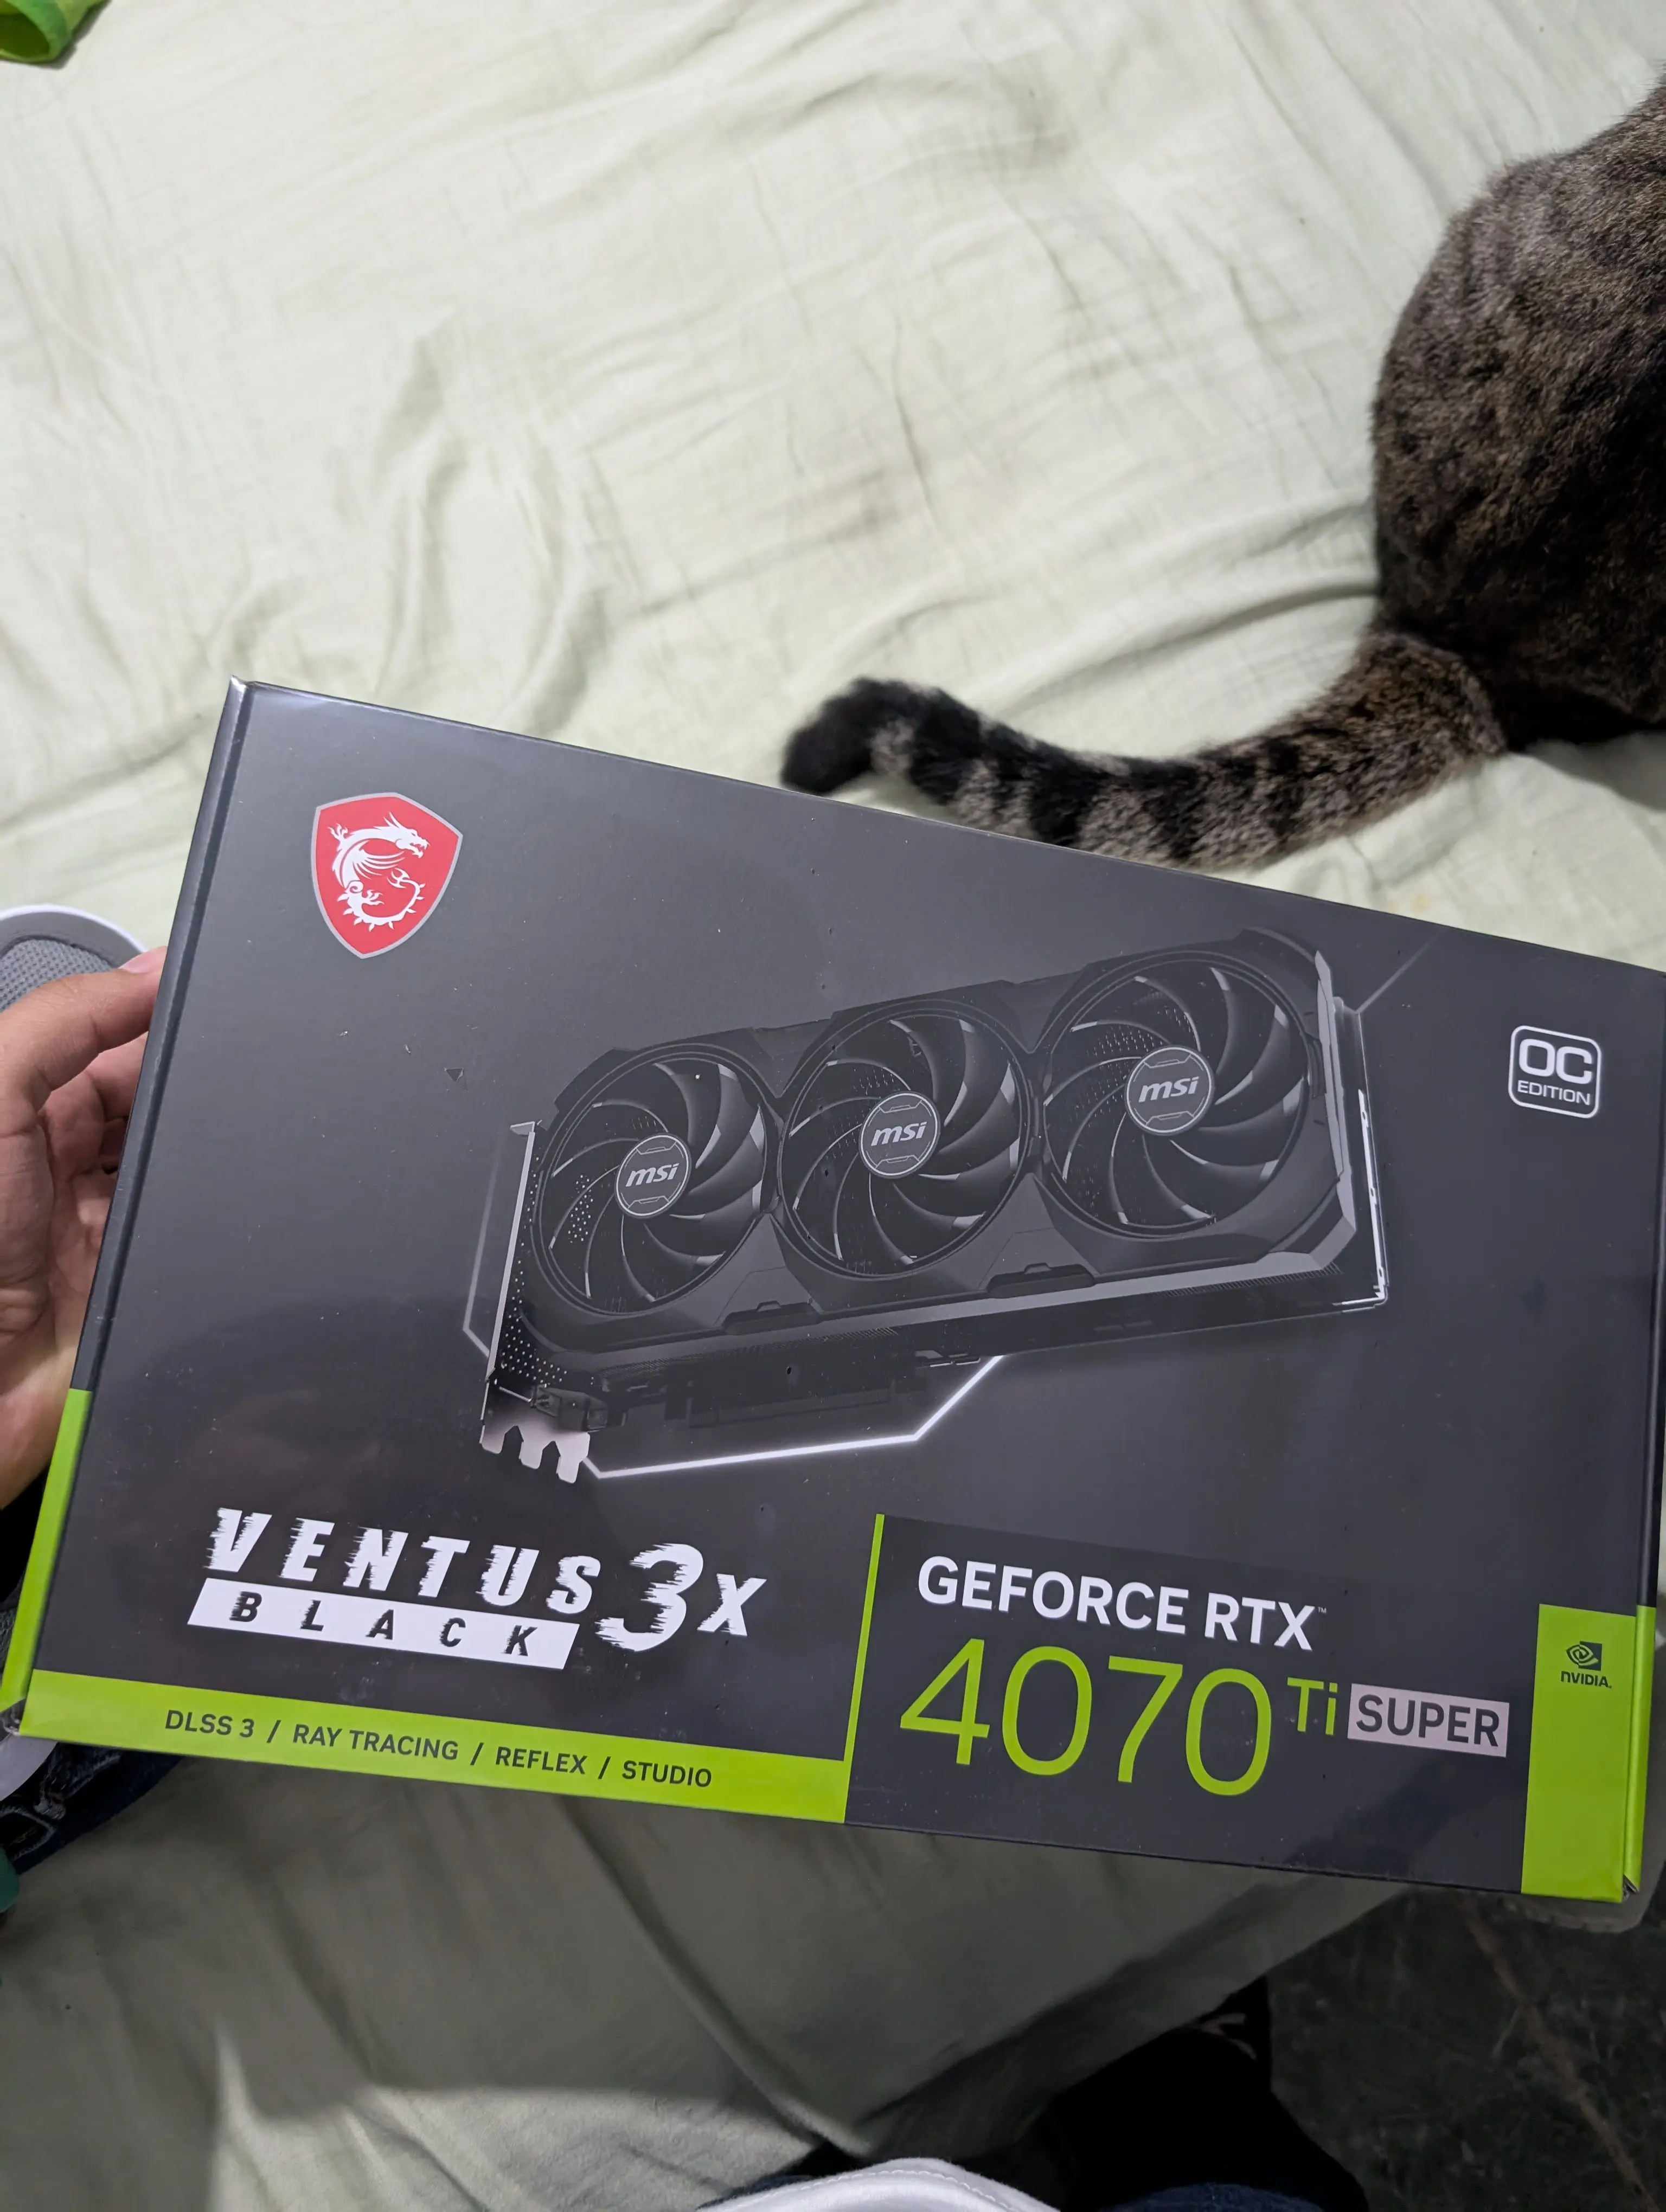
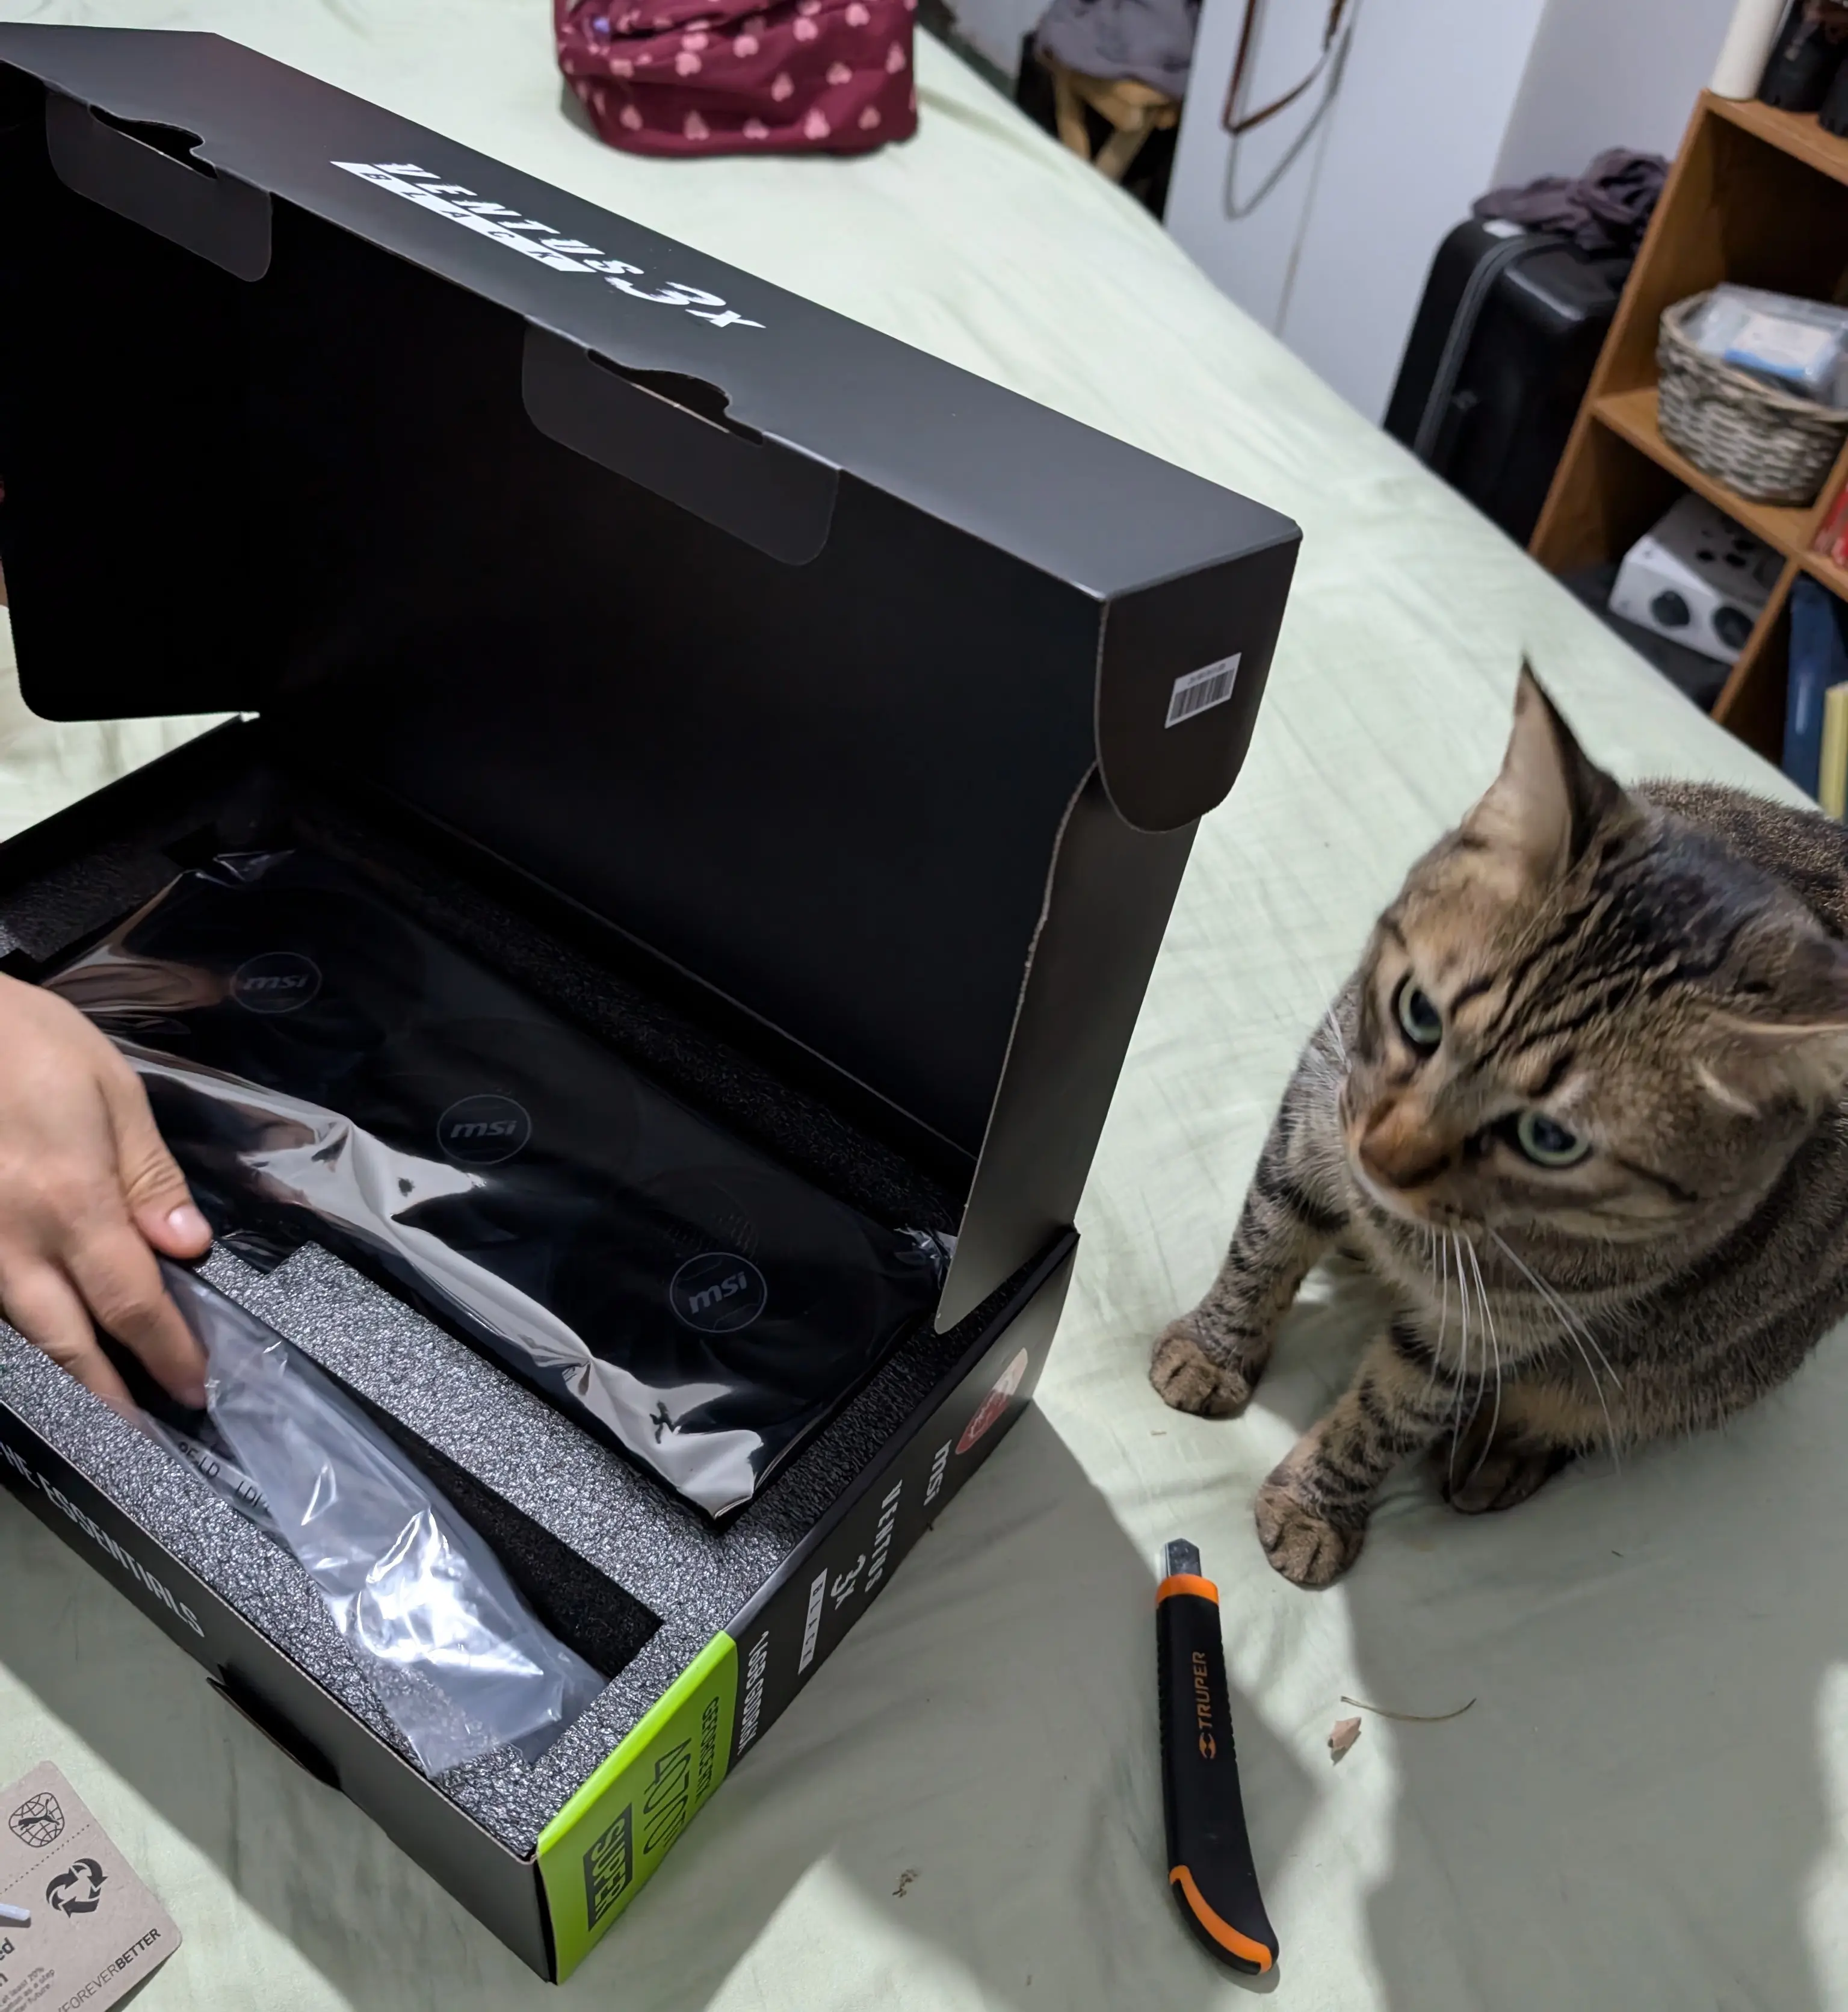
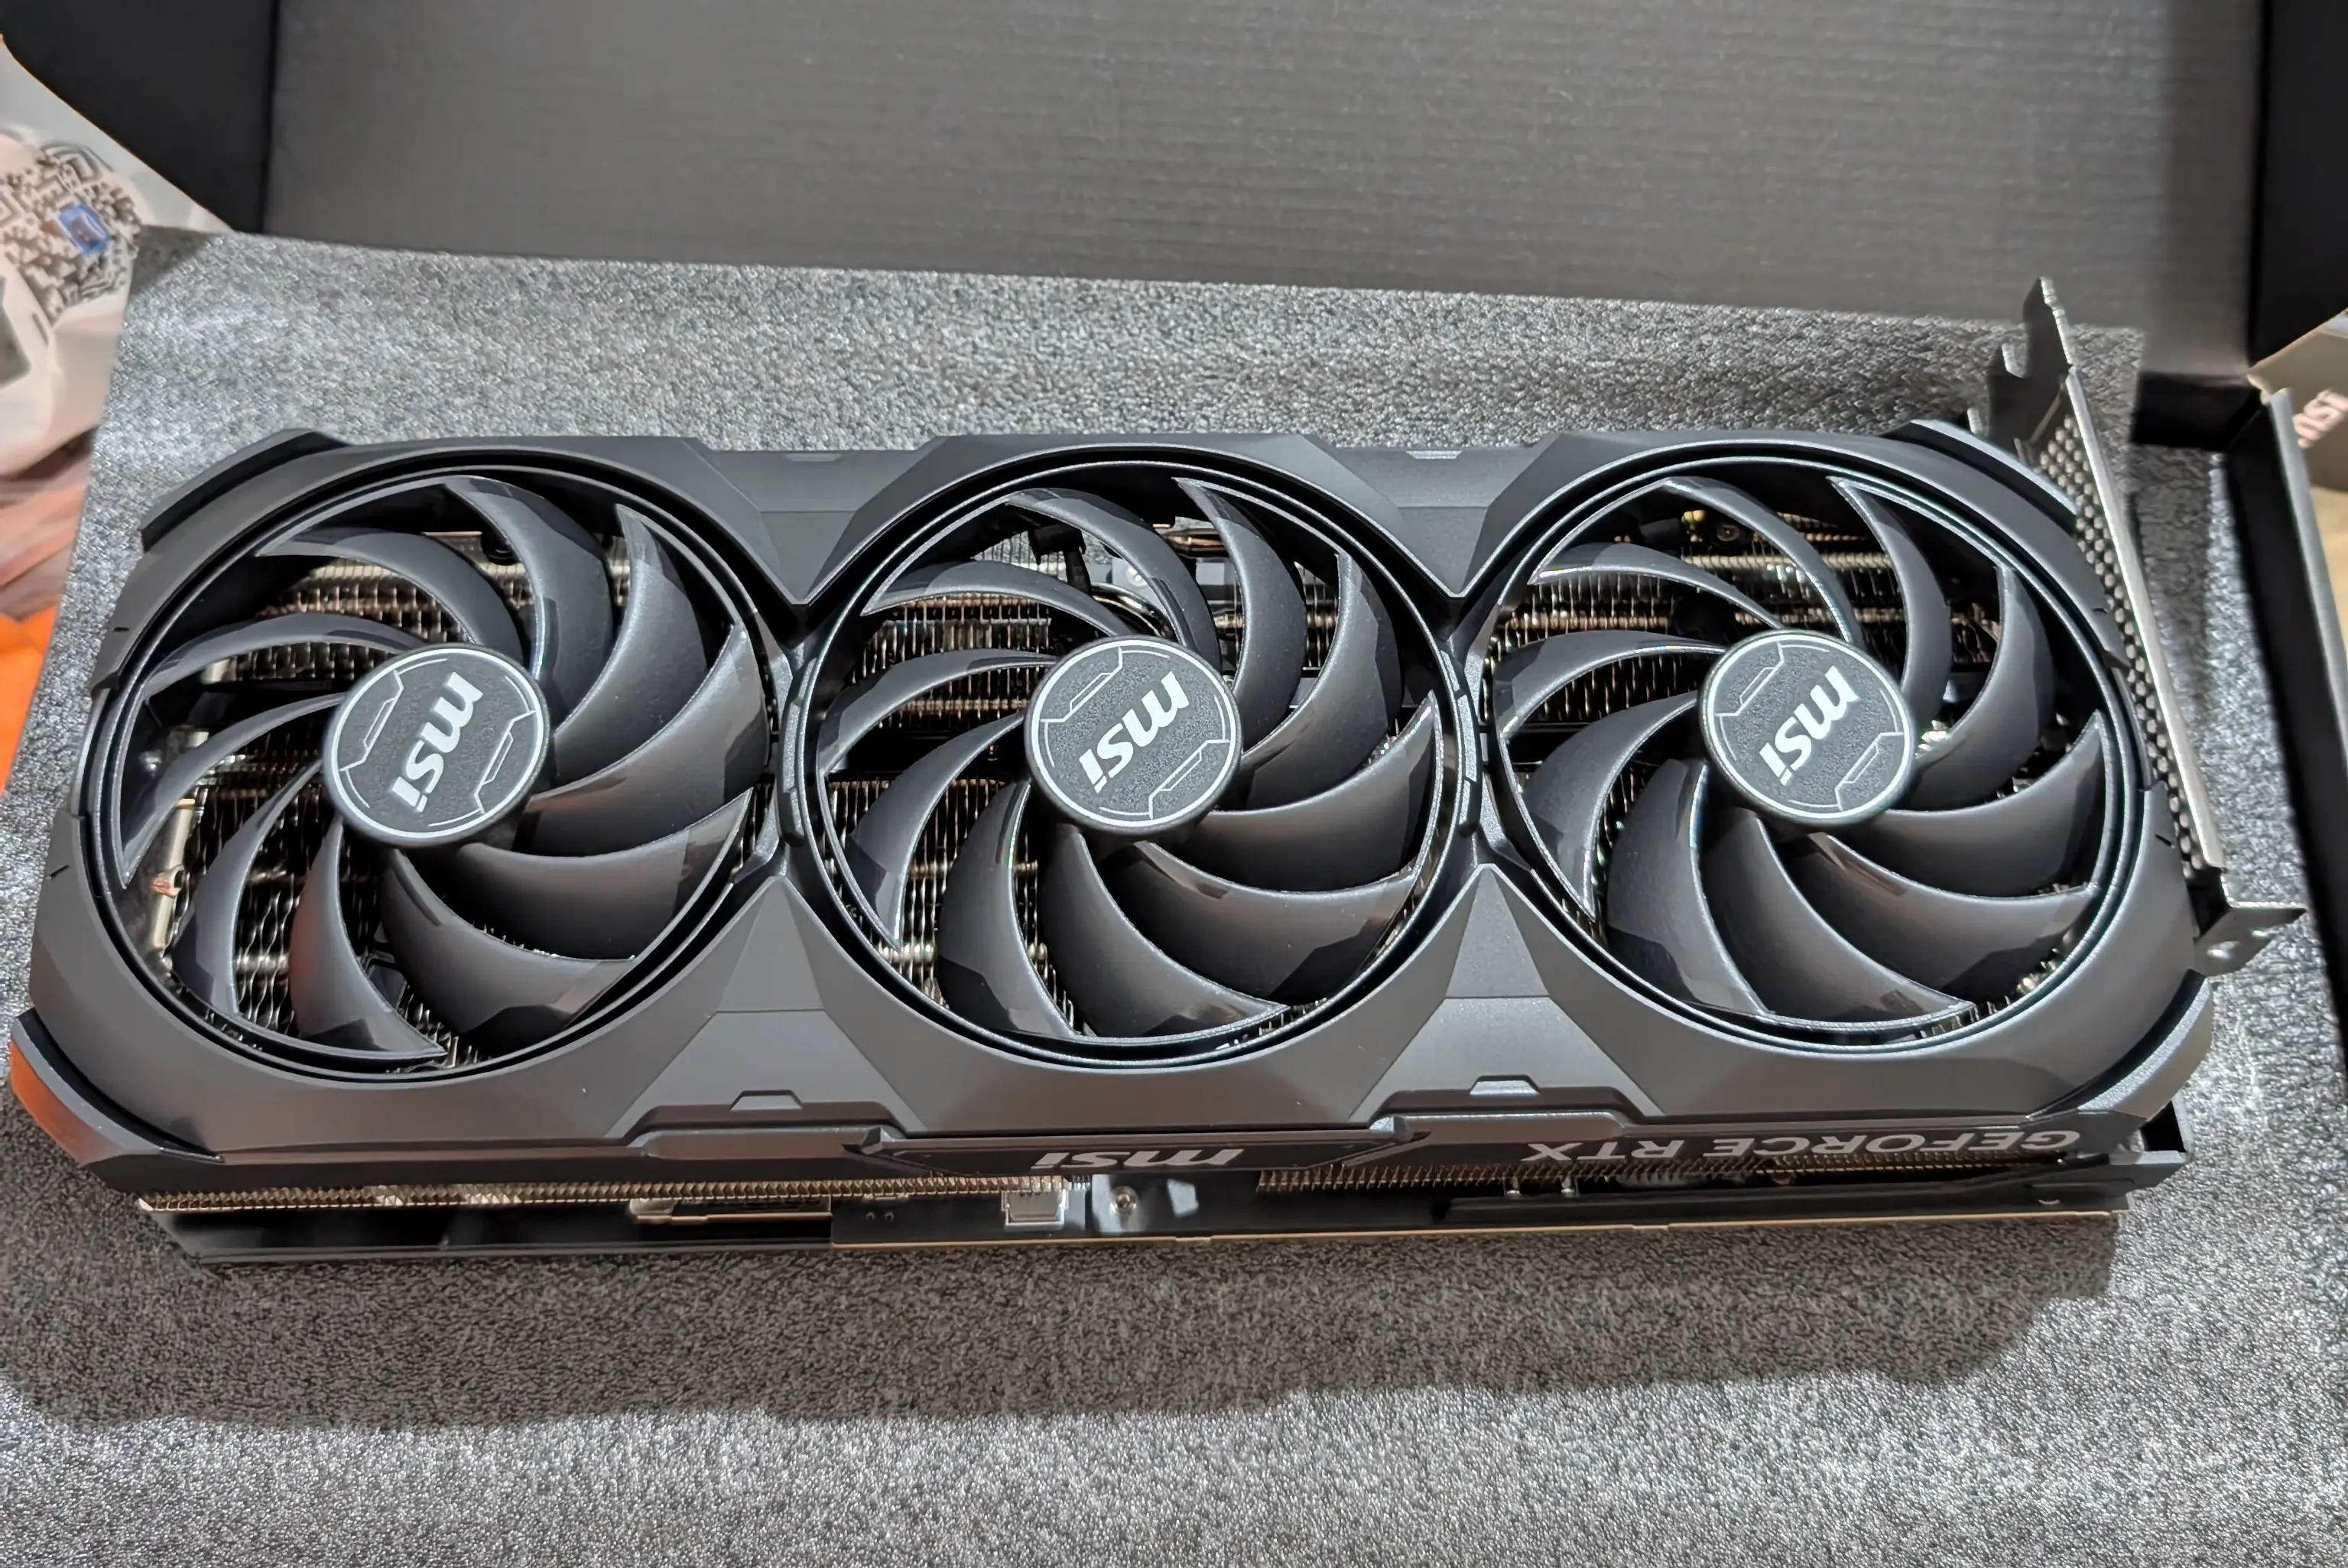
My only complaint about the GPU is that I didn’t buy it in white to match the case, but it doesn’t bother me too much.
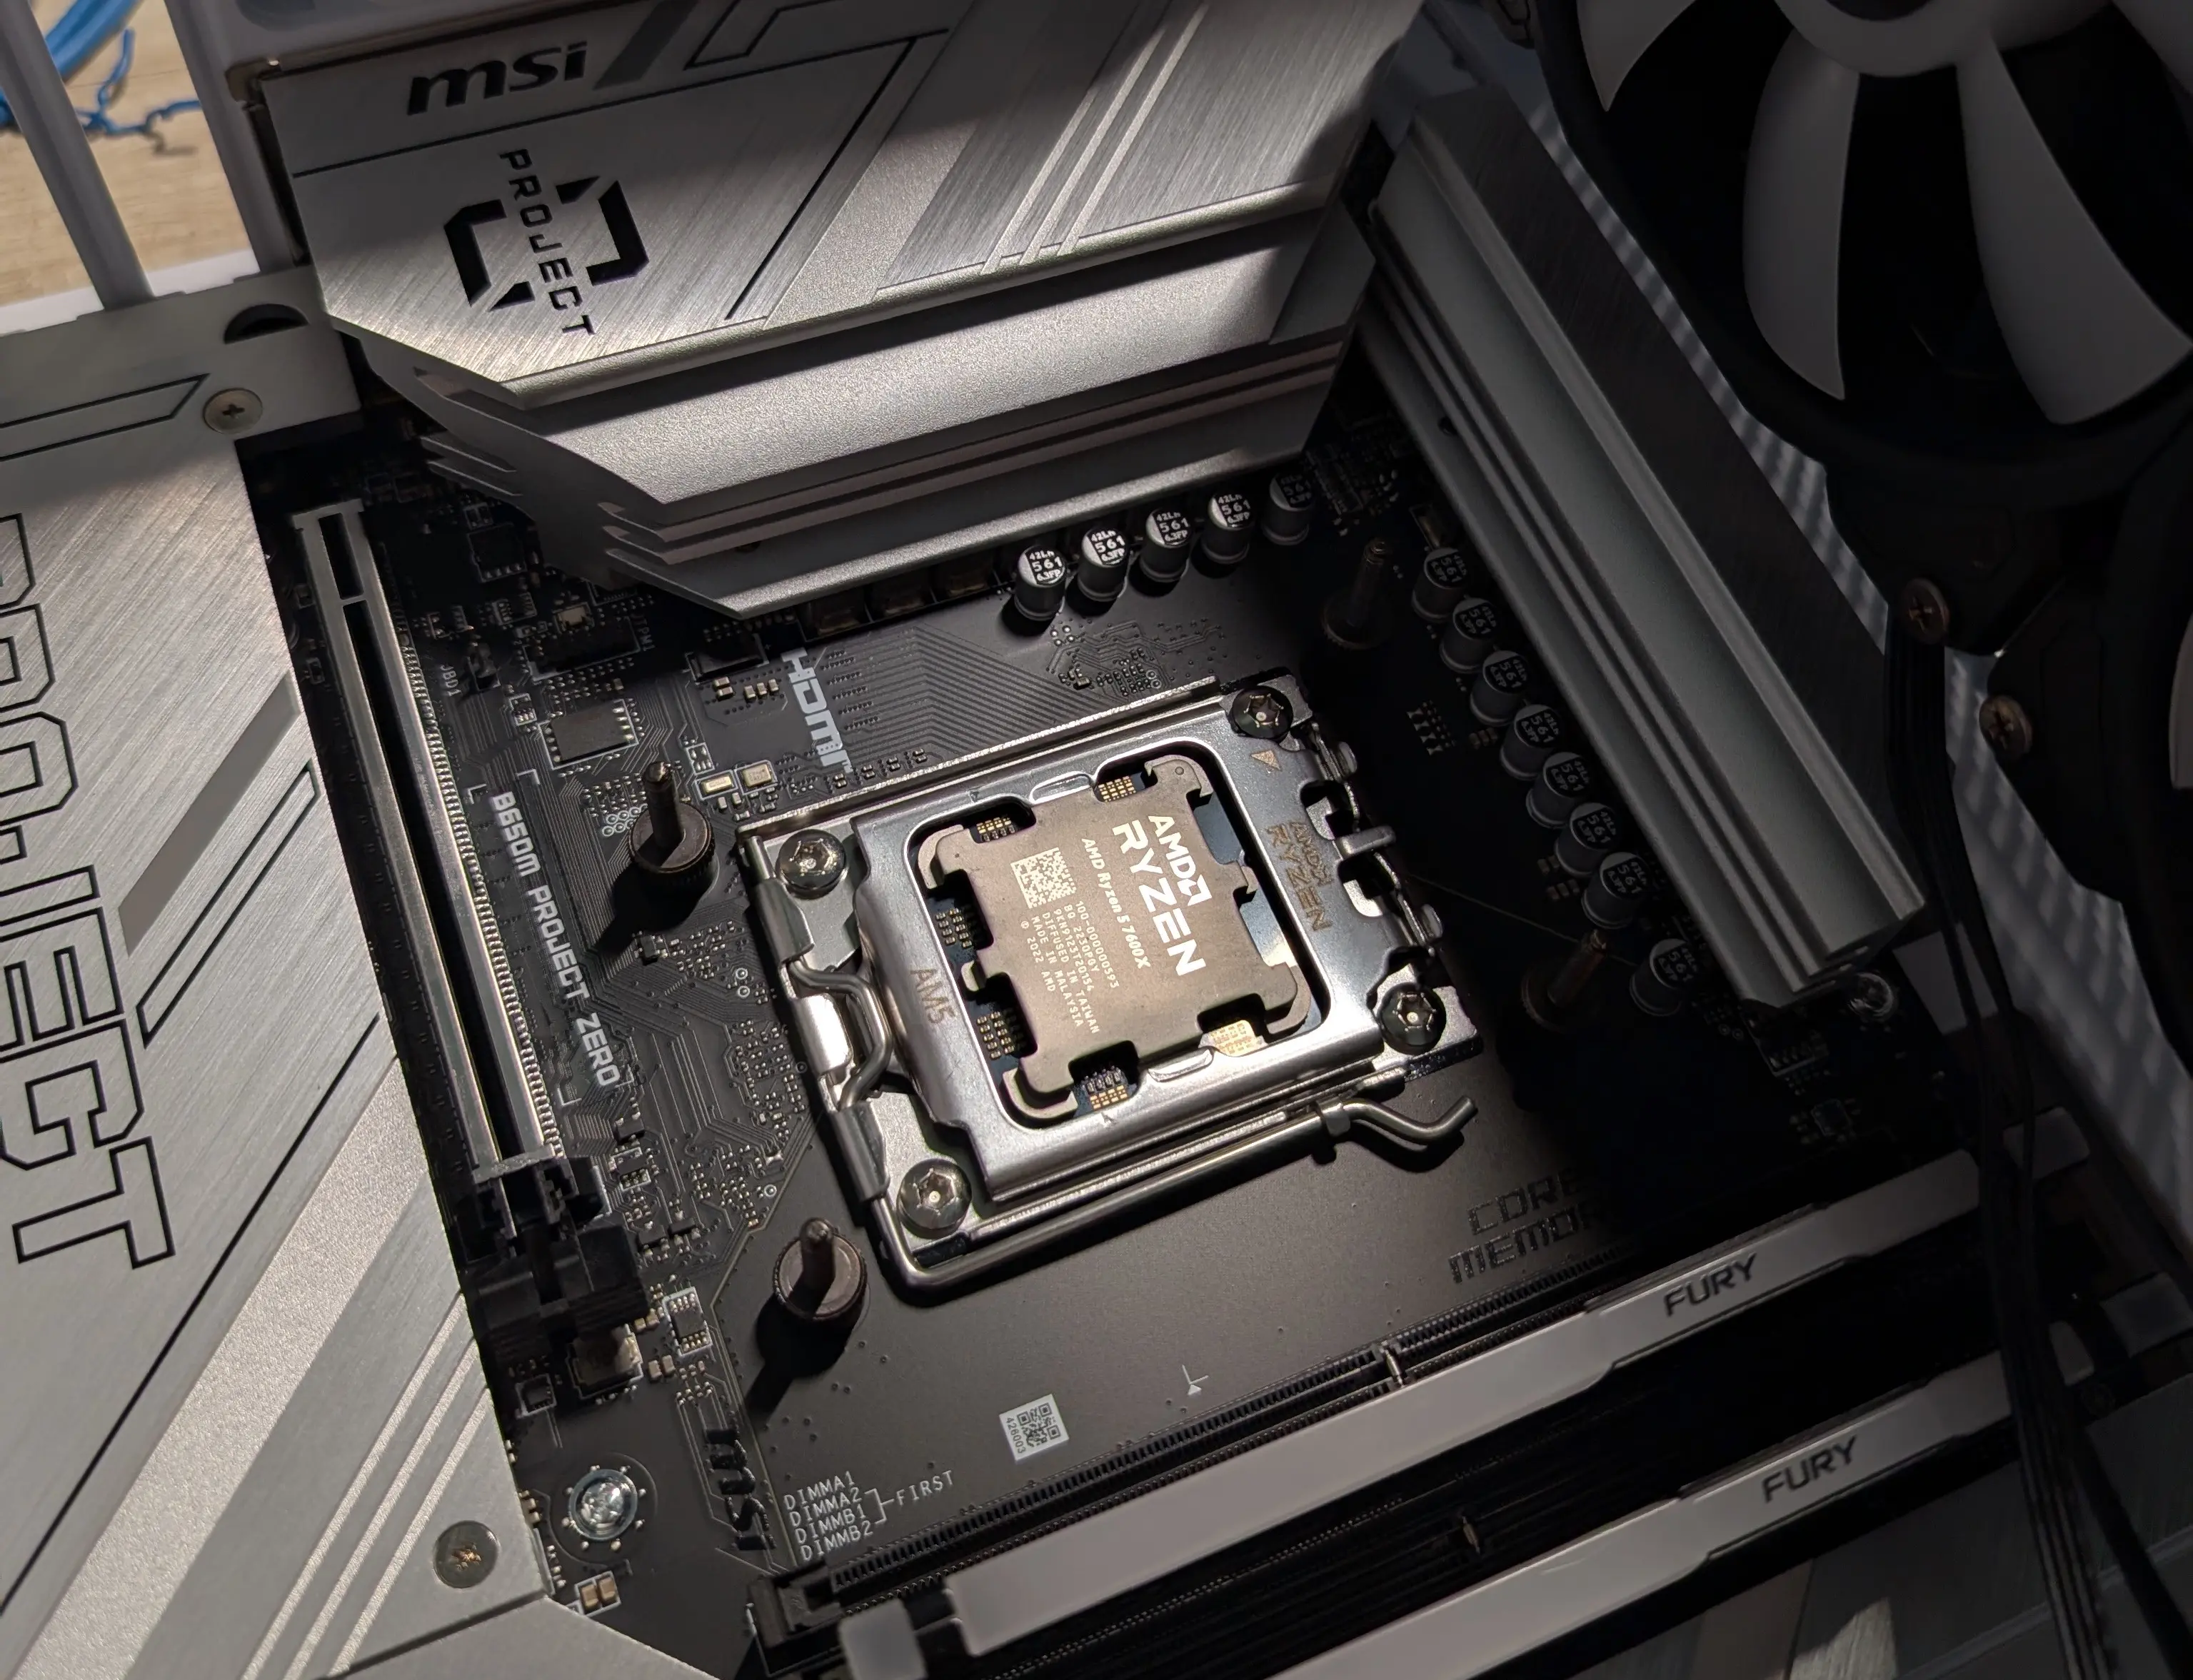
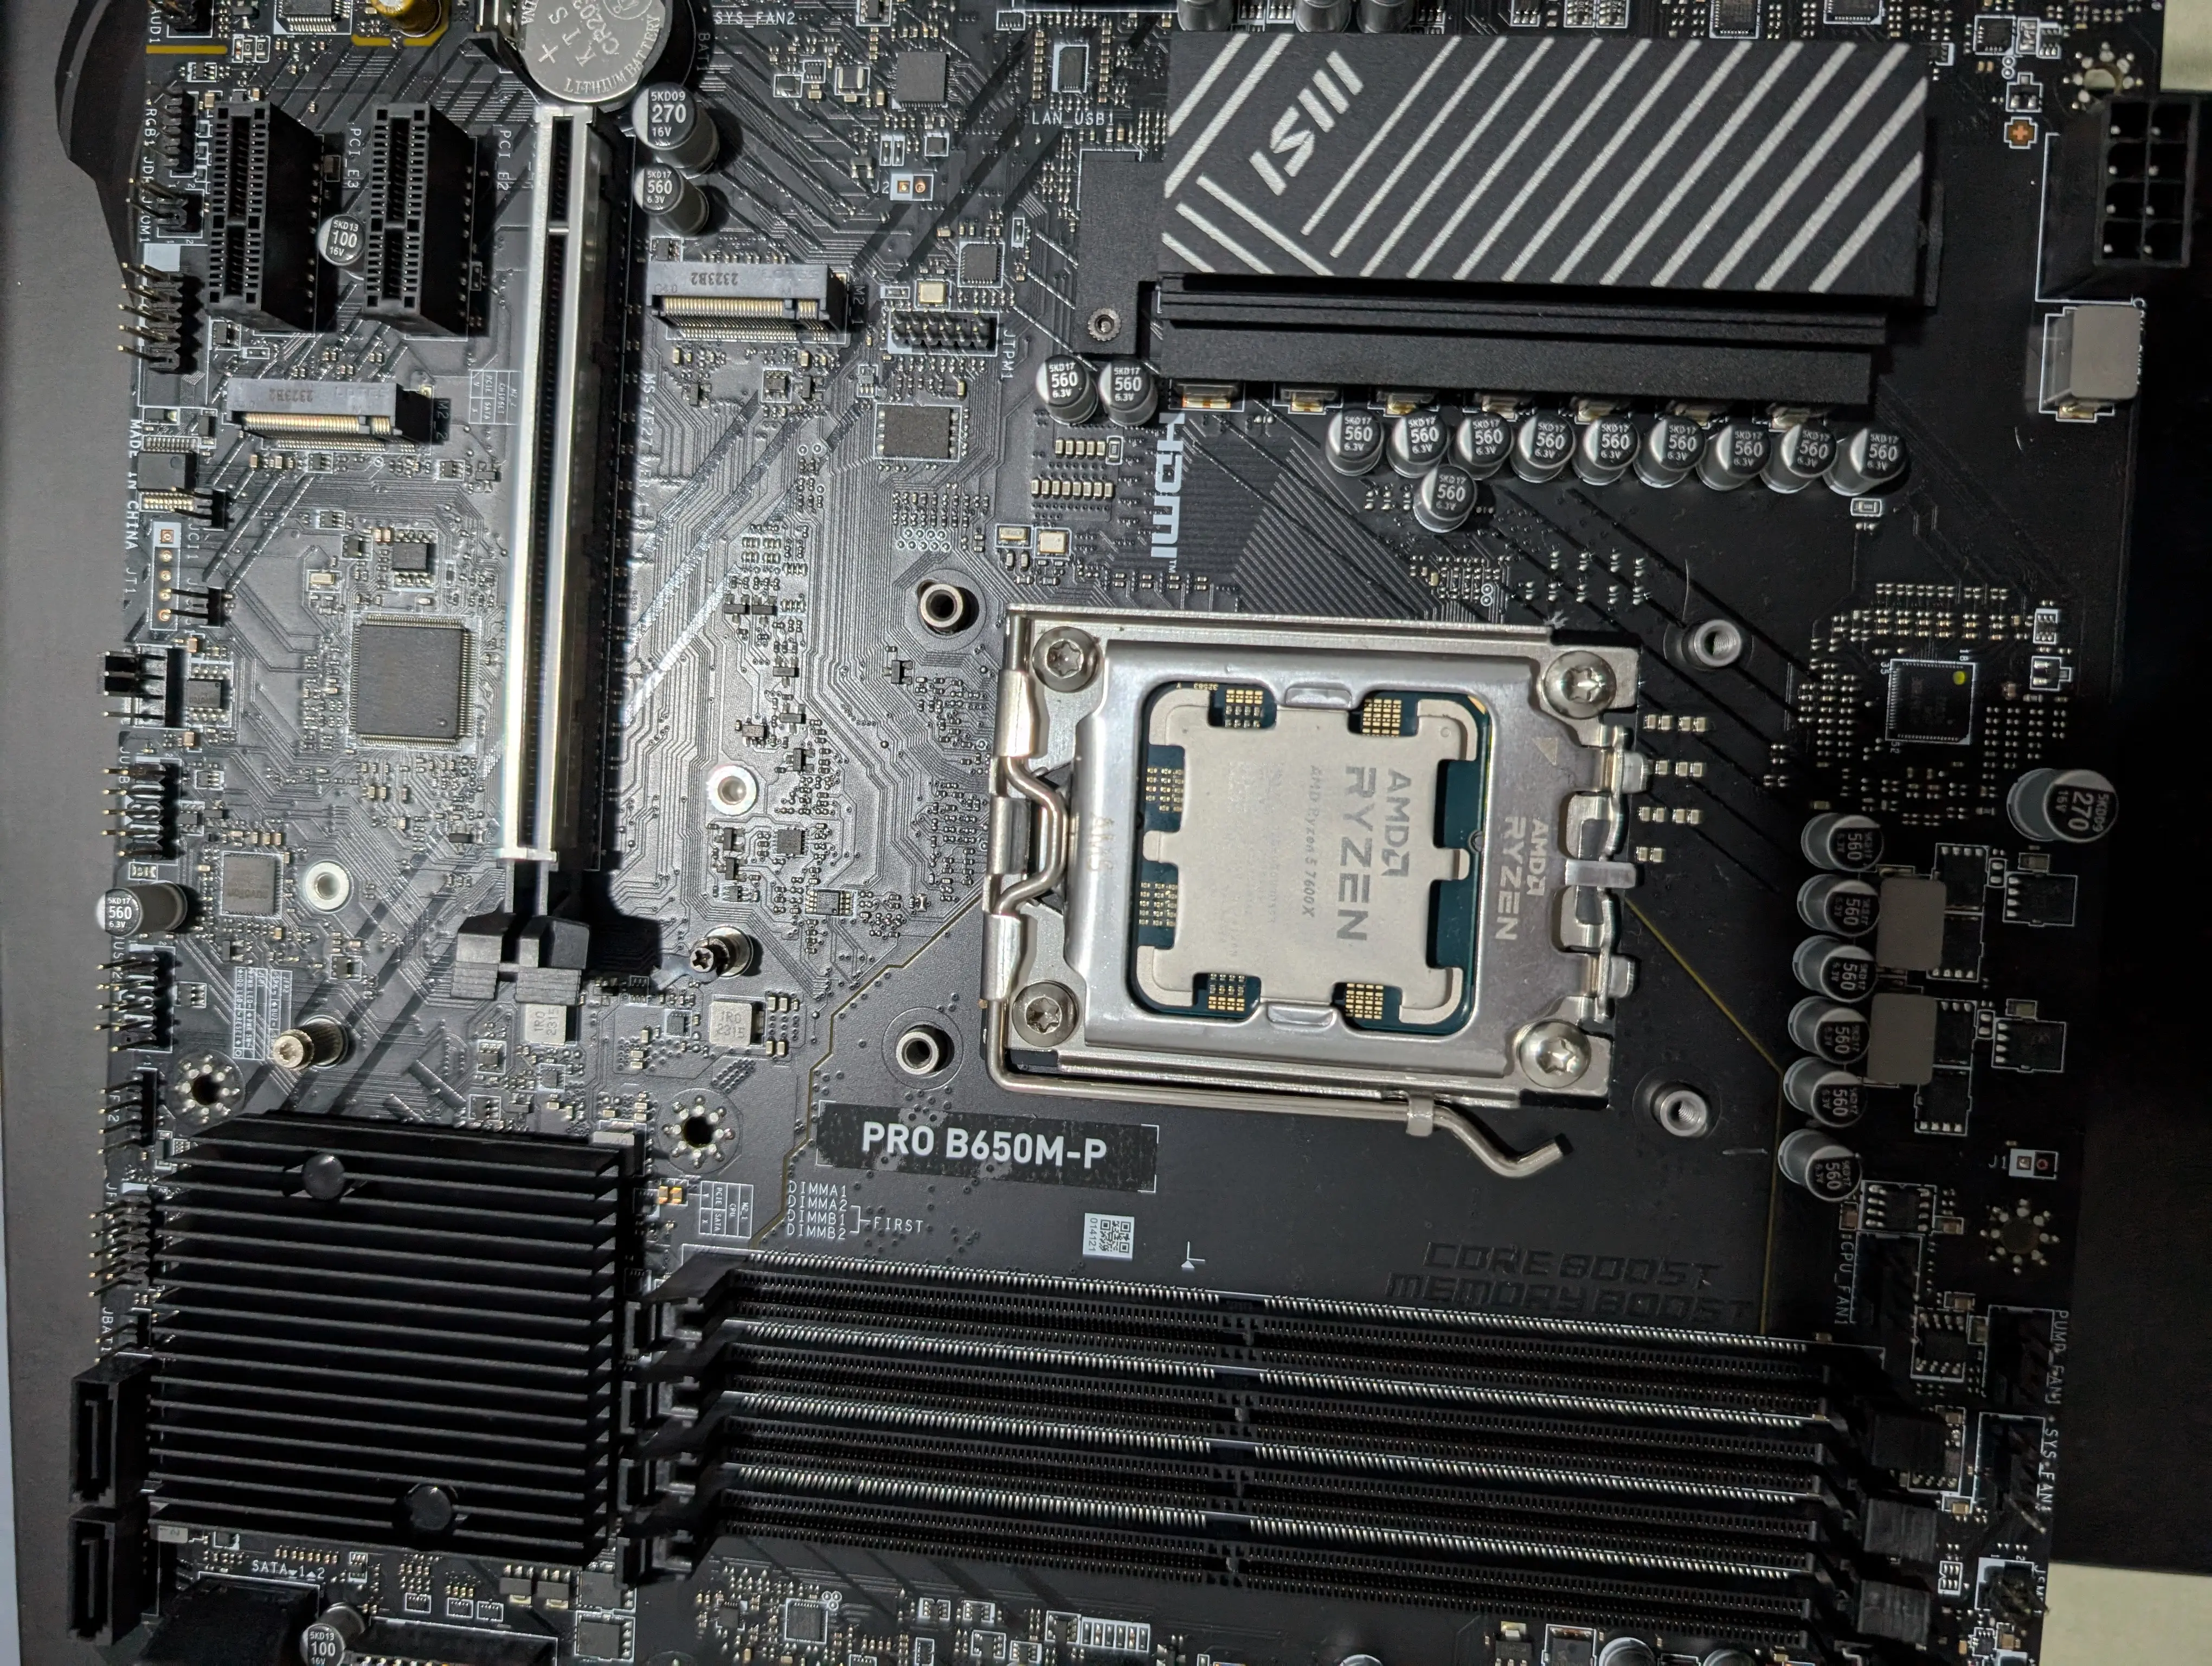
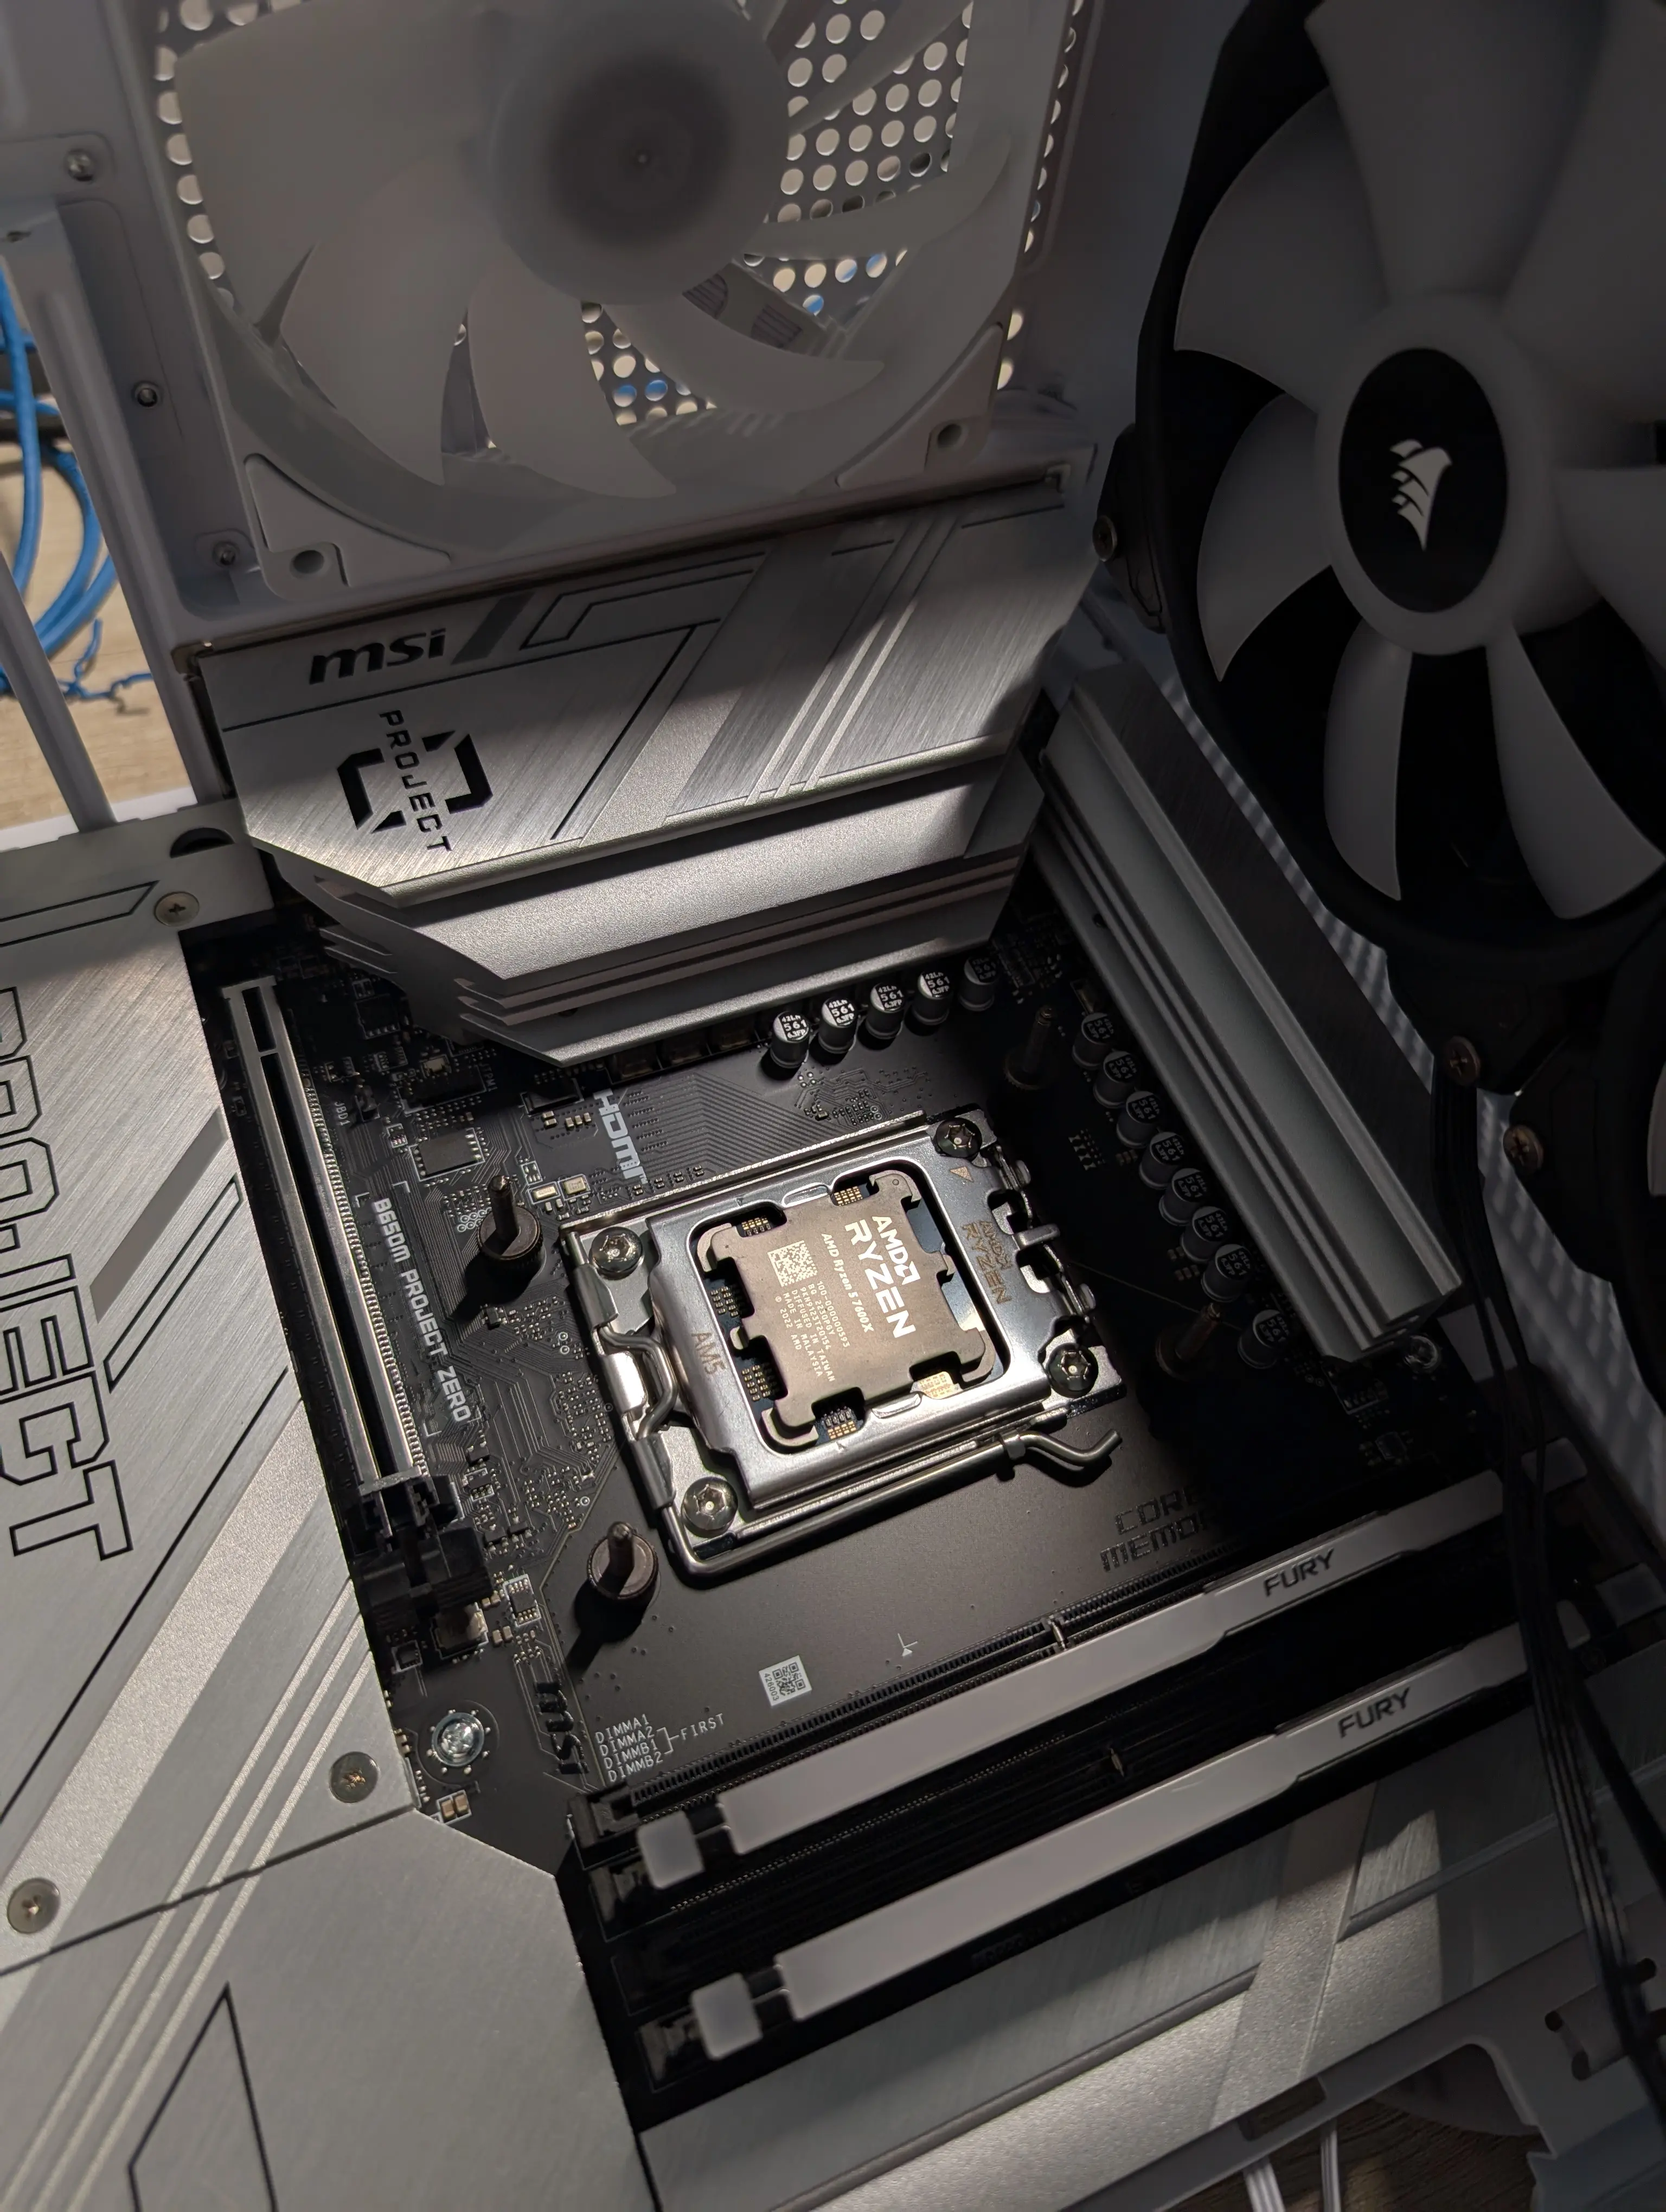
Motherboard and CPU
I forgot to take separate photos of them.

😮💨
Liquid cooling
This was another component I reused from the prebuilt: the liquid cooler that came with it was pretty good, so I decided to bring it over to the new build. Unfortunately it wasn’t white and only has 2 fans.
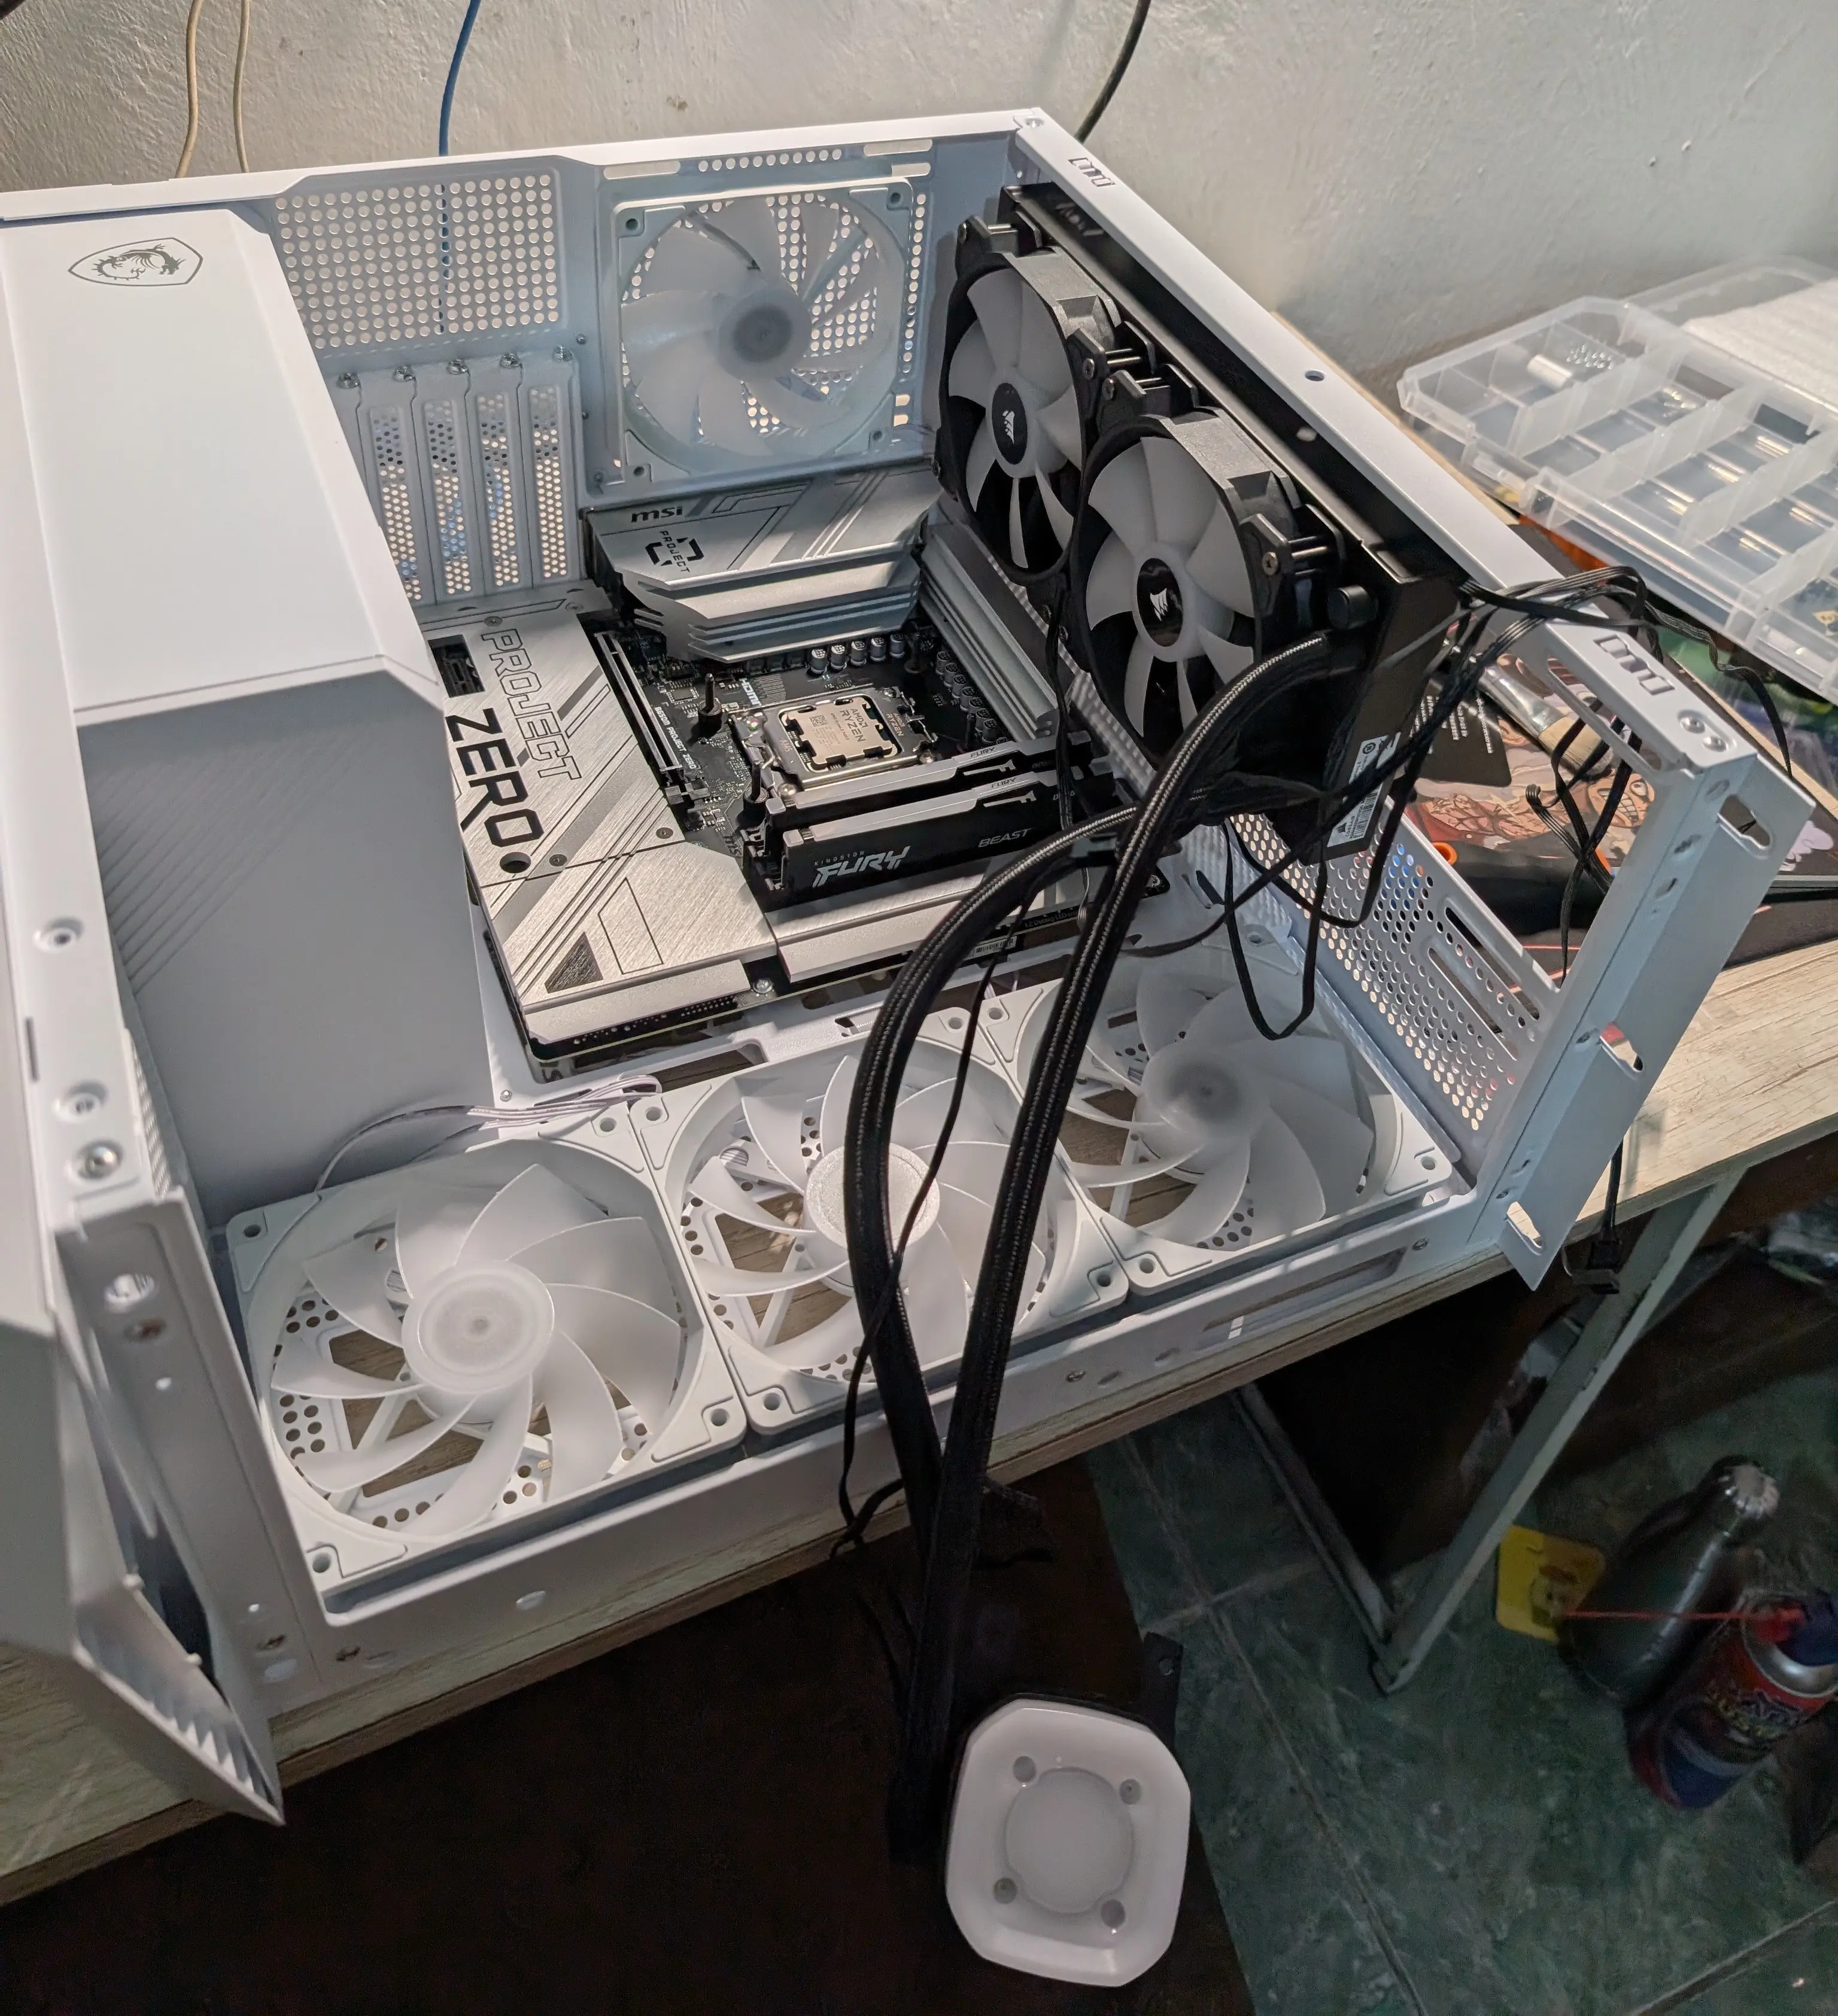
I was really happy with the final result, but already at this point I started thinking about getting a white 3-fan cooler to match the case and improve cooling performance.
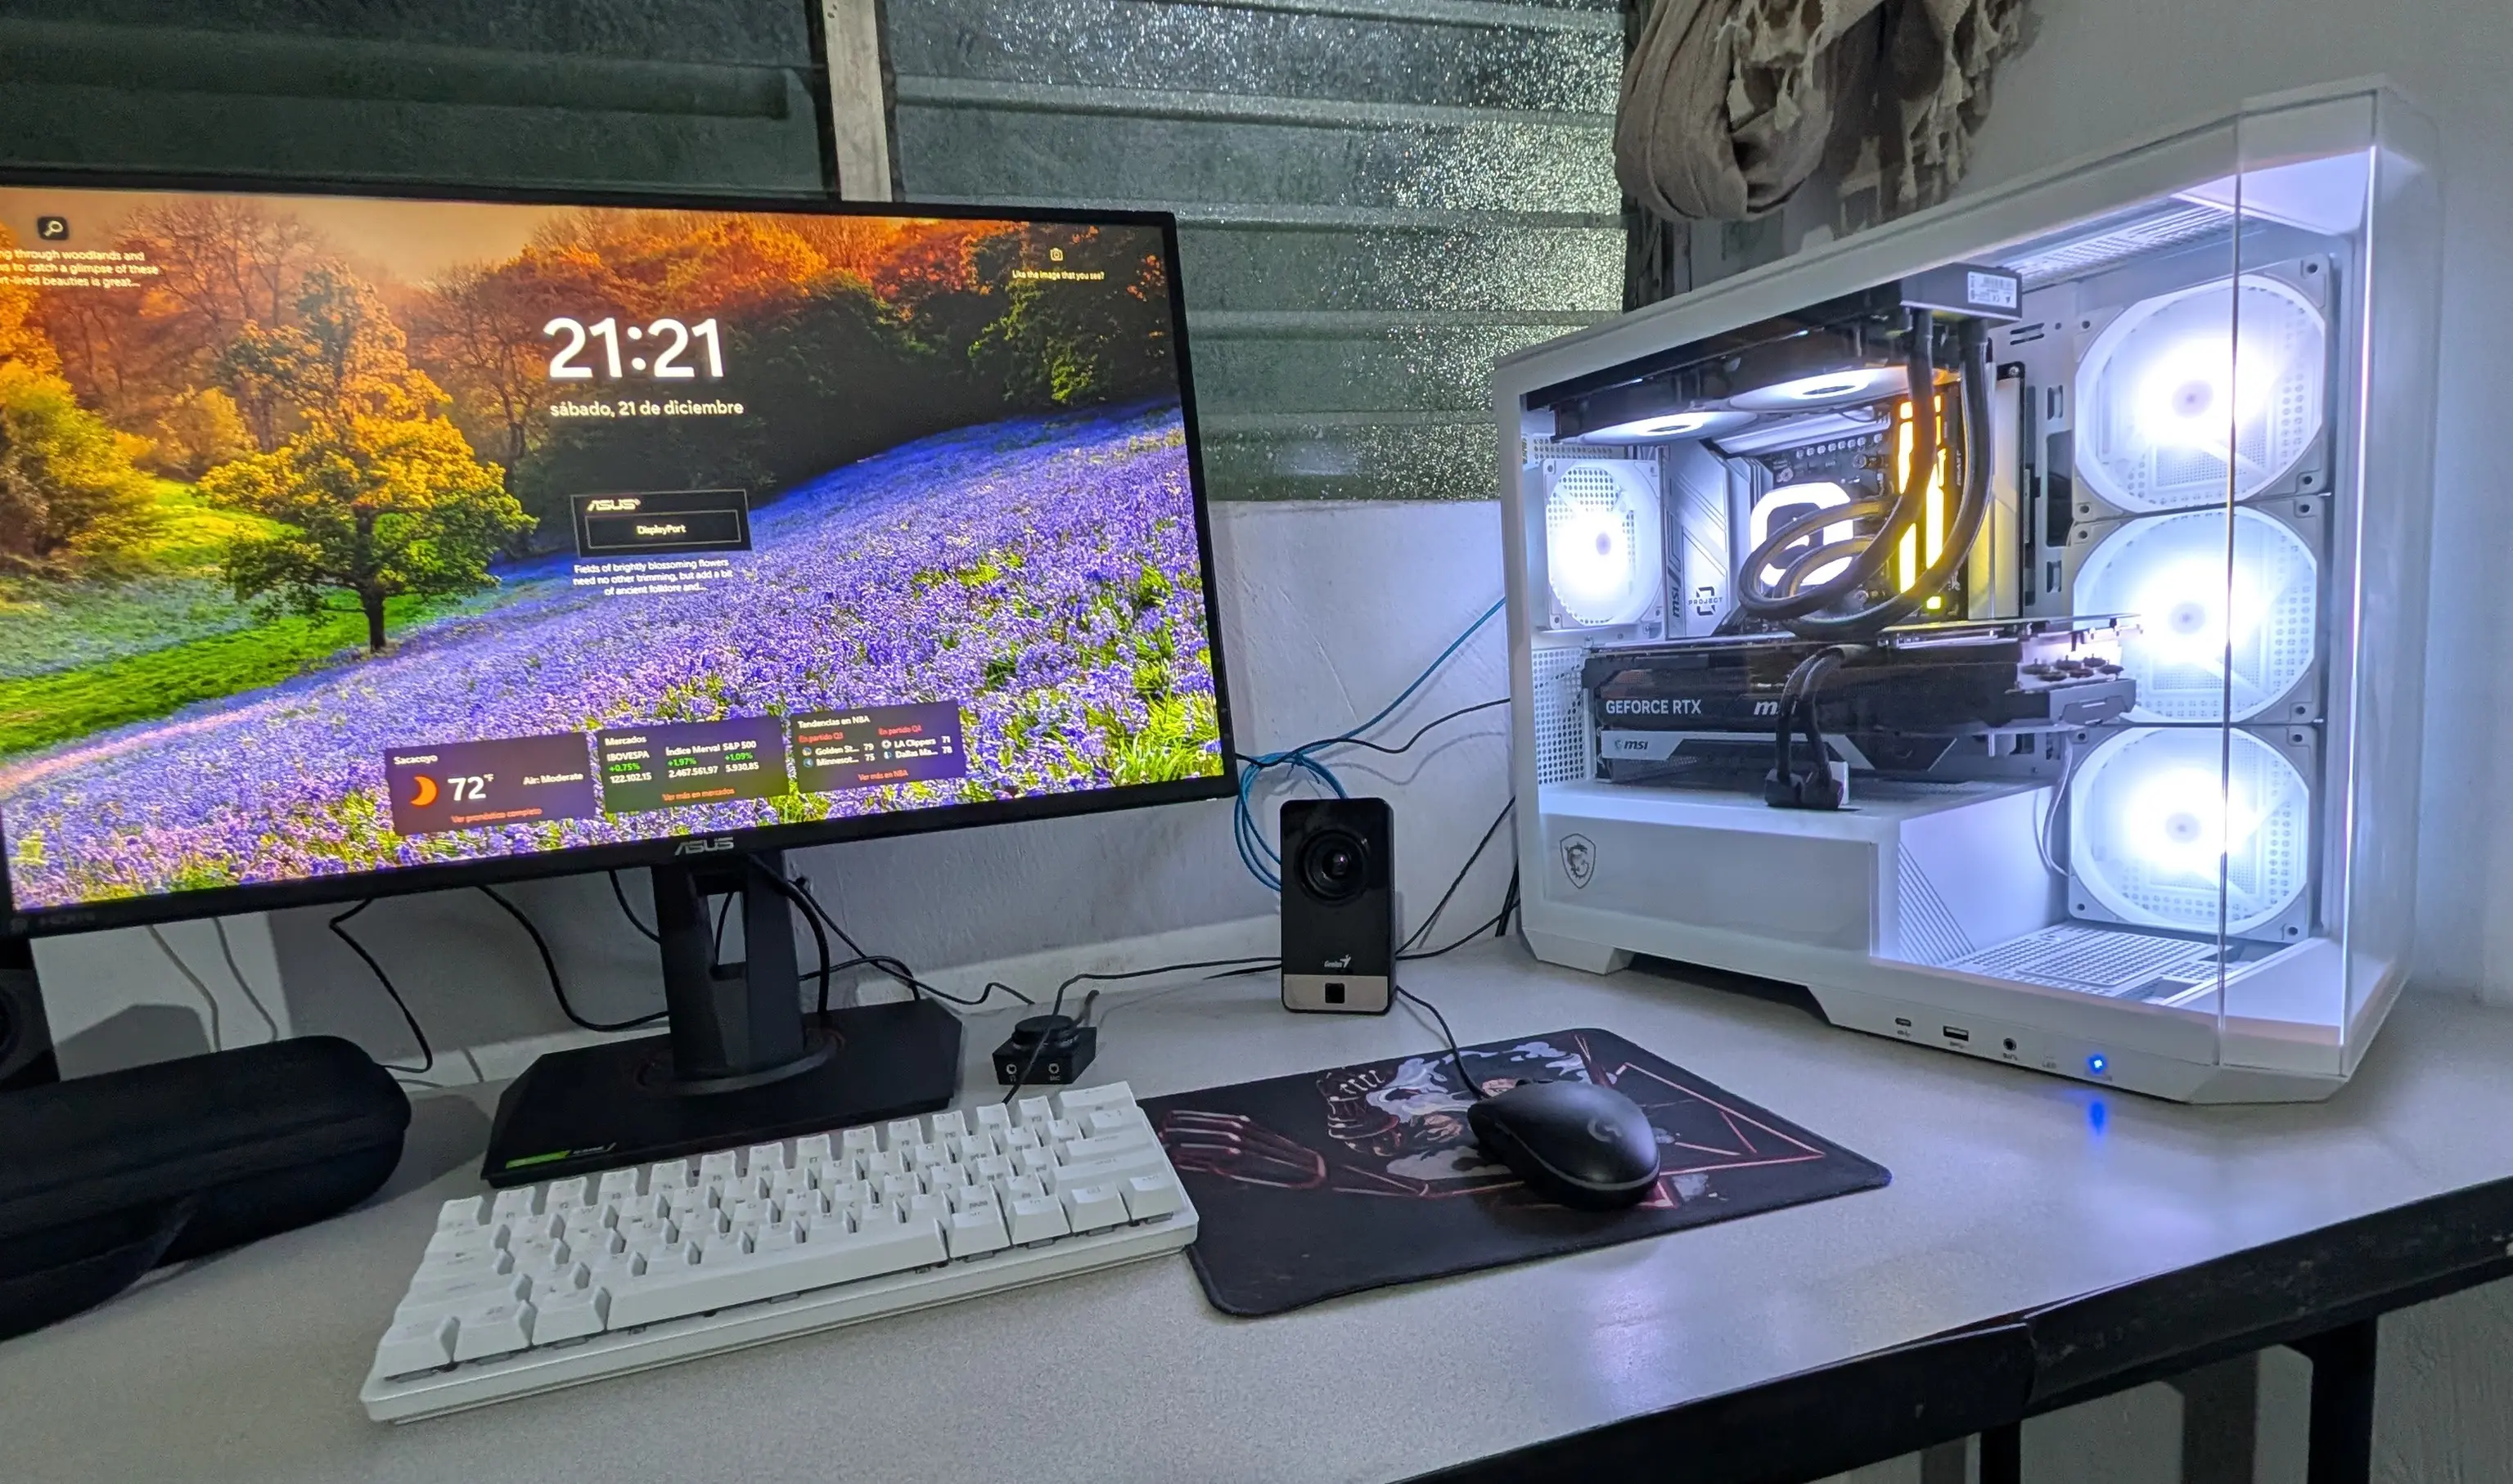
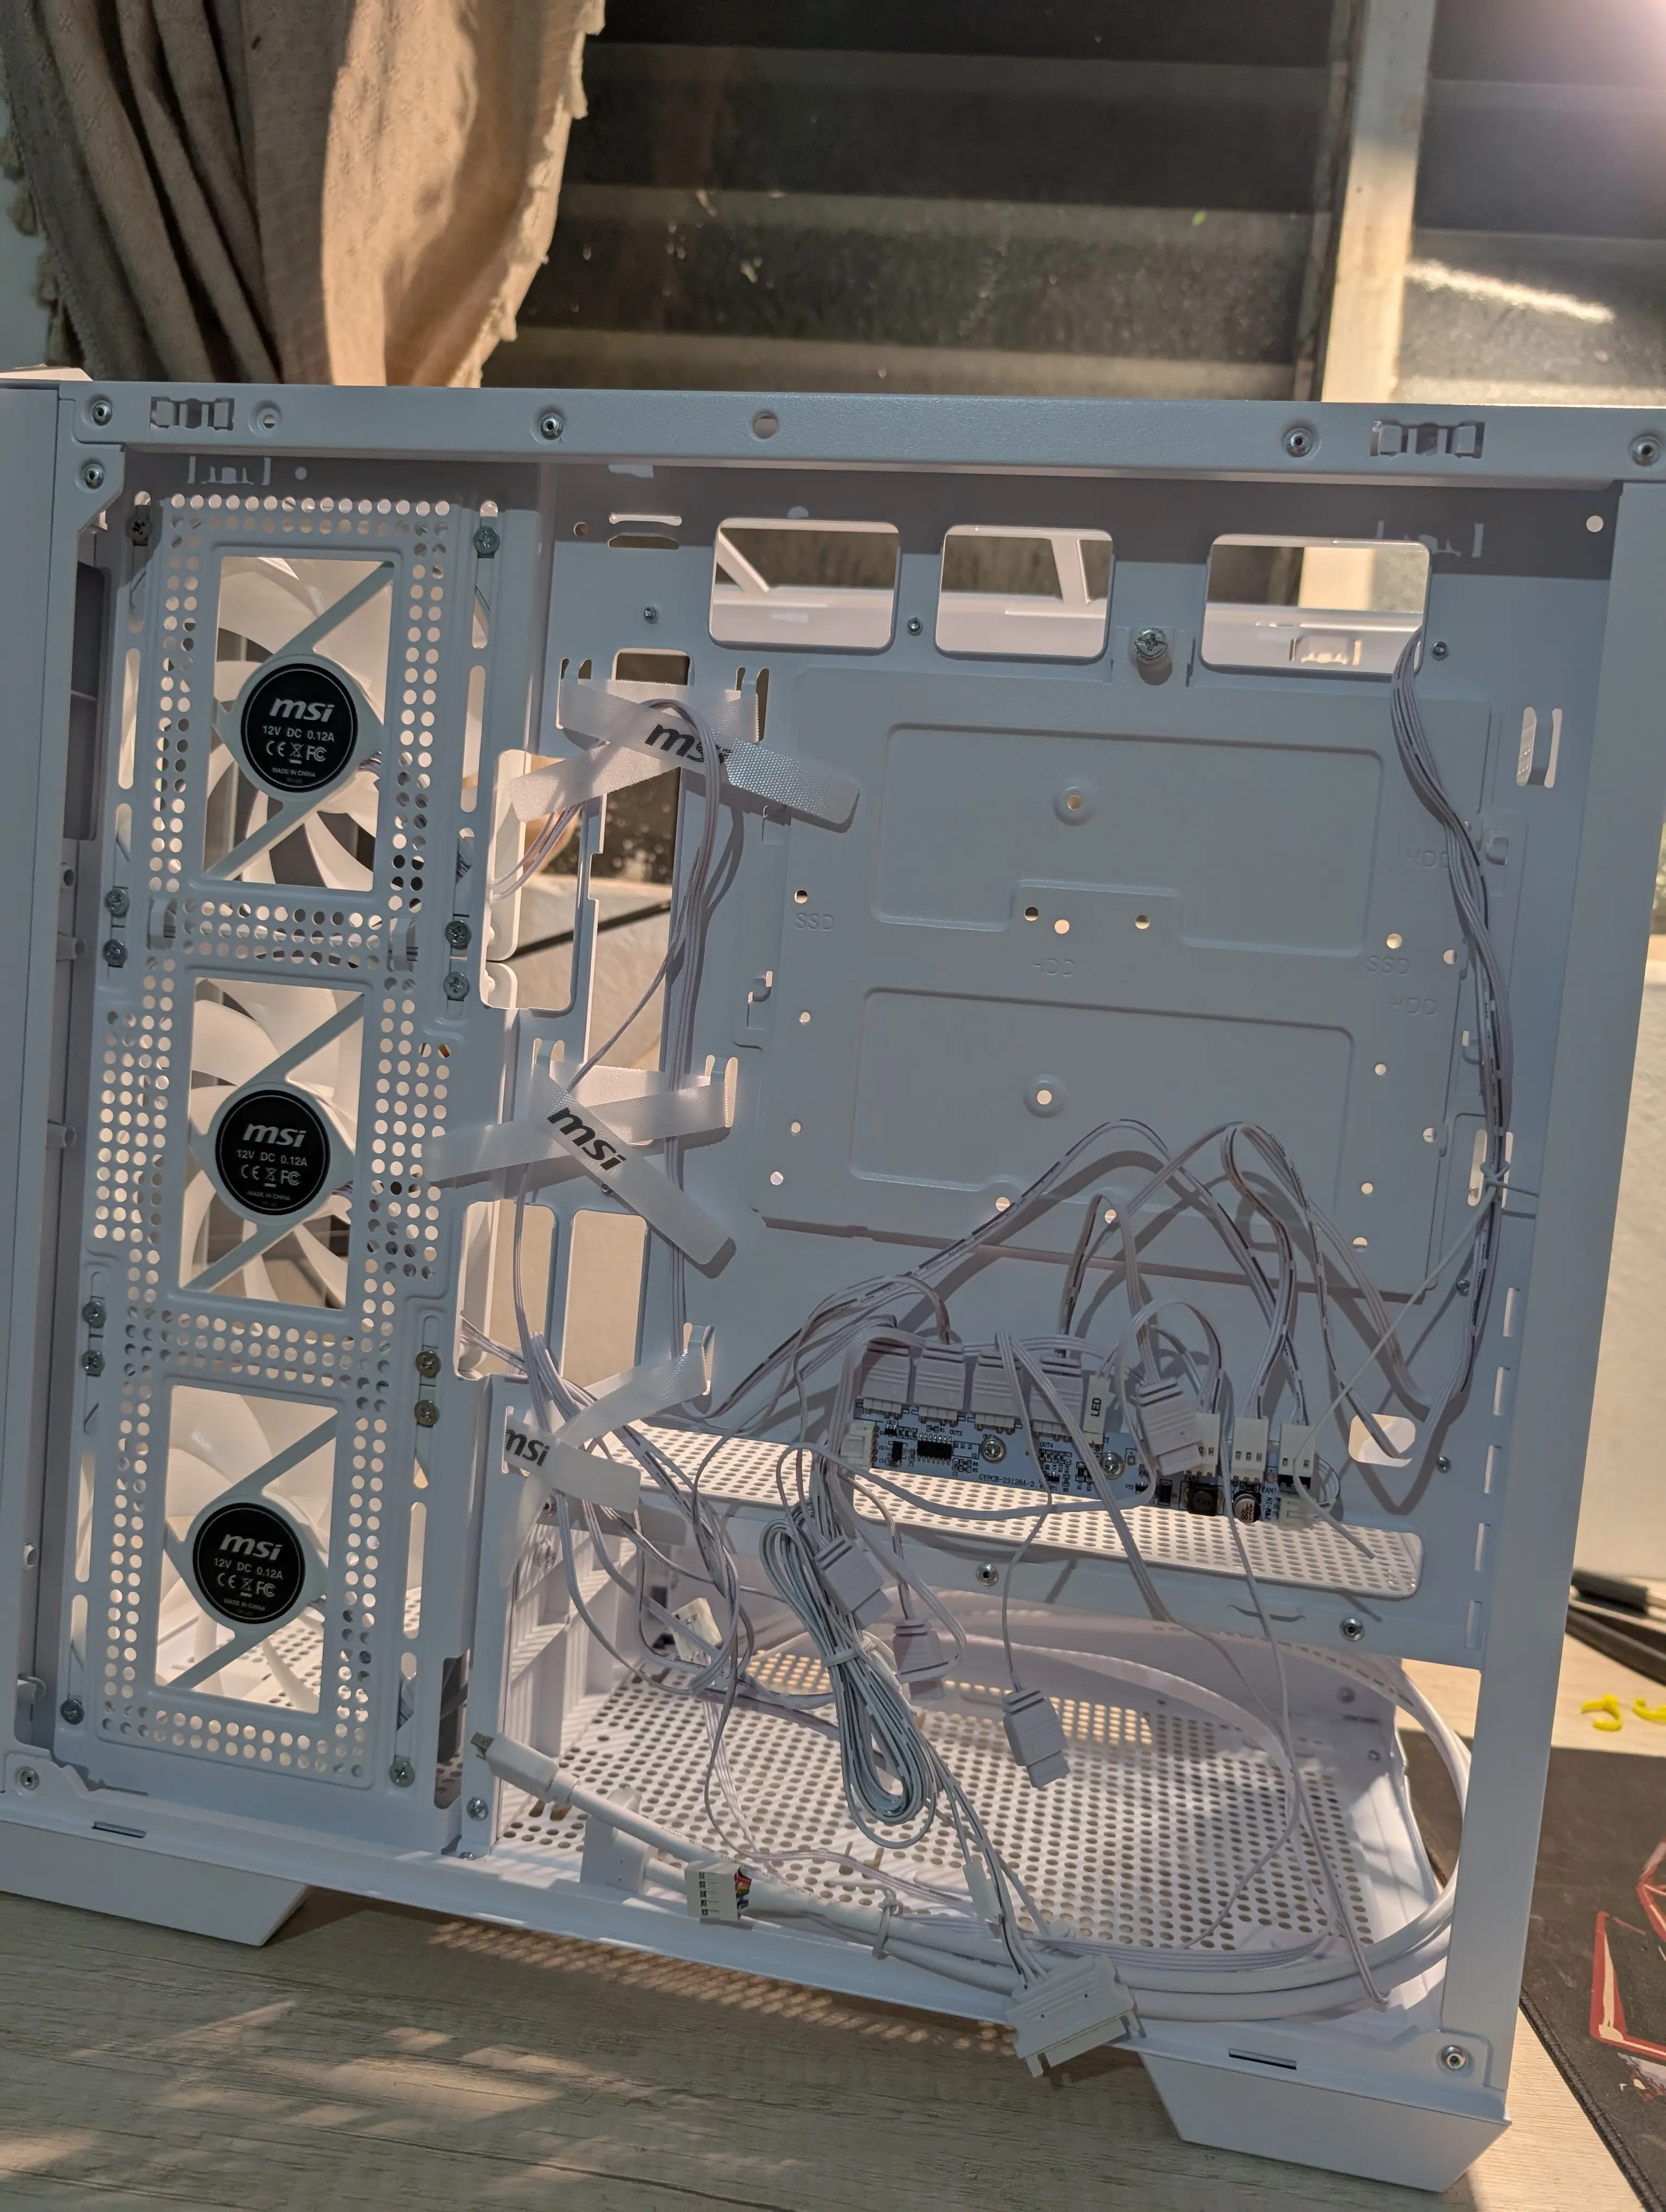
Cable management
Honestly this was the part I was most worried about, since I’m not great at cable management. But in the end I think I got a decent result. I used zip ties and velcro to keep everything bundled and tidy.
It took quite a bit of time since I had to make several trips to buy supplies over those days, but it was by far the task I enjoyed the most.
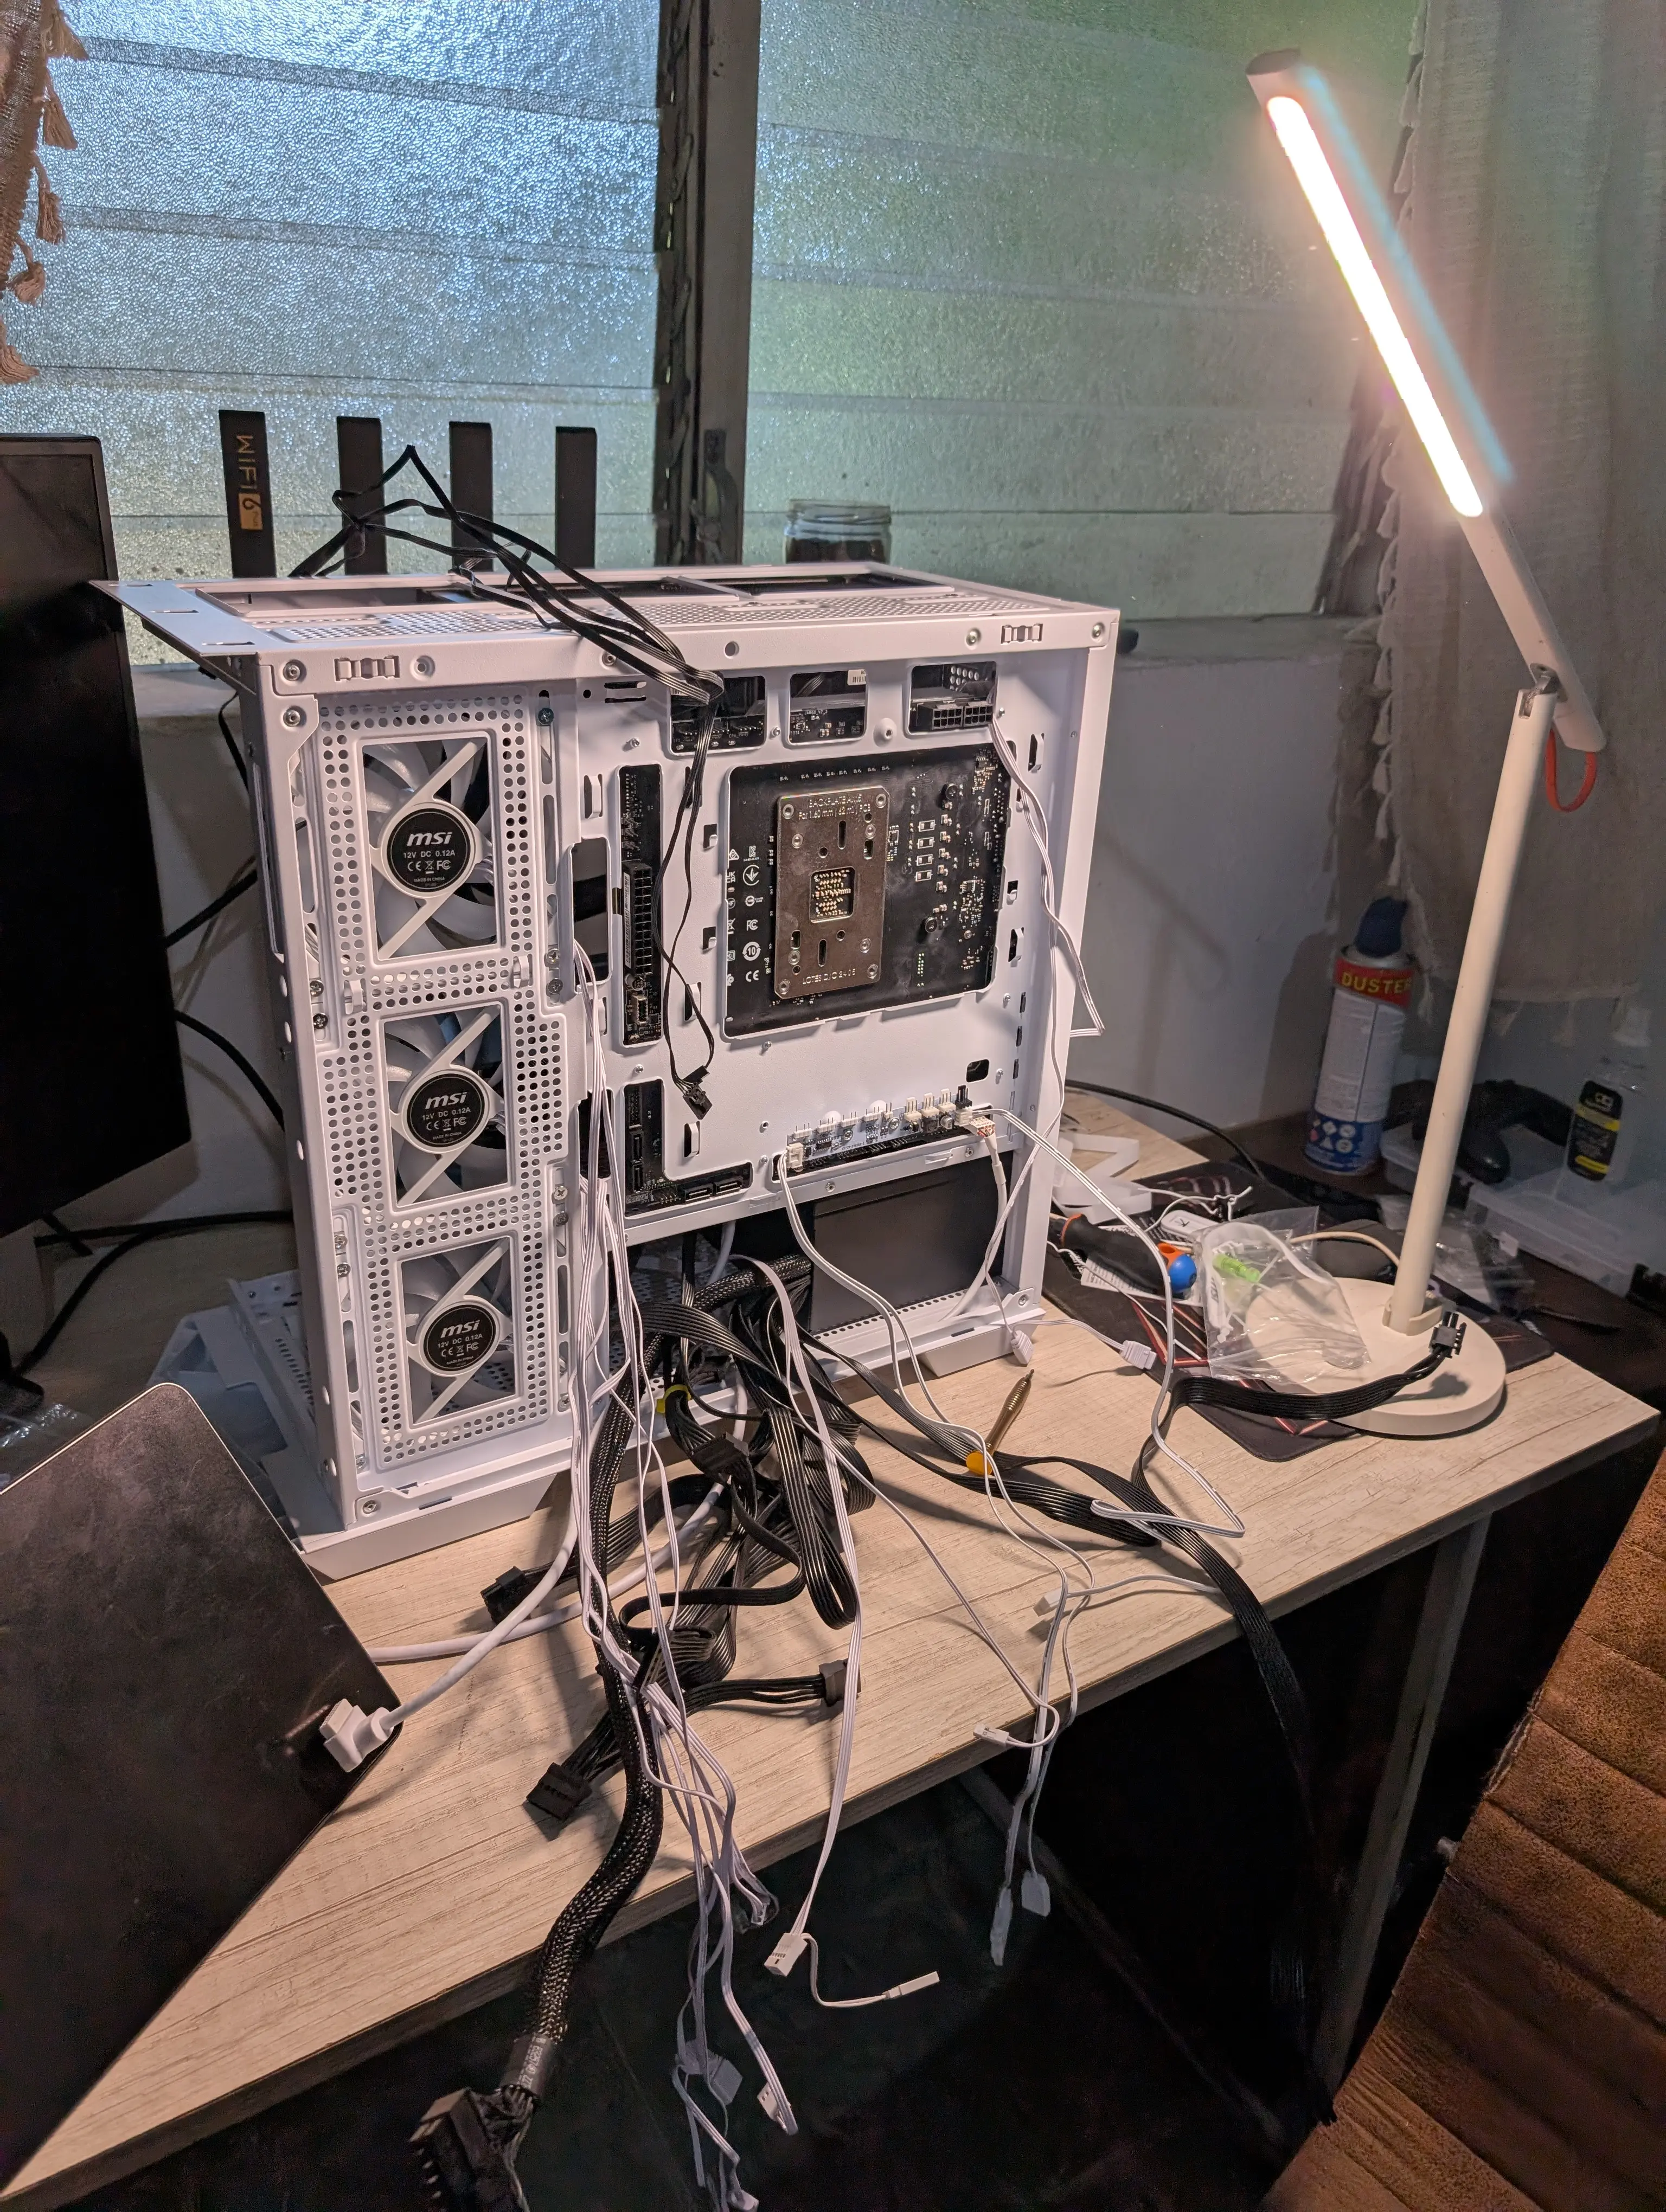
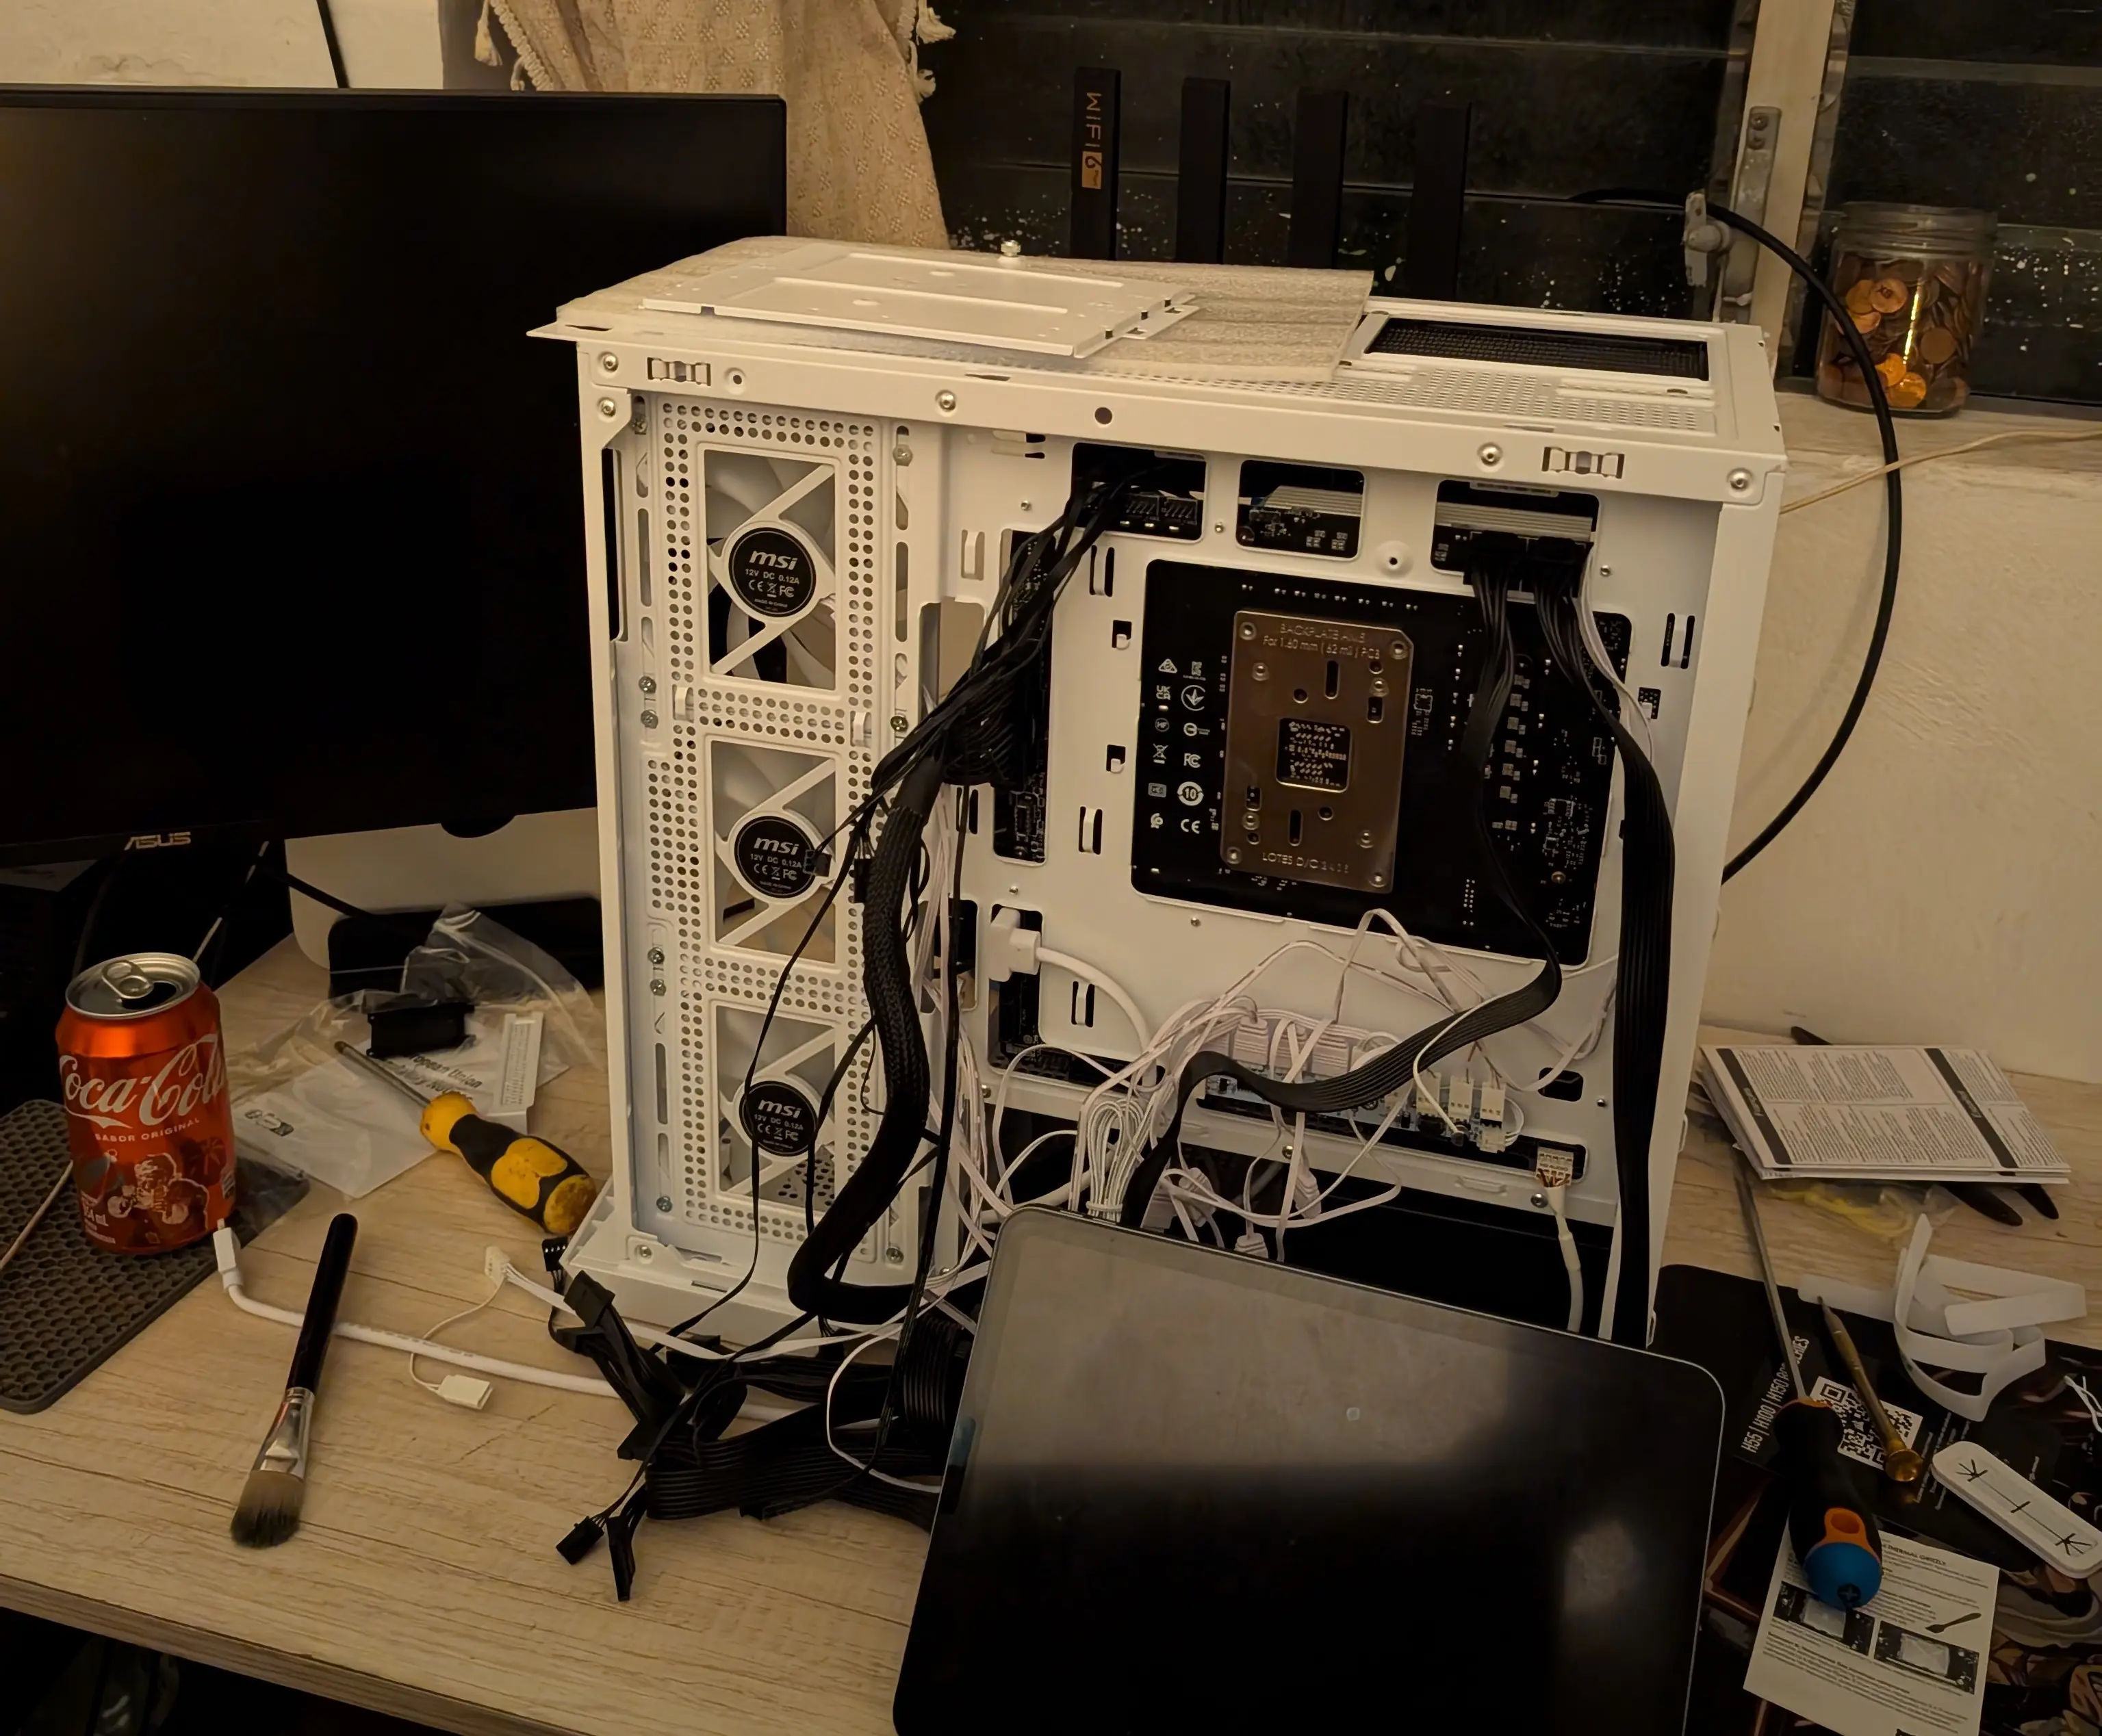
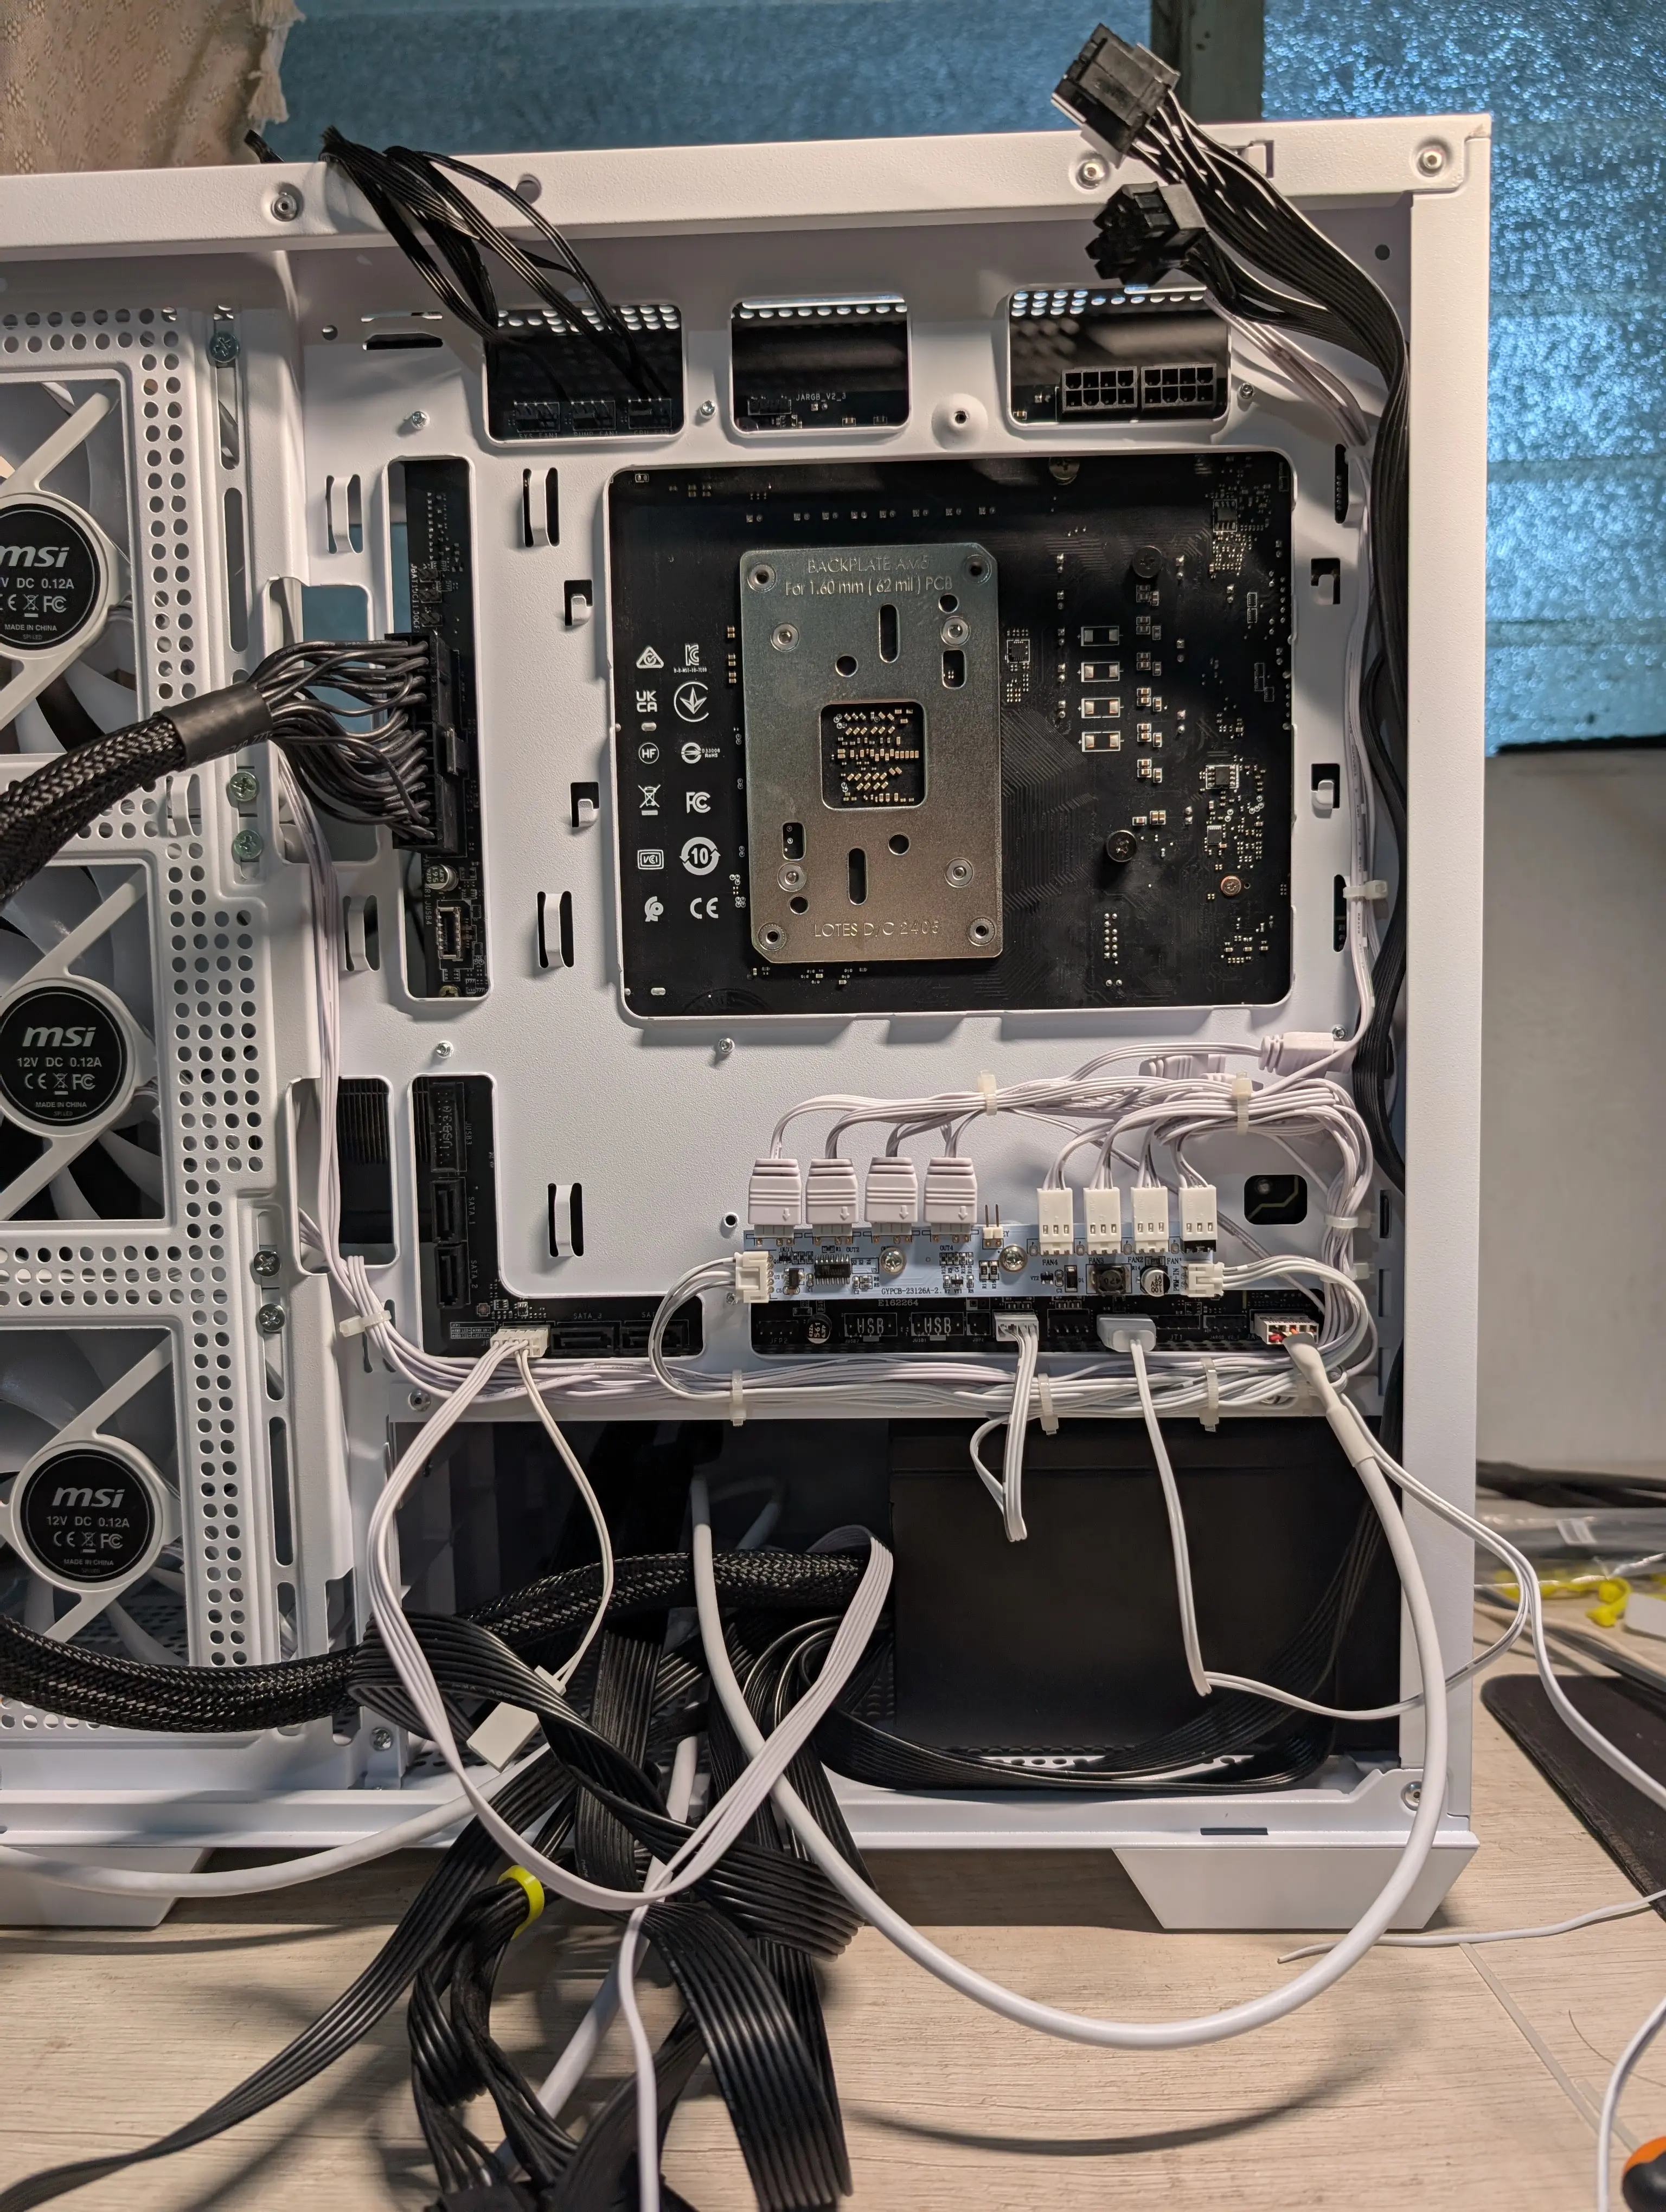
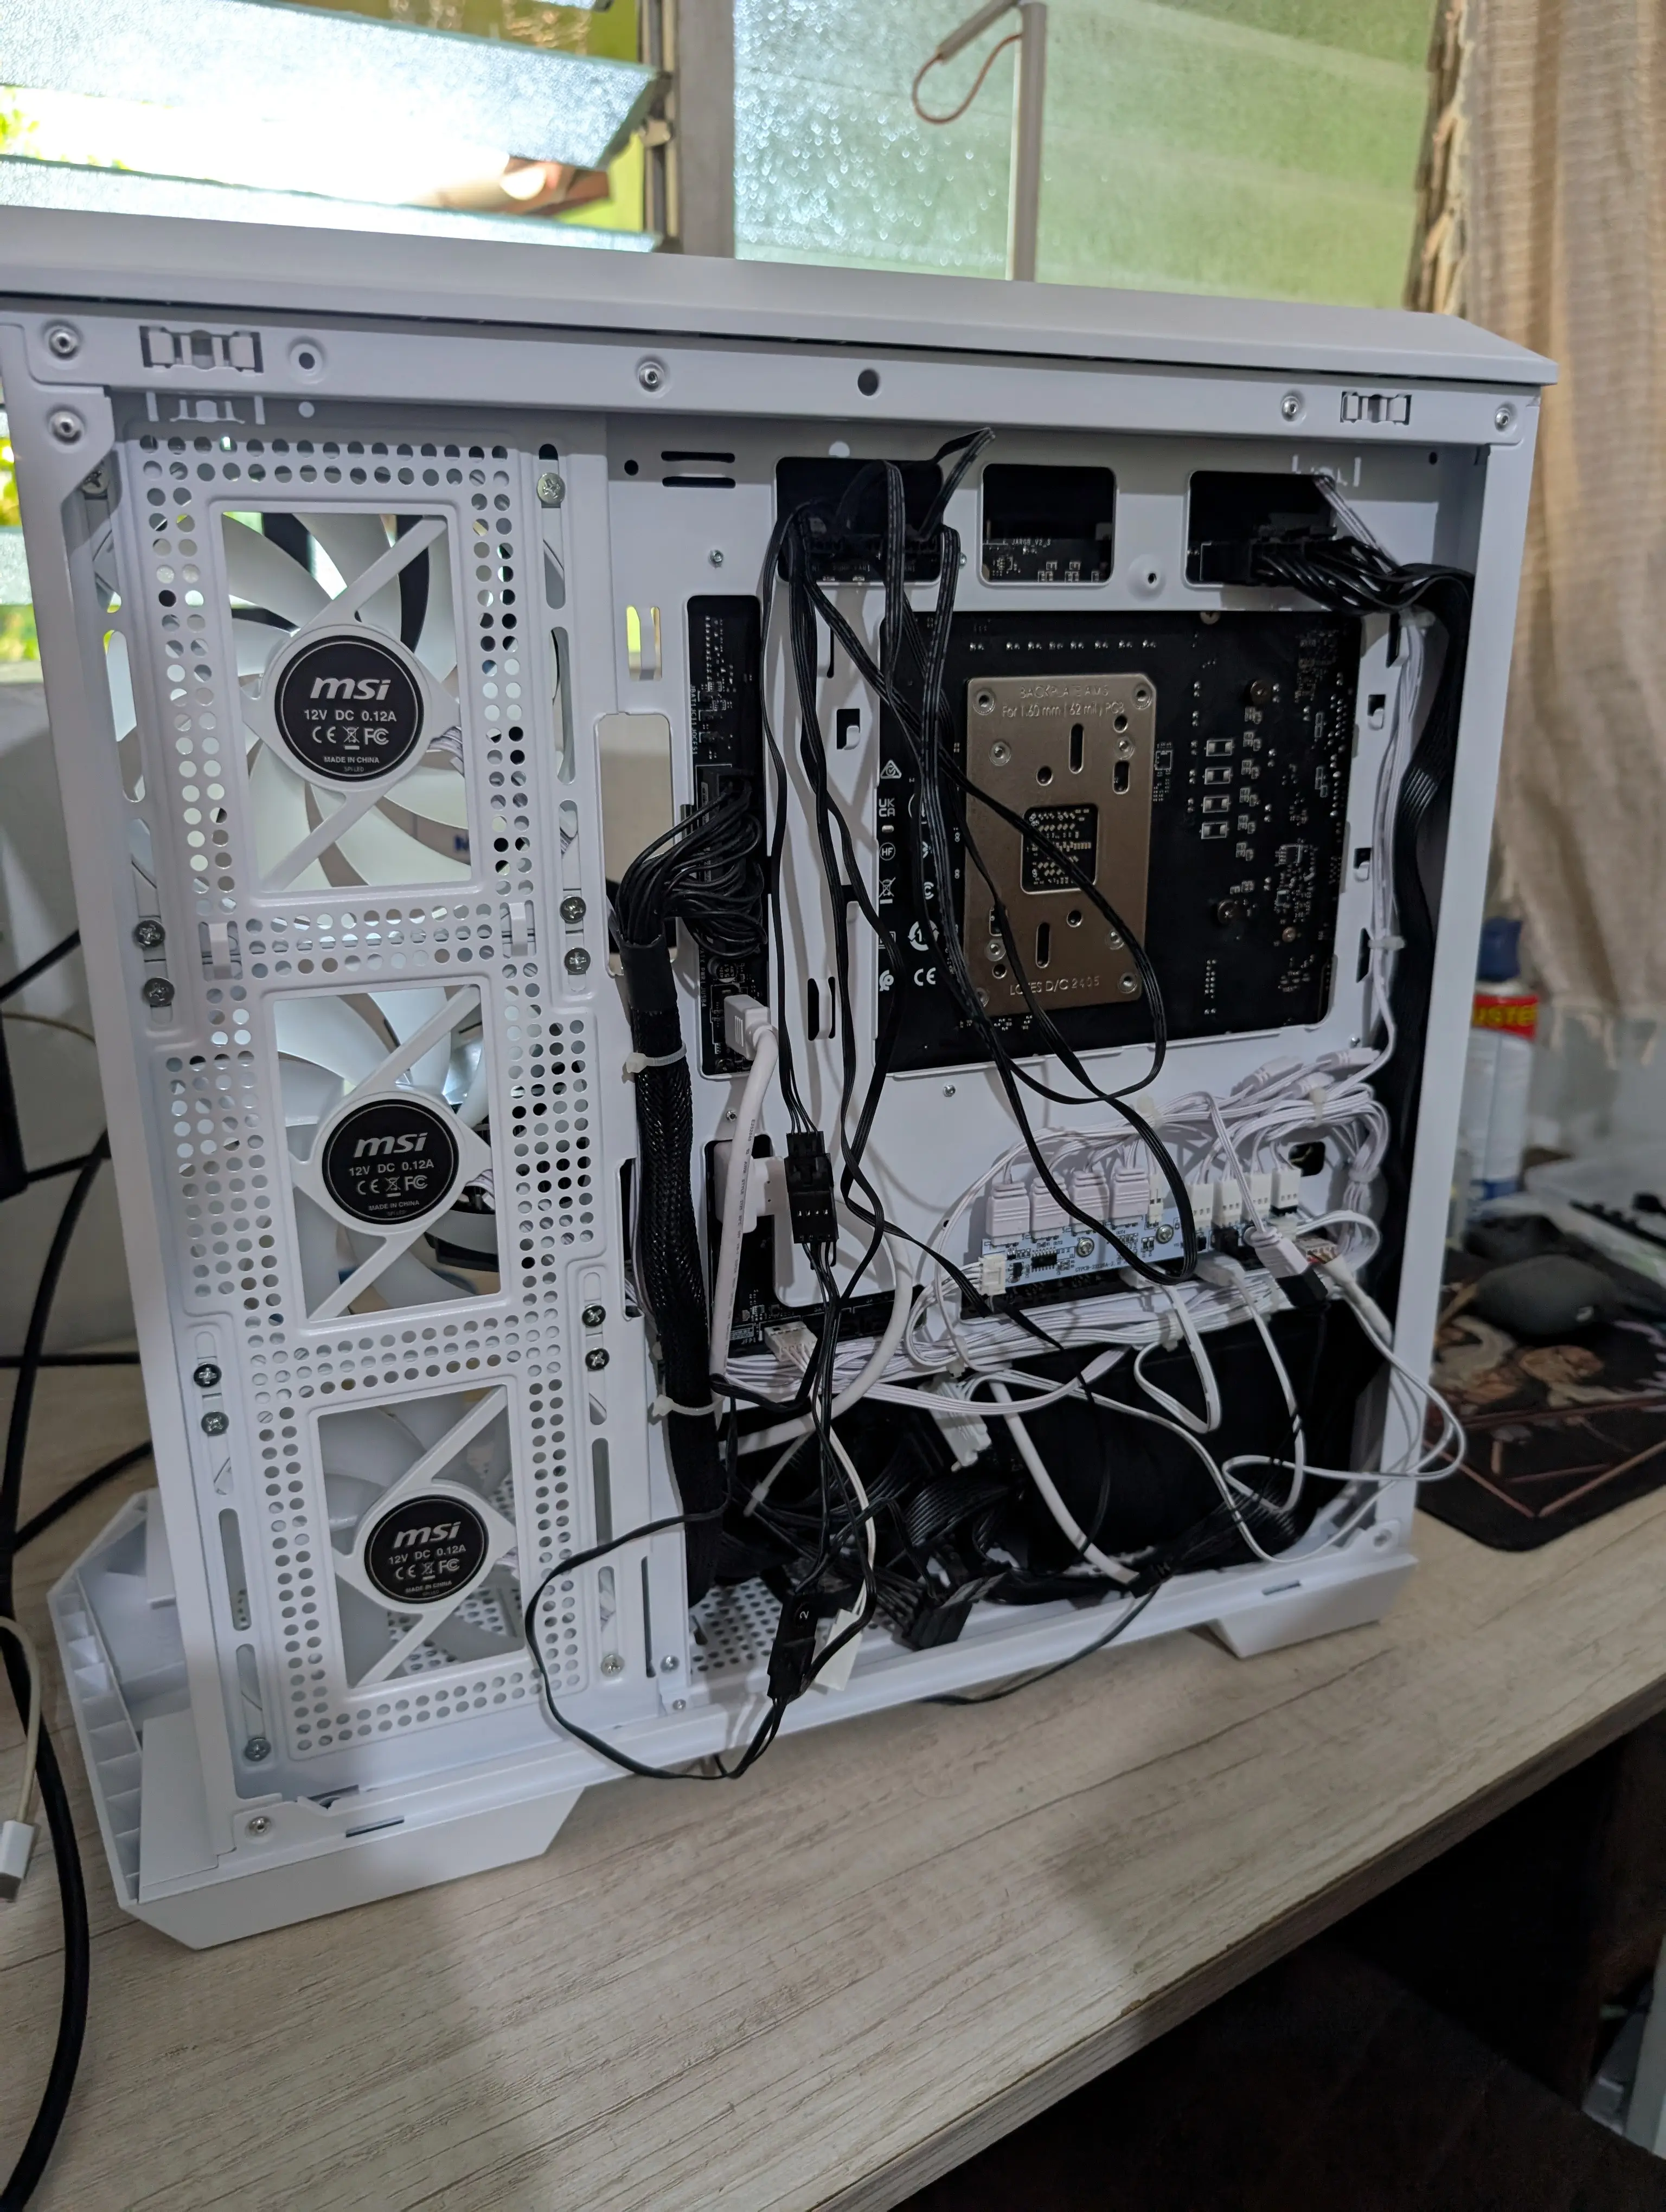
Cables connected but not yet managed.
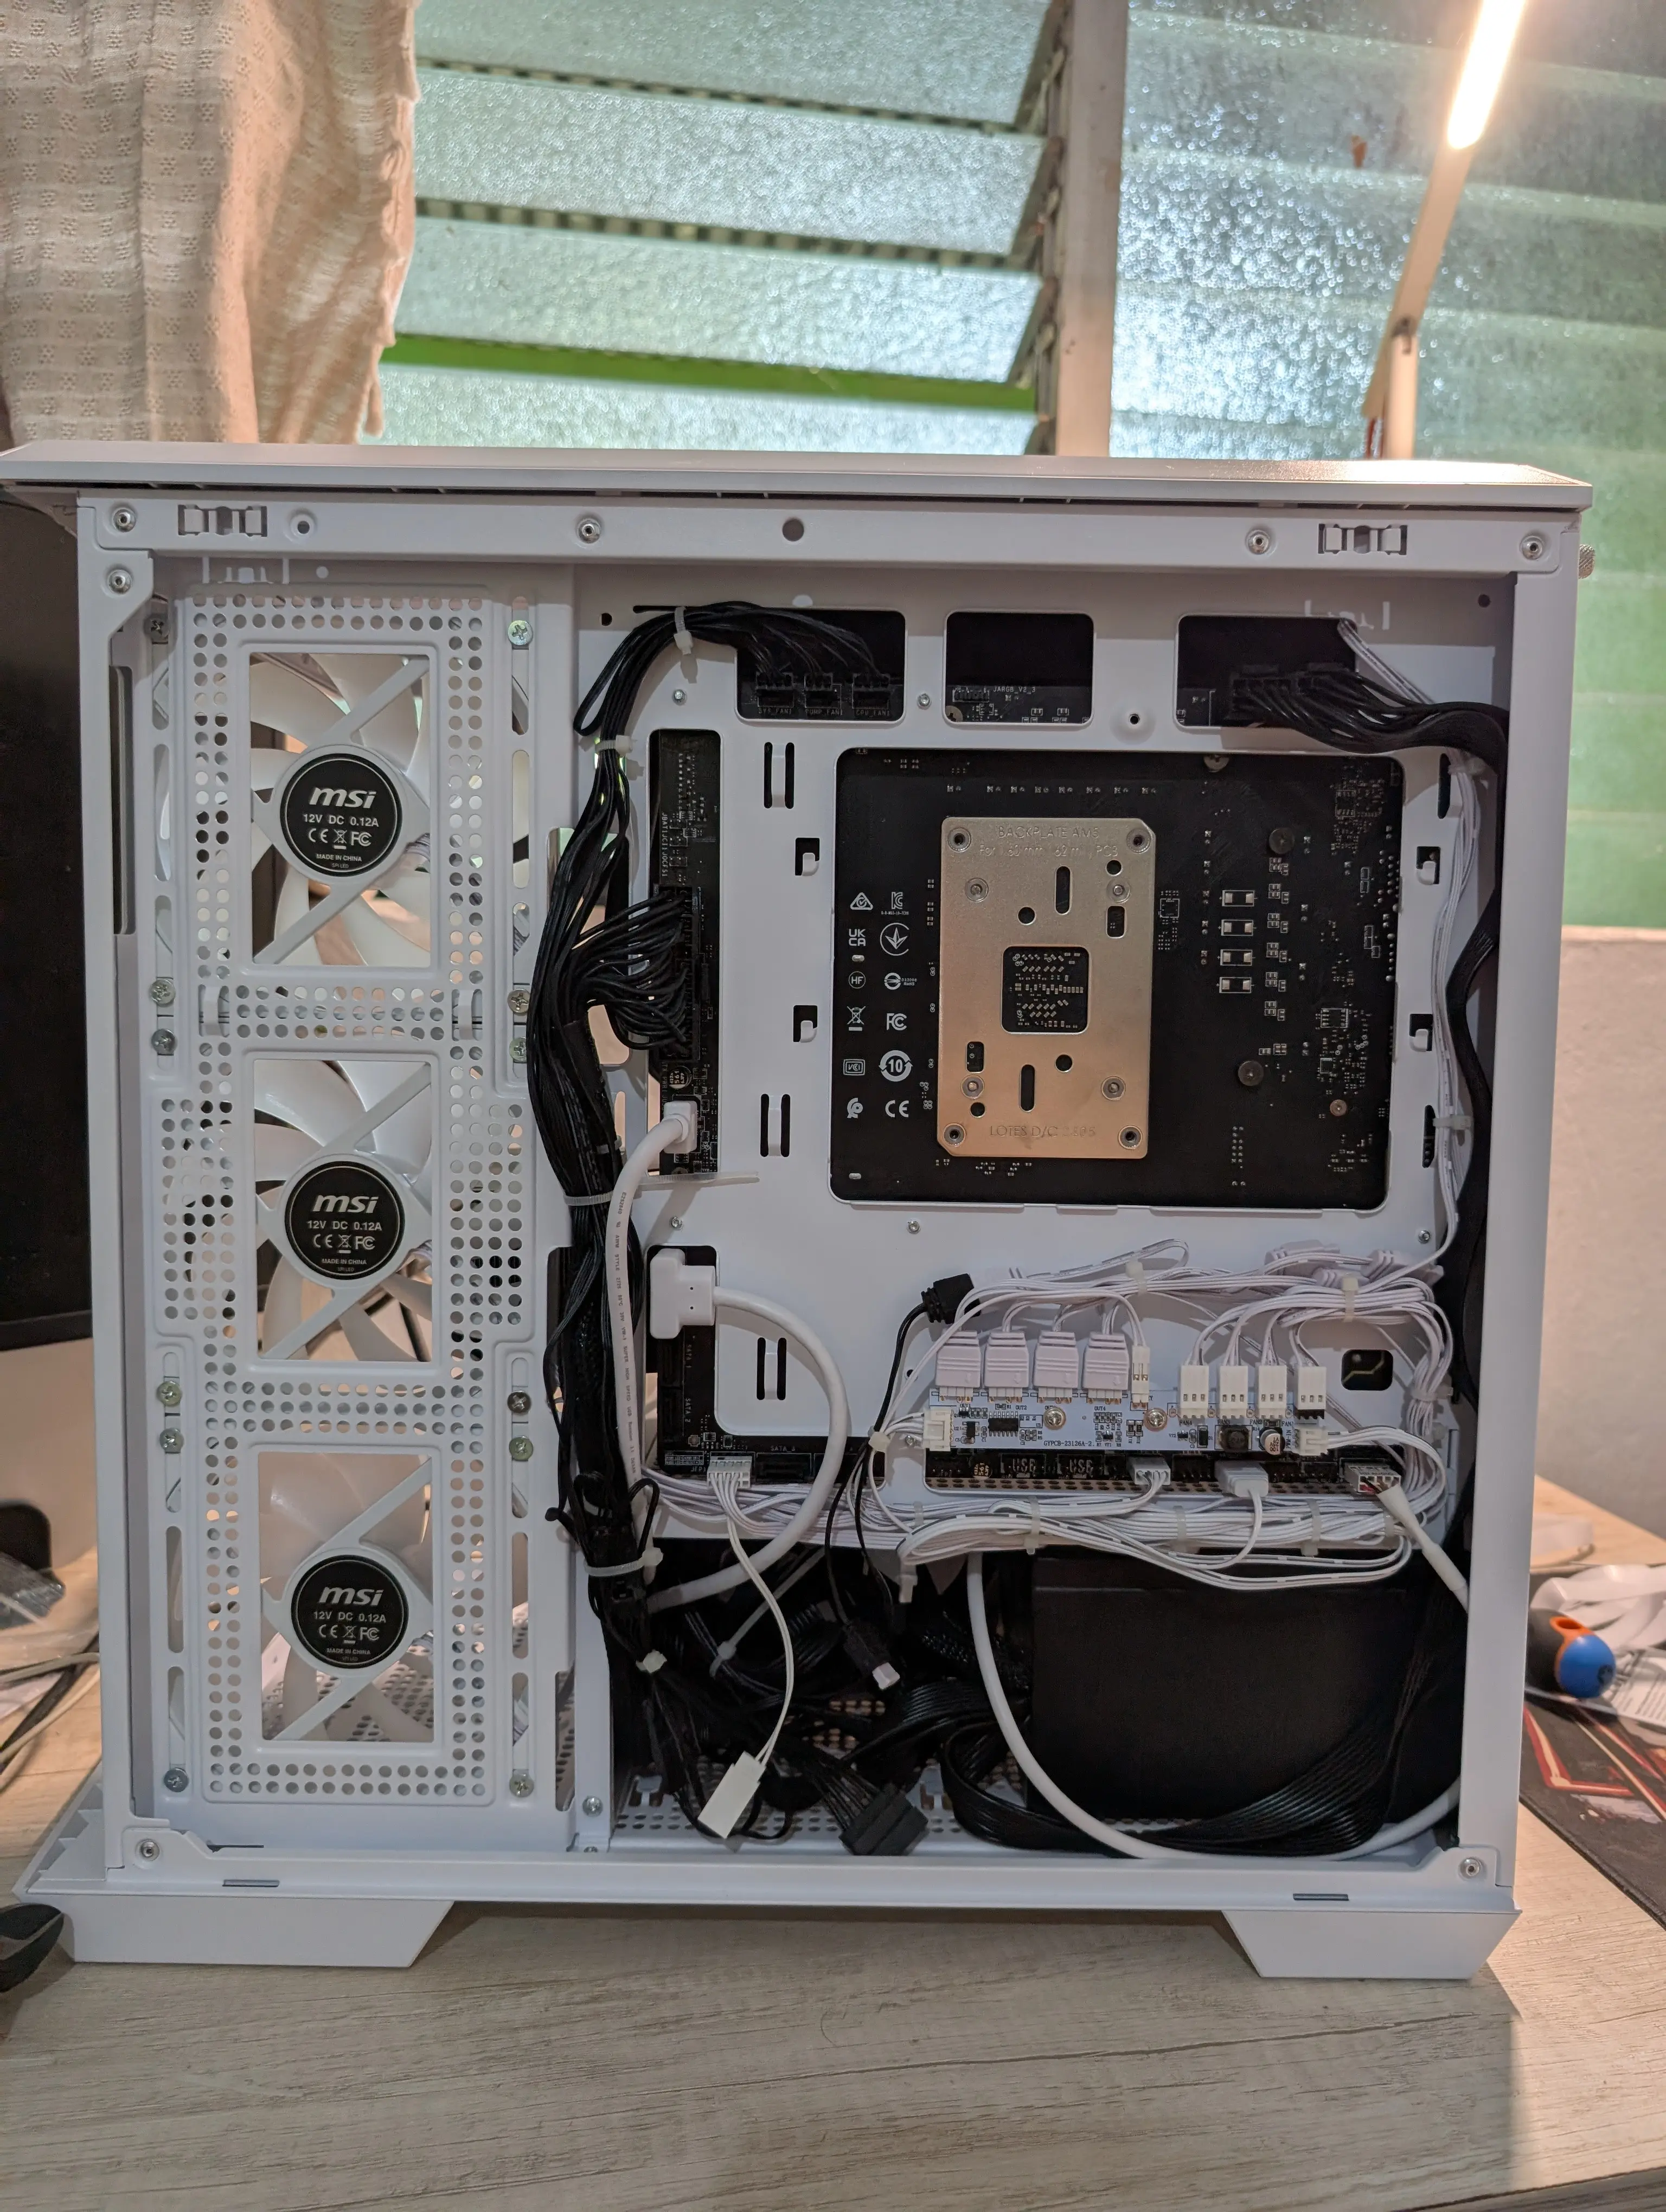
Final result :). Turned out much better than I expected.
At this point I realized the PSU was another component I wanted to upgrade: the one from the prebuilt wasn’t modular, which made cable management a lot harder. So I decided to get a modular PSU to make routing easier and improve overall performance.
Spoiler: the cable management didn’t come out quite as clean the second time, but no complaints.
Performance tests
These aren’t formal benchmarks, more like a showcase of the games I regularly play and how they run on this build. Overall I’m very happy with the performance; most modern games run without any issues.
I ran these tests before closing up the case, so if there were any performance issues I could check whether cable routing or component temperatures were to blame.

Ghost of Tsushima: With graphics settings maxed out, the game runs at an average of 120 FPS, with peaks of up to 140 FPS in less demanding areas.
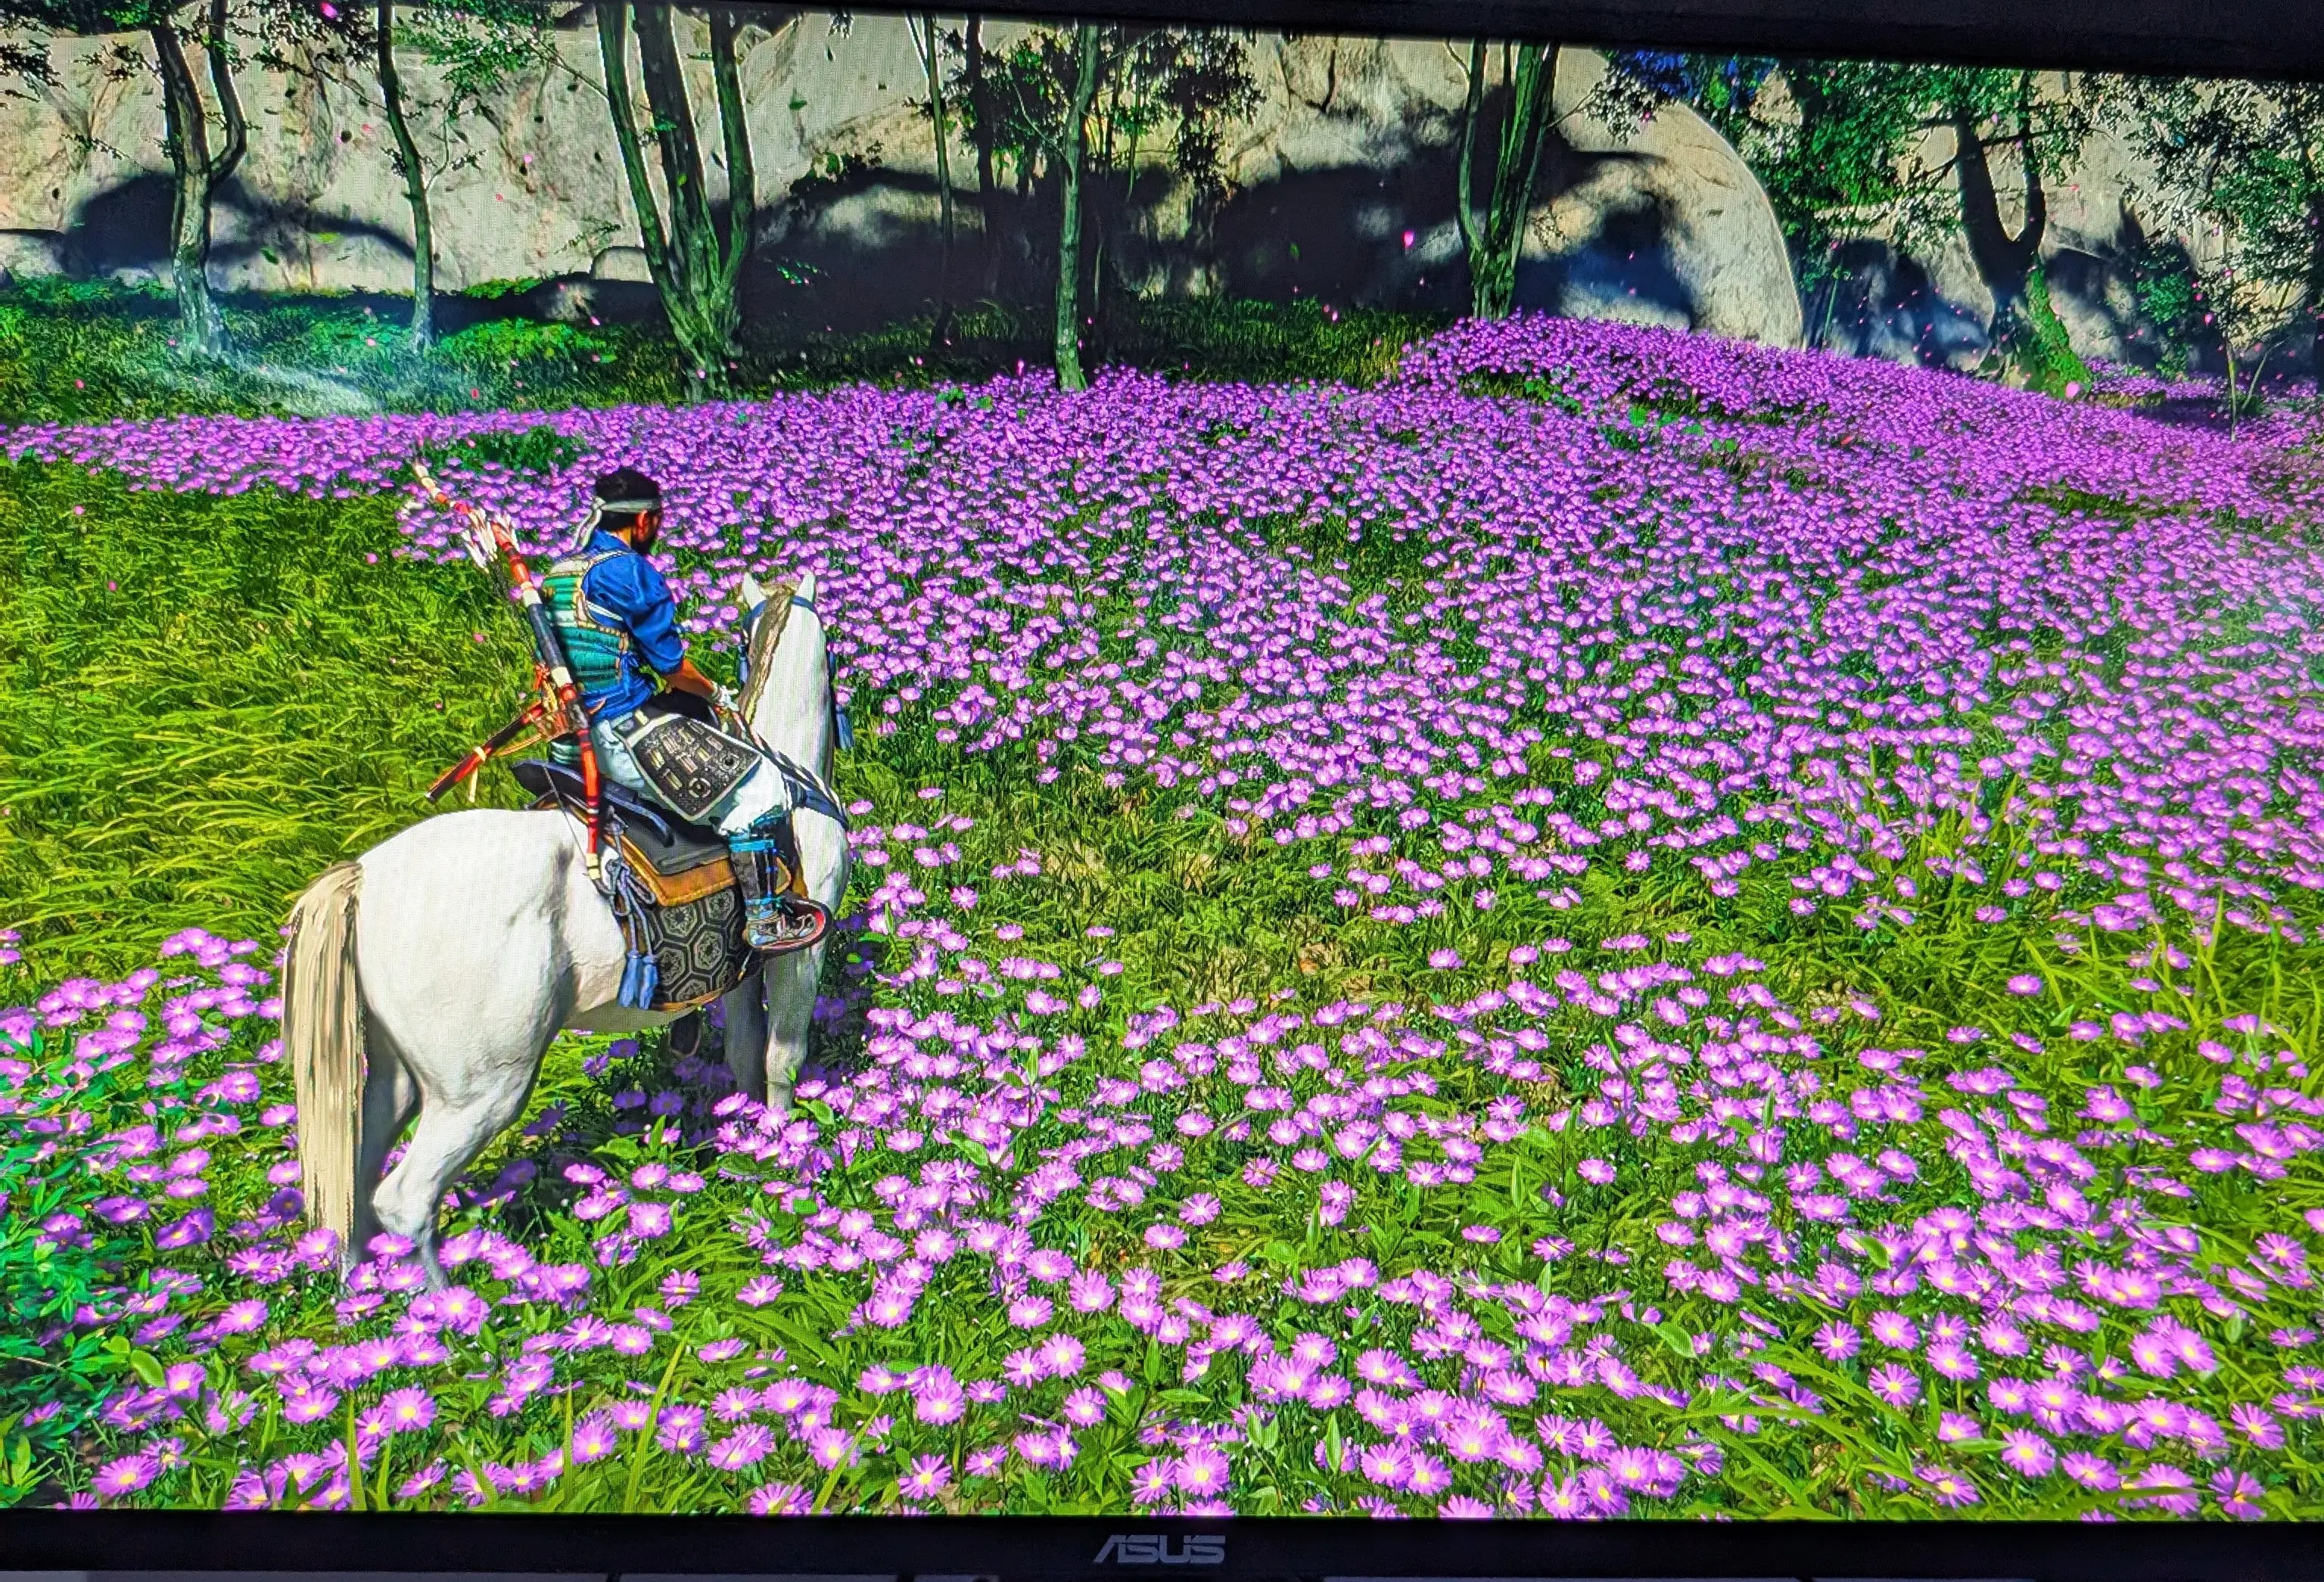
Ghost of Tsushima: The game must look incredible in 4K, but on my 1440p monitor the performance is excellent and the visual quality is still impressive.
And that was basically it for my exhaustive performance testing. Overall I’m very happy with the build; most modern games run without any issues.
”Final” photos